MoonStrong
Clear lunar shape, brighter craters, and shadow details along the terminator.
A realistic first-night guide for this beginner telescope, with product details and support links kept in one place.
Clear lunar shape, brighter craters, and shadow details along the terminator.
Bright planet disks may be visible; Saturn's ring shape can be challenging and depends heavily on sky conditions.
Expect faint smudges for some bright clusters or nebulae under dark skies, not colorful galaxy photos.
Good for first Moon shots after careful alignment. Use the remote to reduce shake.
Koolpte Scope is made for new observers who want a complete first telescope experience without extra confusion. It gives families a straightforward way to le...
Koolpte Scope is made for new observers who want a complete first telescope experience without extra confusion. It gives families a straightforward way to learn the basics: set up the tripod, align the finder, choose the first eyepiece, and start with the Moon.
For night viewing, the strongest results come from bright, forgiving targets. The Moon is the best place to begin because it is easy to aim at and shows detail even from many backyards. Planets and brighter objects are possible depending on the sky, but careful focusing and stable placement matter.
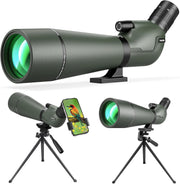
The kit is also useful before sunset. Use it as a daytime spotting scope for faraway buildings, ridgelines, birds, or outdoor scenes. This makes it easier for kids to practice aiming and focusing before trying the night sky.
The complete kit support the first full session: eyepieces, finder, Barlow lens, phone adapter, and storage pieces. It is a practical option when the buyer wants a starter telescope that feels complete out of the box.
Explore the universe with Koolpte


4 simple steps to start your stargazing journey
Remove the tripod, extend and lock the three legs. Place on a stable, flat surface.
Mount the optical tube onto the mount and secure with screws.
Choose an eyepiece, insert it into the focuser and secure with the thumbscrew.
Use the finderscope to locate celestial objects, then observe through the main telescope. Enjoy your stargazing journey!
No tools required. Ready in 5 minutes.

Spread legs and adjust to desired height

Spread legs and adjust to desired height

Spread legs and adjust to desired height

Spread legs and adjust to desired height
Watch the full guide

Real photos from users worldwide
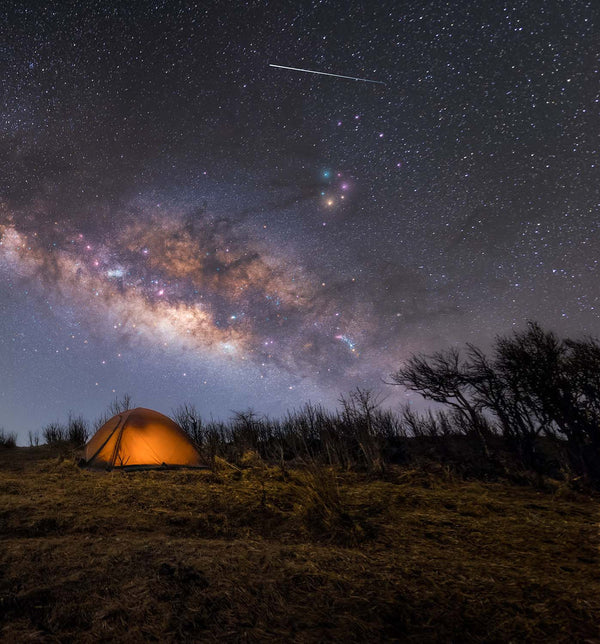
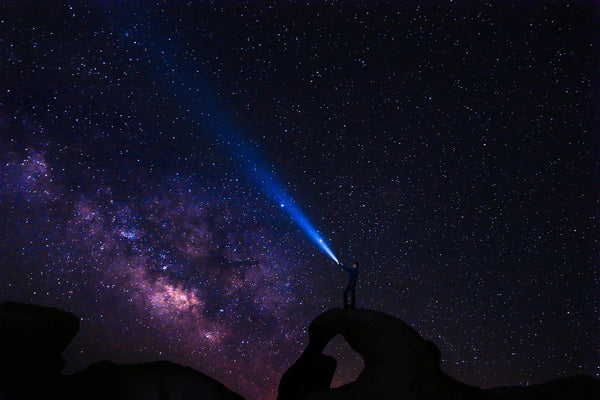
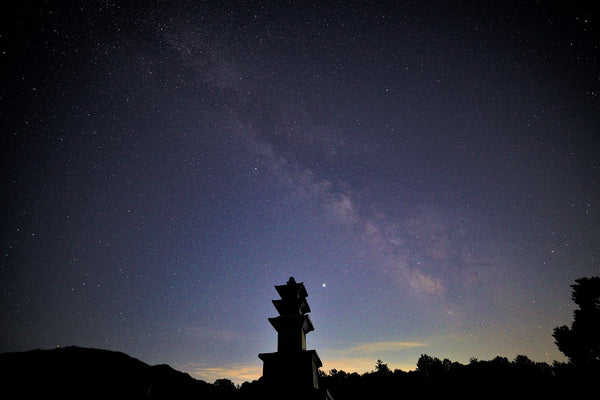
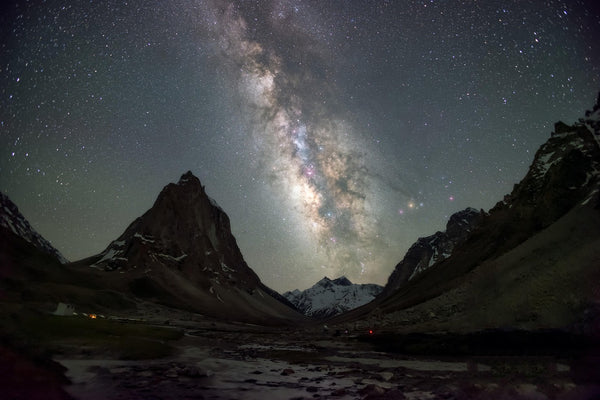
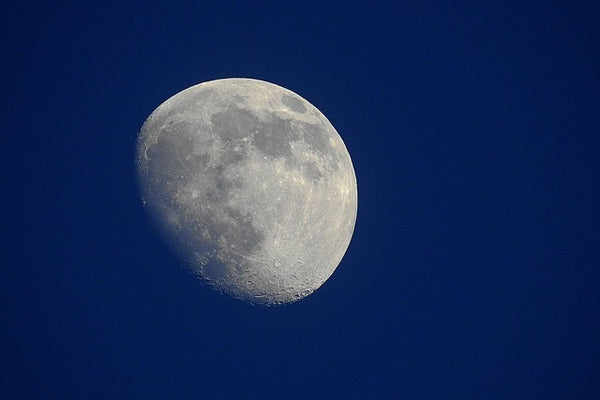
Pick by use case, control, and practical magnification.
| Property / model | ||||||
|---|---|---|---|---|---|---|
| Image |

|

|

|

|

|

|
| Aperture | 70 mm | 70 mm | 80 mm | 90 mm | 90 mm | 130 mm |
| Focal Length | 400 mm | 500 mm | 600 mm | 700 mm | 900 mm | 650 mm |
| Finderscope | Reflex finderscope | Finderscope | 5×24 reflex finderscope | Finderscope | Finderscope | Reflex finderscope |
| Eyepiece | 6 mm / 10 mm / 25 mm + 3× Barlow | 10 mm / 25 mm + 3× Barlow | 10 mm / 25 mm + 3× Barlow | 10 mm / 25 mm + 3× Barlow | 6 mm / 10 mm / 20 mm + 3× Barlow | 6.5 mm / 25 mm + 2× Barlow |
| Magnification | 16×–200× | 20×–150× | 24×–180× | 28×–210× | 45×–450× | 26×–200× |
| Telescope Mount | Altazimuth mount | Altazimuth mount | Altazimuth mount | Slow-motion altazimuth | Slow-motion altazimuth | Equatorial mount |
| Lens Coating | Fully Multi-Coated (FMC) | Fully Multi-Coated (FMC) | Fully Multi-Coated (FMC) | Fully Multi-Coated (FMC) | Fully Multi-Coated (FMC) | — |
| User Photos |
User photo not uploaded
|
User photo not uploaded
|
User photo not uploaded
|
User photo not uploaded
|
User photo not uploaded
|
User photo not uploaded
|
Magnification ranges are practical kit ranges based on included eyepieces and Barlow lens combinations. Clear skies, stable ground, and careful focus matter more than using the highest power first.
Hover hotspots for details

70mm Large aperture, FMC multi-coated
70mm Large aperture, FMC multi-coated
70mm Large aperture, FMC multi-coated
70mm Large aperture, FMC multi-coated

70mm Large aperture, FMC multi-coated
70mm Large aperture, FMC multi-coated
70mm Large aperture, FMC multi-coated
Drag the slider to compare telescope photos


← Drag slider left or right to compare →
PRODUCT QUESTIONS
Find answers to common questions
For beginners, we recommend a telescope with a 70mm-80mm aperture, like the Koolpte Vega Lite (70mm) or Vega Plus (80mm). These offer a great balance between portability and light-gathering ability, perfect for viewing the Moon, planets, and bright deep-sky objects.
Aperture is the diameter of the telescope's main lens or mirror. A larger aperture gathers more light, allowing you to see fainter objects and more detail. For most beginners, 70mm-90mm is ideal.
Refractor telescopes use lenses and are great for viewing the Moon and planets with crisp, high-contrast images. Reflector telescopes use mirrors and typically offer larger apertures at lower cost, making them better for deep-sky objects like galaxies and nebulae.
Yes! All Koolpte telescopes come with a phone adapter that lets you attach your smartphone to the eyepiece for digiscoping. This is great for capturing photos of the Moon and planets.
Most Koolpte telescopes can be assembled in 10-15 minutes with no tools required. Each package includes a detailed quick-start guide, and we also provide video tutorials on our Learn Hub.
Point the telescope at a distant object (like a streetlight or tree top) using a low-power eyepiece. Then adjust the finderscope's alignment screws until the crosshair is centered on the same object. Do this during the day for easier setup.
Always start with the lowest magnification (longest focal length) eyepiece — usually the 20mm. This gives you the widest field of view, making it easier to find your target. Once you've located it, switch to a higher magnification eyepiece for a closer look.
For beginners, we recommend a telescope with a 70mm-80mm aperture. It offers a good balance between portability and light-gathering ability, perfect for viewing the Moon and planets.
With a 70mm+ telescope, you can observe:
• The Moon's craters and mountains in stunning detail
• Jupiter's cloud bands and four Galilean moons
• Saturn's rings
• Venus phases
• Mars during opposition
• Bright star clusters and the Orion Nebula
The best conditions are clear, moonless nights away from city lights. Planets are best observed when they're high in the sky. Check astronomy apps like SkyView or Stellarium for real-time sky maps and upcoming celestial events.
Astronomical telescopes naturally produce inverted (upside-down) images, which is normal for celestial observation — there's no "up" or "down" in space! For terrestrial viewing, you can use an image-erecting prism or diagonal to correct the orientation.
All Koolpte telescopes come with a 1-year manufacturer warranty covering defects in materials and workmanship. We also offer a 30-day satisfaction guarantee — if you're not happy with your purchase, contact us for a full refund.
Use a soft lens brush or compressed air to remove dust. For smudges, use a microfiber cloth with a small amount of lens cleaning solution. Never use paper towels or household cleaners, as they can damage the lens coating.
You can reach us through our Contact page, or email us directly at support@koolpte.com. We typically respond within 24 hours on business days.
Watch step-by-step tutorials