
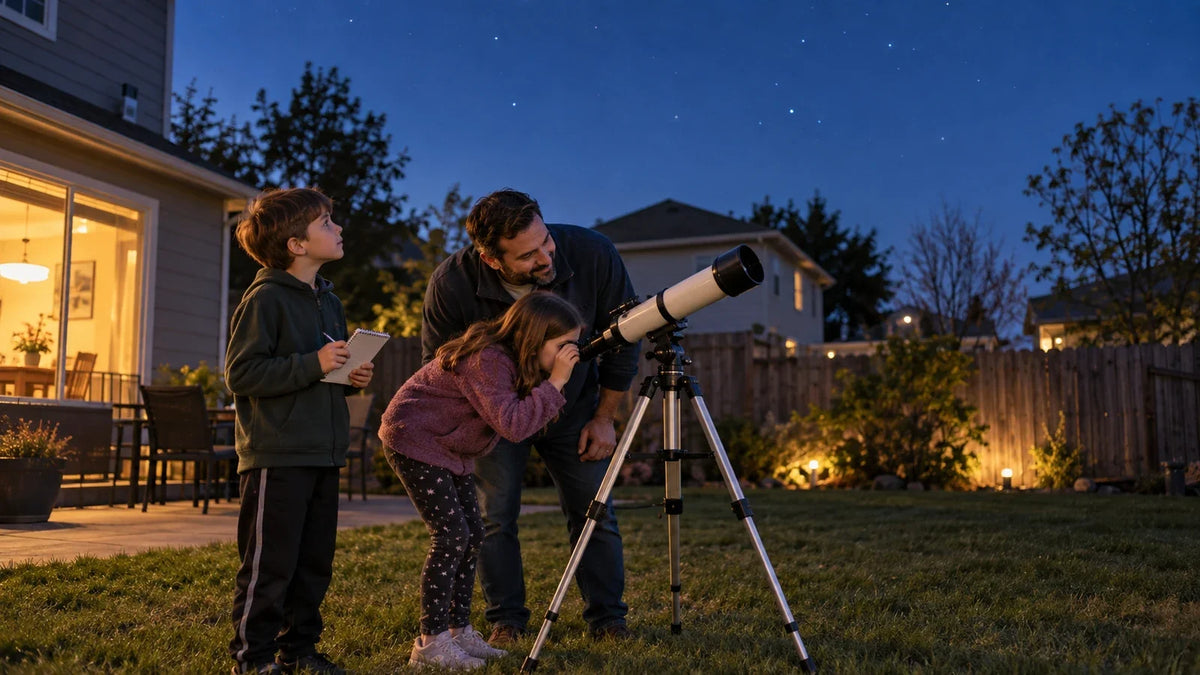
A family stargazing night does not need a dark-sky road trip or a list of 20 objects. On an ordinary school night, one naked-eye discovery and one clear telescope target can be enough.
The key is to do the uncertain work before everyone comes outside. Check the weather, choose a current target and set up the equipment. Then let the 30 minutes belong to looking, describing and taking turns.
This is a flexible activity plan, not a claim about how long every child should stay interested. Shorten or extend it for your family, the temperature and the sky.

Choose Only Two Goals for Tonight
Before sunset, use a current sky app for your location and time. Choose:
- One naked-eye task: Find the Moon, recognize part of a constellation, or identify one bright direction marker.
- One main optical target: The Moon, a bright planet, a double star or an open cluster that the app confirms is currently visible.
Do not promise the children a planet simply because it appeared in a book or was visible last season. Its position changes. Clouds, buildings, trees and moonlight also change what your family can see.
If there is no practical telescope target, switch the second goal to binoculars, a Moon-phase sketch or a comparison of the sky with the porch light on and off. Skywatching does not require a telescope.
Prepare Before the Children Come Outside
The adult should handle the slow parts first:
- Check the weather and current sky.
- Choose a flat, safe place away from traffic and sprinklers.
- Stabilize the tripod and route around its legs.
- Assemble and test the telescope.
- Set out chairs, warm layers, a red light and a notebook.
- Turn off or shield any outdoor lights you control.
If the telescope is new, use our guide to set up the telescope before dark. A family session is much easier when no one is waiting in the cold while an adult searches for the correct knob.

Never aim binoculars or an unfiltered telescope at the Sun. Keep daytime setup pointed at safe, land-based objects.
Give Everyone a Role
Only one person can use the eyepiece at a time, but everyone can still have a job. Rotate these roles:
Navigator: Checks the app and confirms the target is above the horizon.
Telescope operator: Moves and focuses the telescope with adult supervision.
Recorder: Writes or sketches what each observer actually sees.
Light keeper: Manages the red light and reminds the group before anyone opens a bright white phone screen.
The roles are not a test. They simply replace passive waiting with a useful task. An adult should remain responsible for the equipment, footing and overall safety.

Minutes 0-5: Begin Without the Telescope
Turn off the white lights you can control and let everyone's eyes begin adjusting. Use the first few minutes to look across the whole sky.
Ask three simple questions:
- Which part of the sky looks darkest?
- Can you see the Moon?
- Which star or pattern could you find again after looking away?
There is no need to lecture. The purpose is to help everyone notice the actual conditions before narrowing the view through an eyepiece.
Use a dim red light when you need to move or write. Red light is less disruptive to night vision than ordinary white light, but it should still be kept only as bright as necessary.
Minutes 5-10: Find One Sky Anchor
Use the app to confirm one easy naked-eye anchor: the Moon, a recognizable part of a constellation, or a bright star near your telescope target.
Let the navigator explain how the app view matches the real sky. If that step feels confusing, our guide to reading a star chart or sky map provides a fuller introduction.
Avoid memorizing a fixed direction from an evergreen article. The direction and height of an object depend on the reader's location, date and time.
Minutes 10-20: Share One Main Target
Choose the first available option in this order.
If the Moon Is Visible
Begin at low power with the full lunar disk. Then look near the boundary between light and shadow for craters, ridges and changing shadow shapes. Our guide to observing the Moon through a telescope can turn that first view into a longer future session.
If a Bright Planet Is Visible
Use it only when the current app confirms it is above your horizon. Find and center it at low power before increasing magnification. Keep expectations modest: even a real planet can look small in the eyepiece.
If the Moon and Planets Are Not Practical
Choose a bright double star or open cluster suited to the season. In fall, our list of beginner-friendly fall telescope targets provides options and realistic expectations. At other times of year, use the current app or a local astronomy club's monthly guide.
Give each person one prompt: What did you actually see?
"Small," "gray," "two points," or "the edge kept moving" are useful observations. Do not require the answer to match a processed photograph.
Minutes 20-27: Add a Second Target or a Sketch
If the first target was easy and the group is comfortable, move to one more simple object. If finding the first target took most of the session, keep it centered and change the activity instead.
Ask each observer to sketch the shape, count visible points of light, or compare the naked-eye view with the low-power eyepiece. A sketch records attention, not artistic ability.
This choice protects the success already achieved. A second target is optional; a rushed search is not required to make the session worthwhile.
Minutes 27-30: End With One Sentence Each
Before packing up, ask everyone to complete one sentence:
- The first thing I noticed was...
- The view was different from a photograph because...
- Next time I want to check...
Save the page or take a photo of the notes. Then turn on enough light to pack safely, with an adult controlling the telescope and tripod.

What If You Live in a City?
Prioritize the Moon and other bright targets. Do not make a faint galaxy the test of whether a first family session worked. Nearby lights reduce contrast, but a safe backyard with a clear view can still support basic sky orientation and bright-object observing.
Turn off the lights you control and block direct glare when practical. Do not trespass or move the family to an unsafe location just to gain a darker horizon.
What If It Is Cloudy?
If clouds are broken, watch for the Moon or bright stars through the gaps and track how the cloud cover moves. If the sky is fully overcast, reschedule the observing session instead of turning it into a long equipment wait.
You can still use five minutes indoors to check the next clear-night forecast, choose a target and practice the family roles.
What If You Do Not Have a Telescope?
Complete the naked-eye task, record the Moon's phase or identify a constellation. Binoculars can also provide a wide, easy-to-aim view of the Moon and some large bright star clusters.
The telescope should expand the activity, not determine whether the family is allowed to begin.
Stop While the Night Still Feels Successful
The stopping rule is simple: once everyone has confirmed the main target and recorded one observation, the session can end.
Thirty minutes is not the correct length for every child or every night. Make it shorter in cold weather or with younger children. Extend it when the family remains comfortable and curious. The first session should leave room for another clear night.
A family that finds the Moon, sketches three shadows and packs up calmly has completed something real. That is more valuable than searching for five objects and finishing unsure whether anyone saw one.
Frequently Asked Questions
Can we stargaze from a suburban backyard?
Yes. Choose the Moon and other bright targets, reduce direct glare, and check the current sky before starting. Darker locations help with faint objects, but they are not required for every family activity.
What is the easiest telescope target for children?
The Moon is often the easiest when it is visible because it is bright and simple to locate. Always check the current date, time and local horizon rather than assuming it will be available.
Should children use high magnification first?
No. Begin with the longest-focal-length eyepiece available so the field is wider and the target is easier to find. Increase magnification only after the target is centered and sharp.
What should children write in an observation notebook?
Record the date, approximate time, location, sky conditions, target and one thing actually seen. A simple sketch or a phrase such as "two bright points" is enough.
Editorial Sources
- NASA Skywatching FAQ
- NASA Skywatching Tips
- NASA: Binoculars, A Great First Telescope
- NASA: Eclipse Viewing Safety
- National Park Service: Get Outdoors, Have Fun Responsibly
- National Park Service: Stargazing 101
- National Park Service: Explore the Night Sky
Publication Notes
- This is an activity guide, not a product buying guide; no product link is recommended.
- Recheck all internal links and source URLs immediately before Shopify creation.
- Do not create or publish a Shopify article without article-specific approval.
Share:
Best Telescopes for Kids and Teens 2026: Safe, Simple, Actually Fun