YouTube
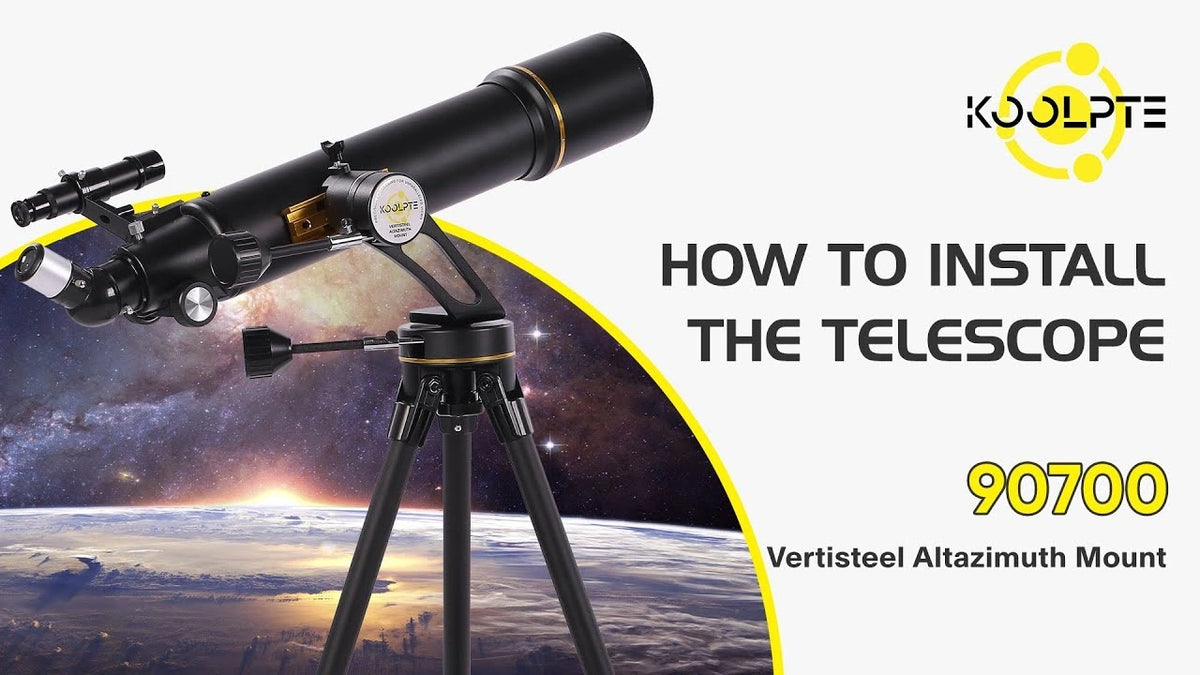
How to Install the Koolpte 90700 Telescope

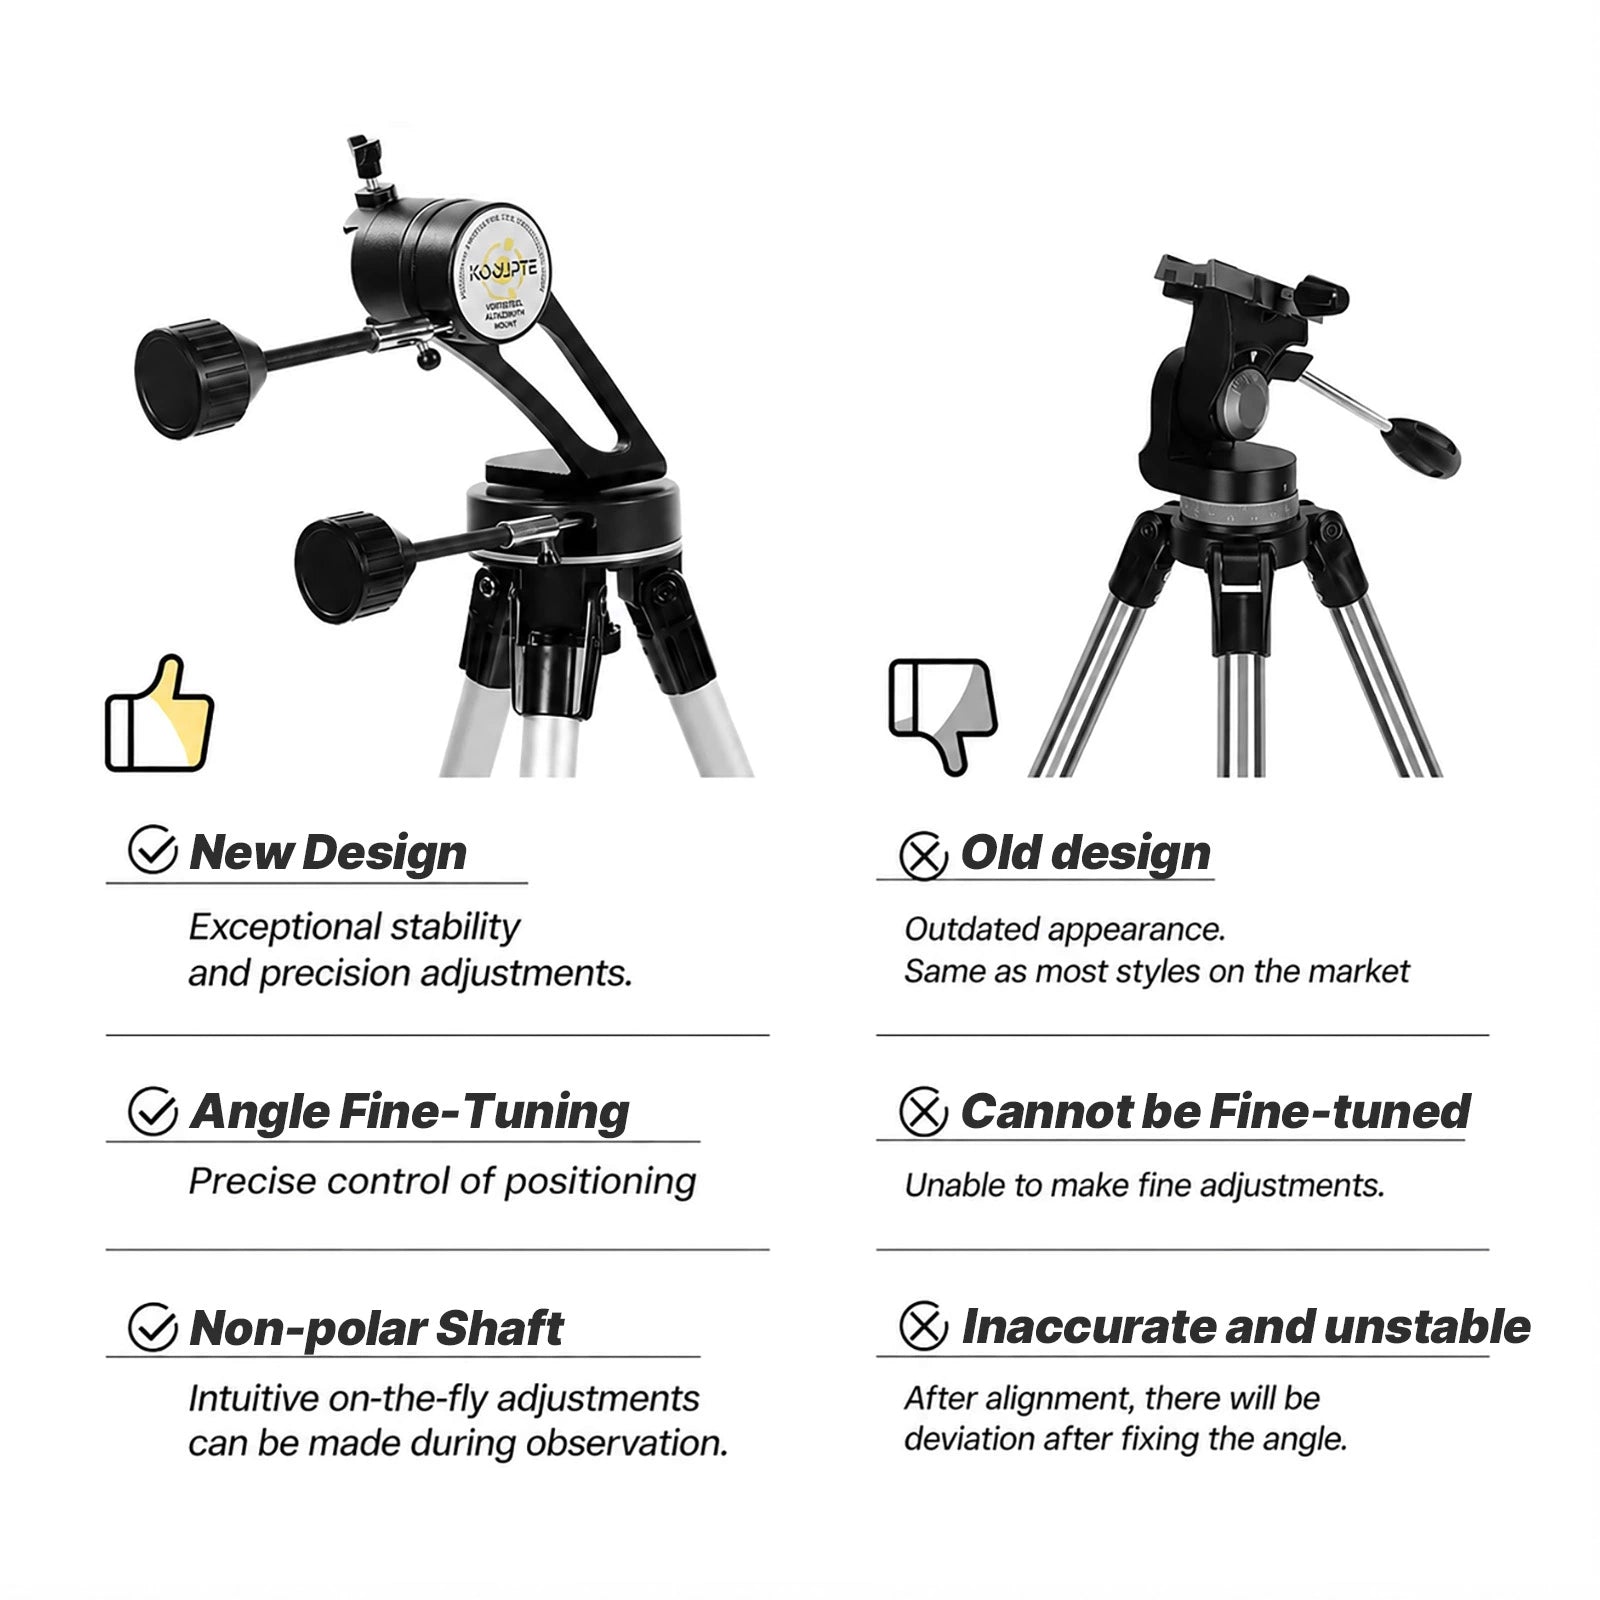
90mm Aperture for Brighter Lunar & Planetary Detail | Fine-Adjustment Controls
✓ In Stock • Ships Today
30-Day Returns
1-Year Warranty
Secure & Protected Delivery
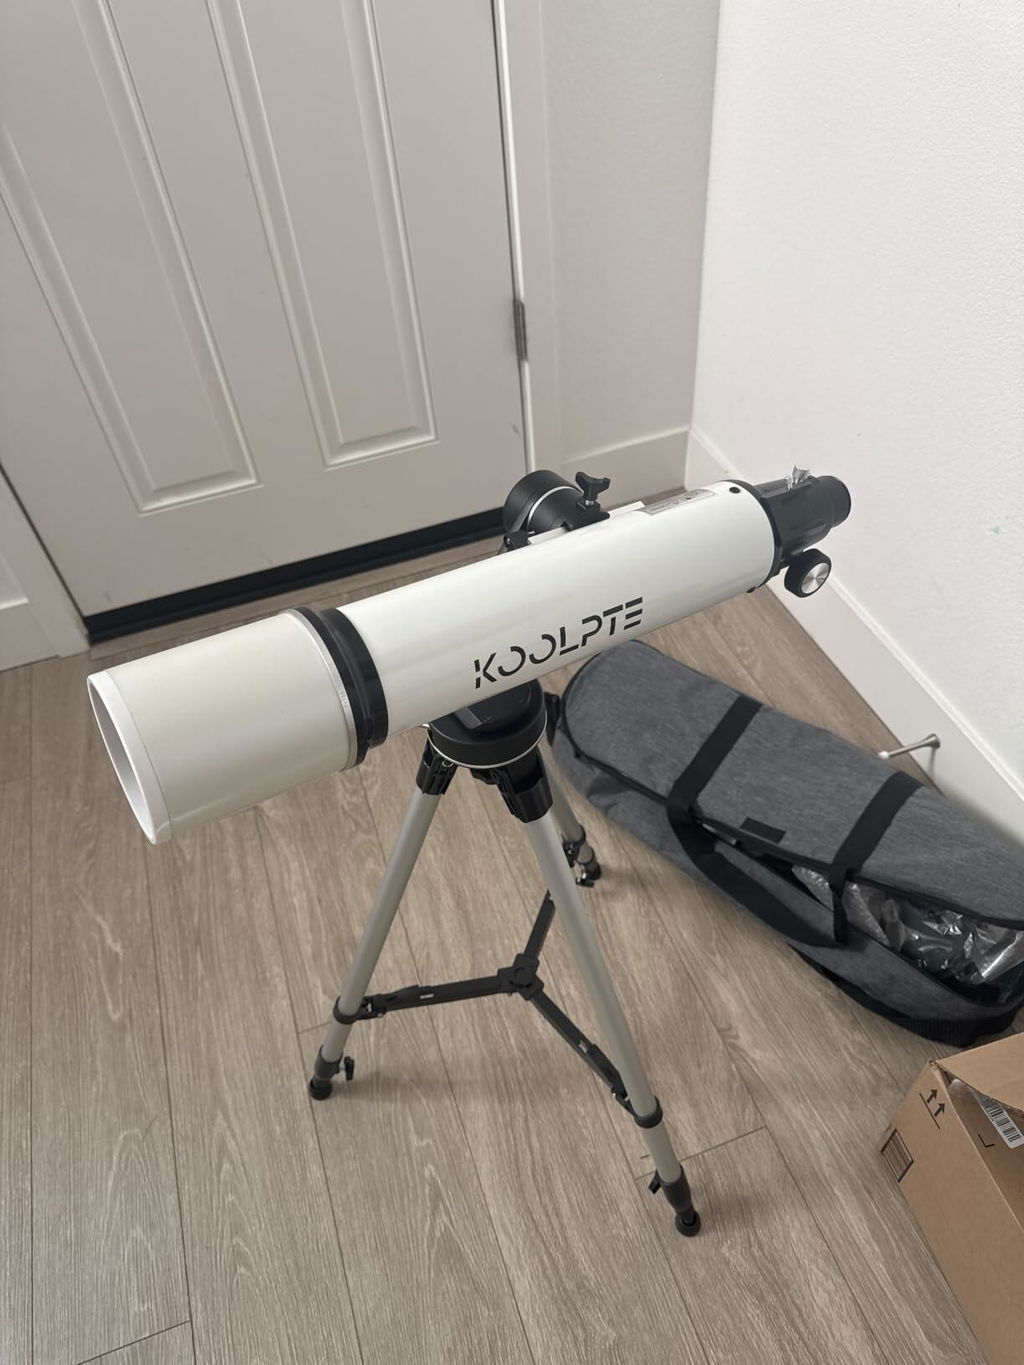
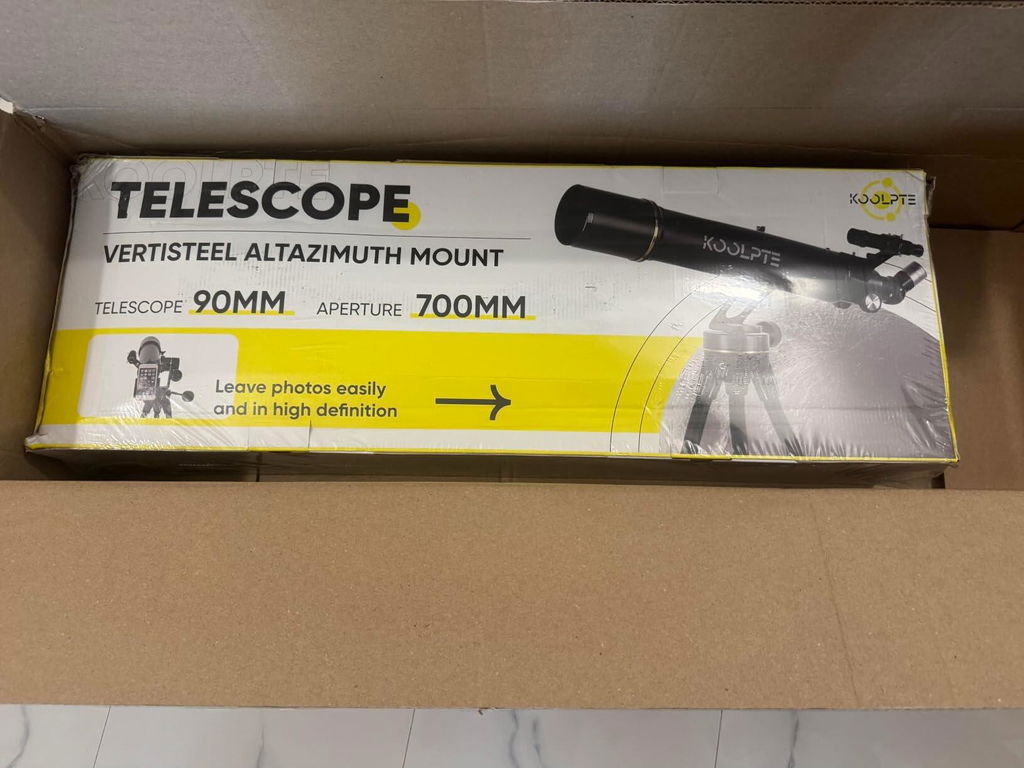
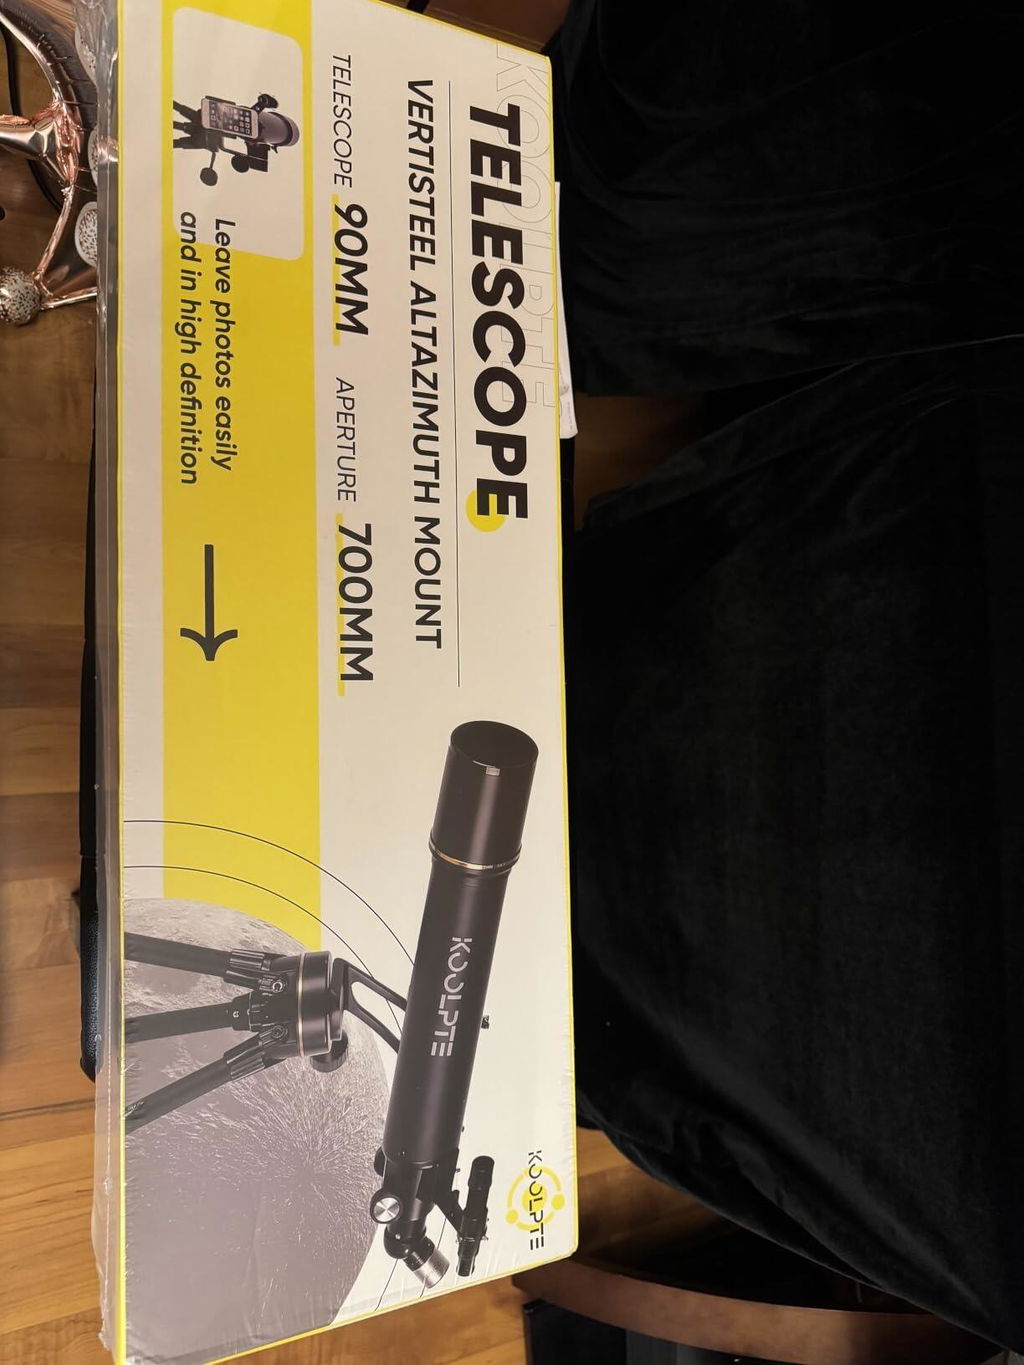
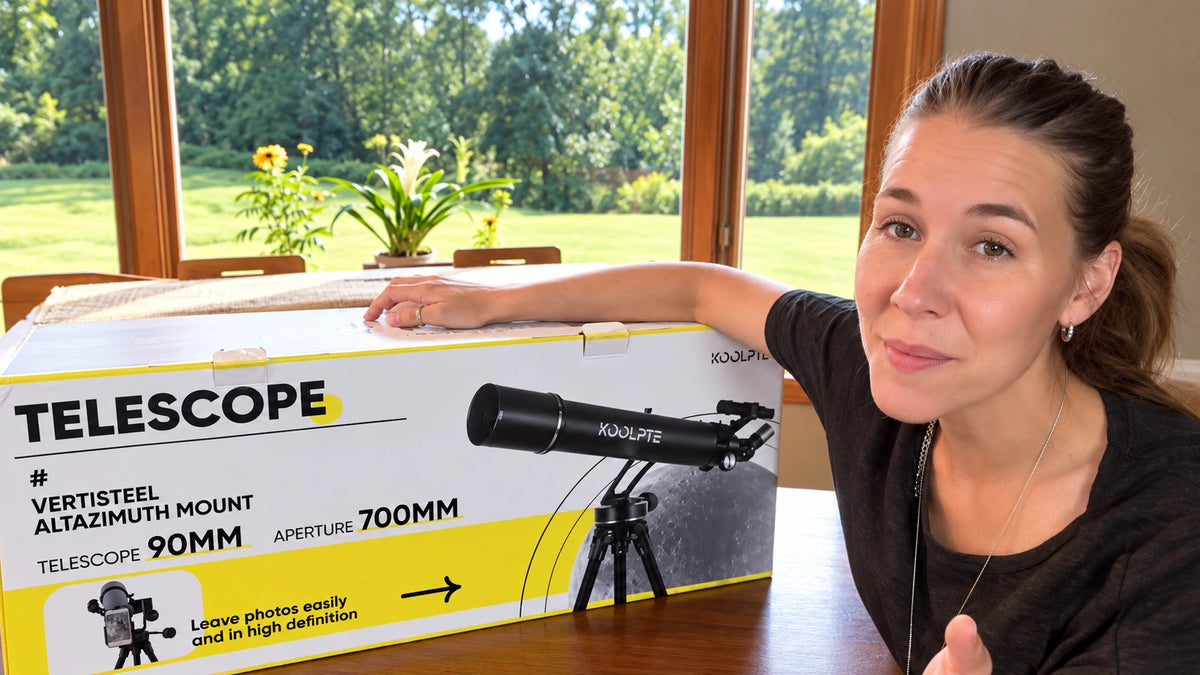
Koolpte Vega Precision 90mm Aperture 700mm Refractor Telescope
If you have any questions, you are always welcome to contact us. We'll get back to you as soon as possible, within 24 hours on weekdays.
Shipping Information
Use this text to answer questions in as much detail as possible for your customers.
Customer Support
Use this text to answer questions in as much detail as possible for your customers.
FAQ’s
Use this text to answer questions in as much detail as possible for your customers.
Contact Us
Use this text to answer questions in as much detail as possible for your customers.
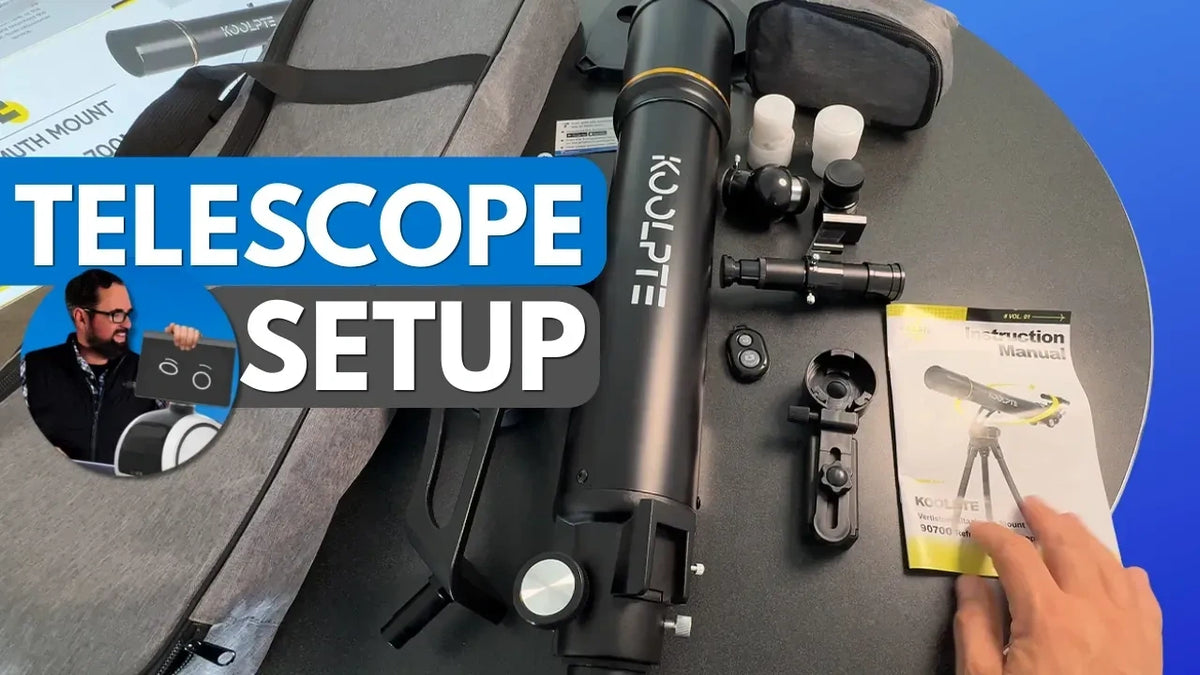
Watch setup guides, creator reviews, and backyard stargazing videos before your first night with the 90mm Vega Precision.

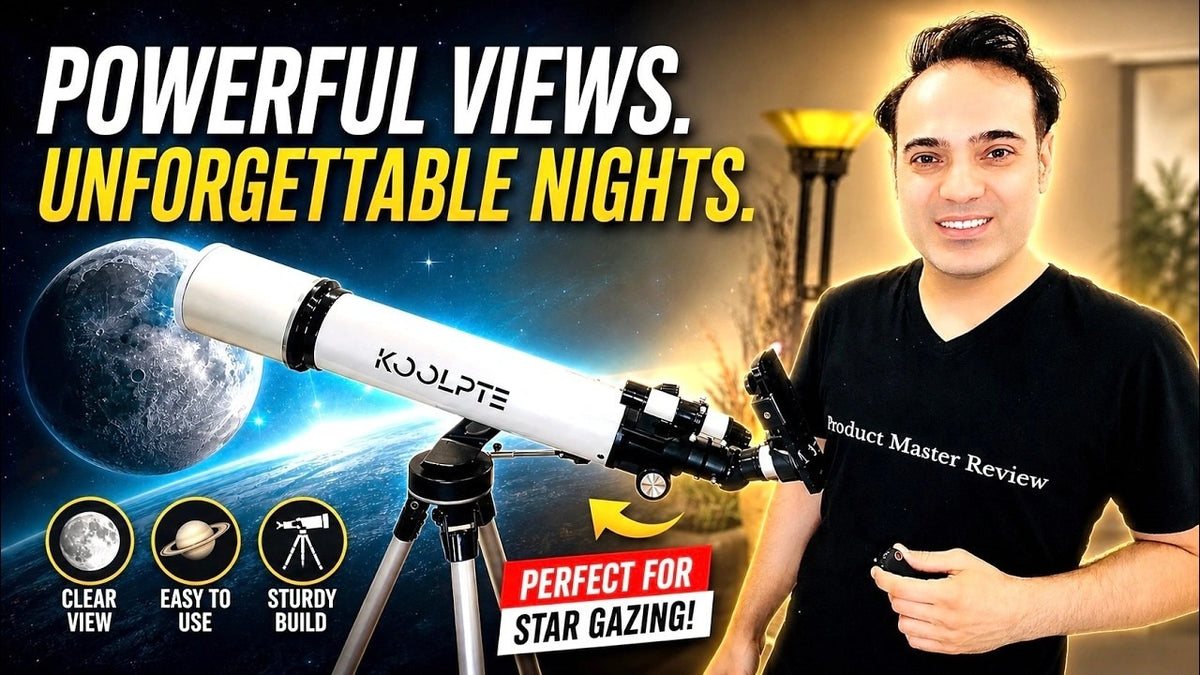

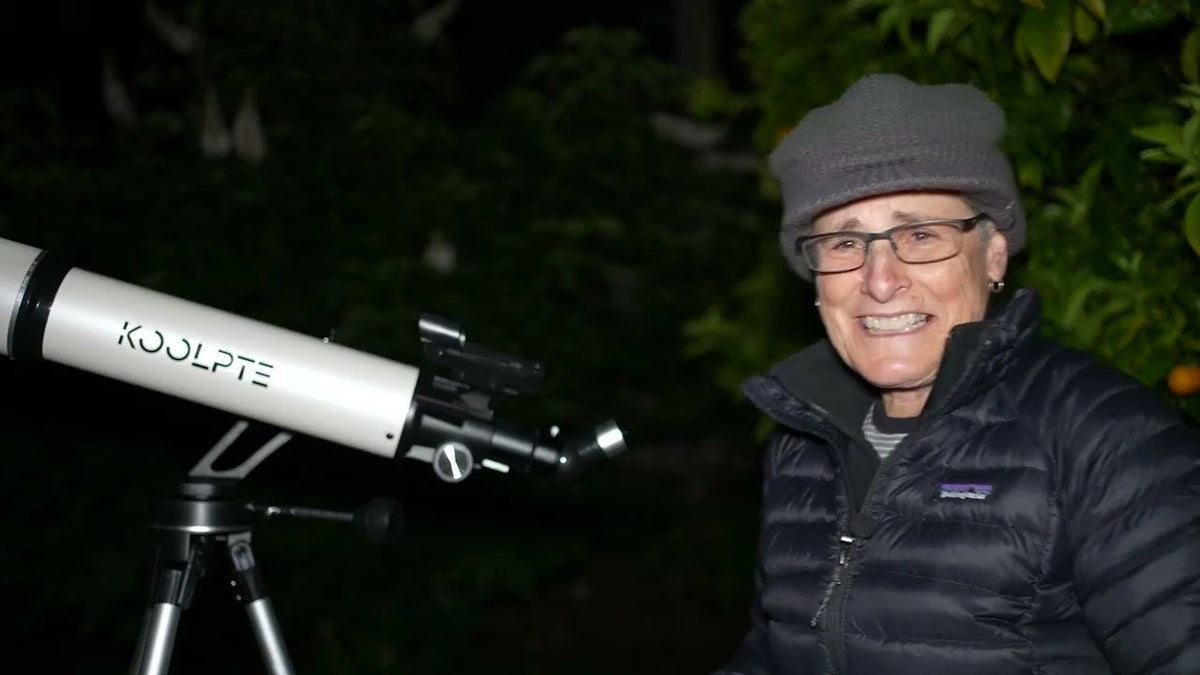



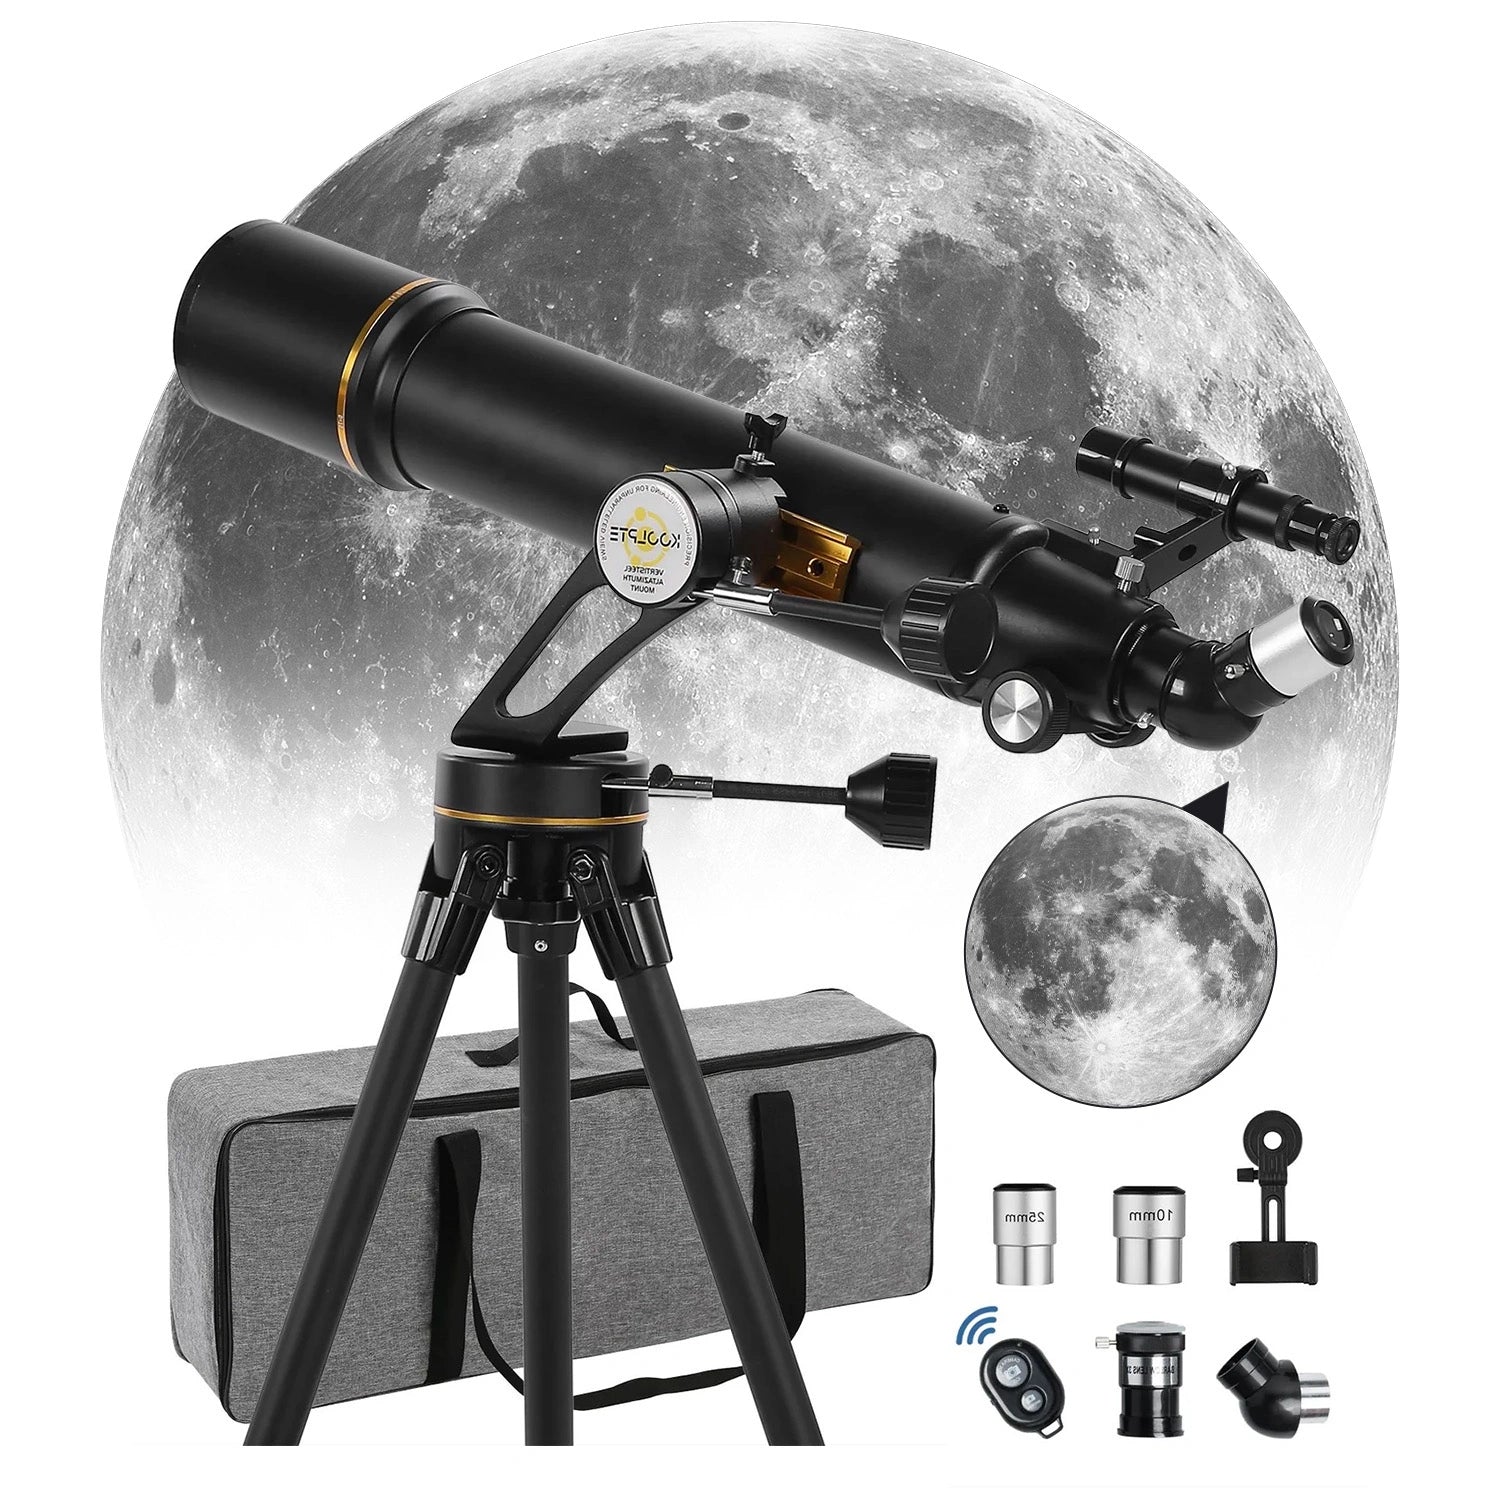
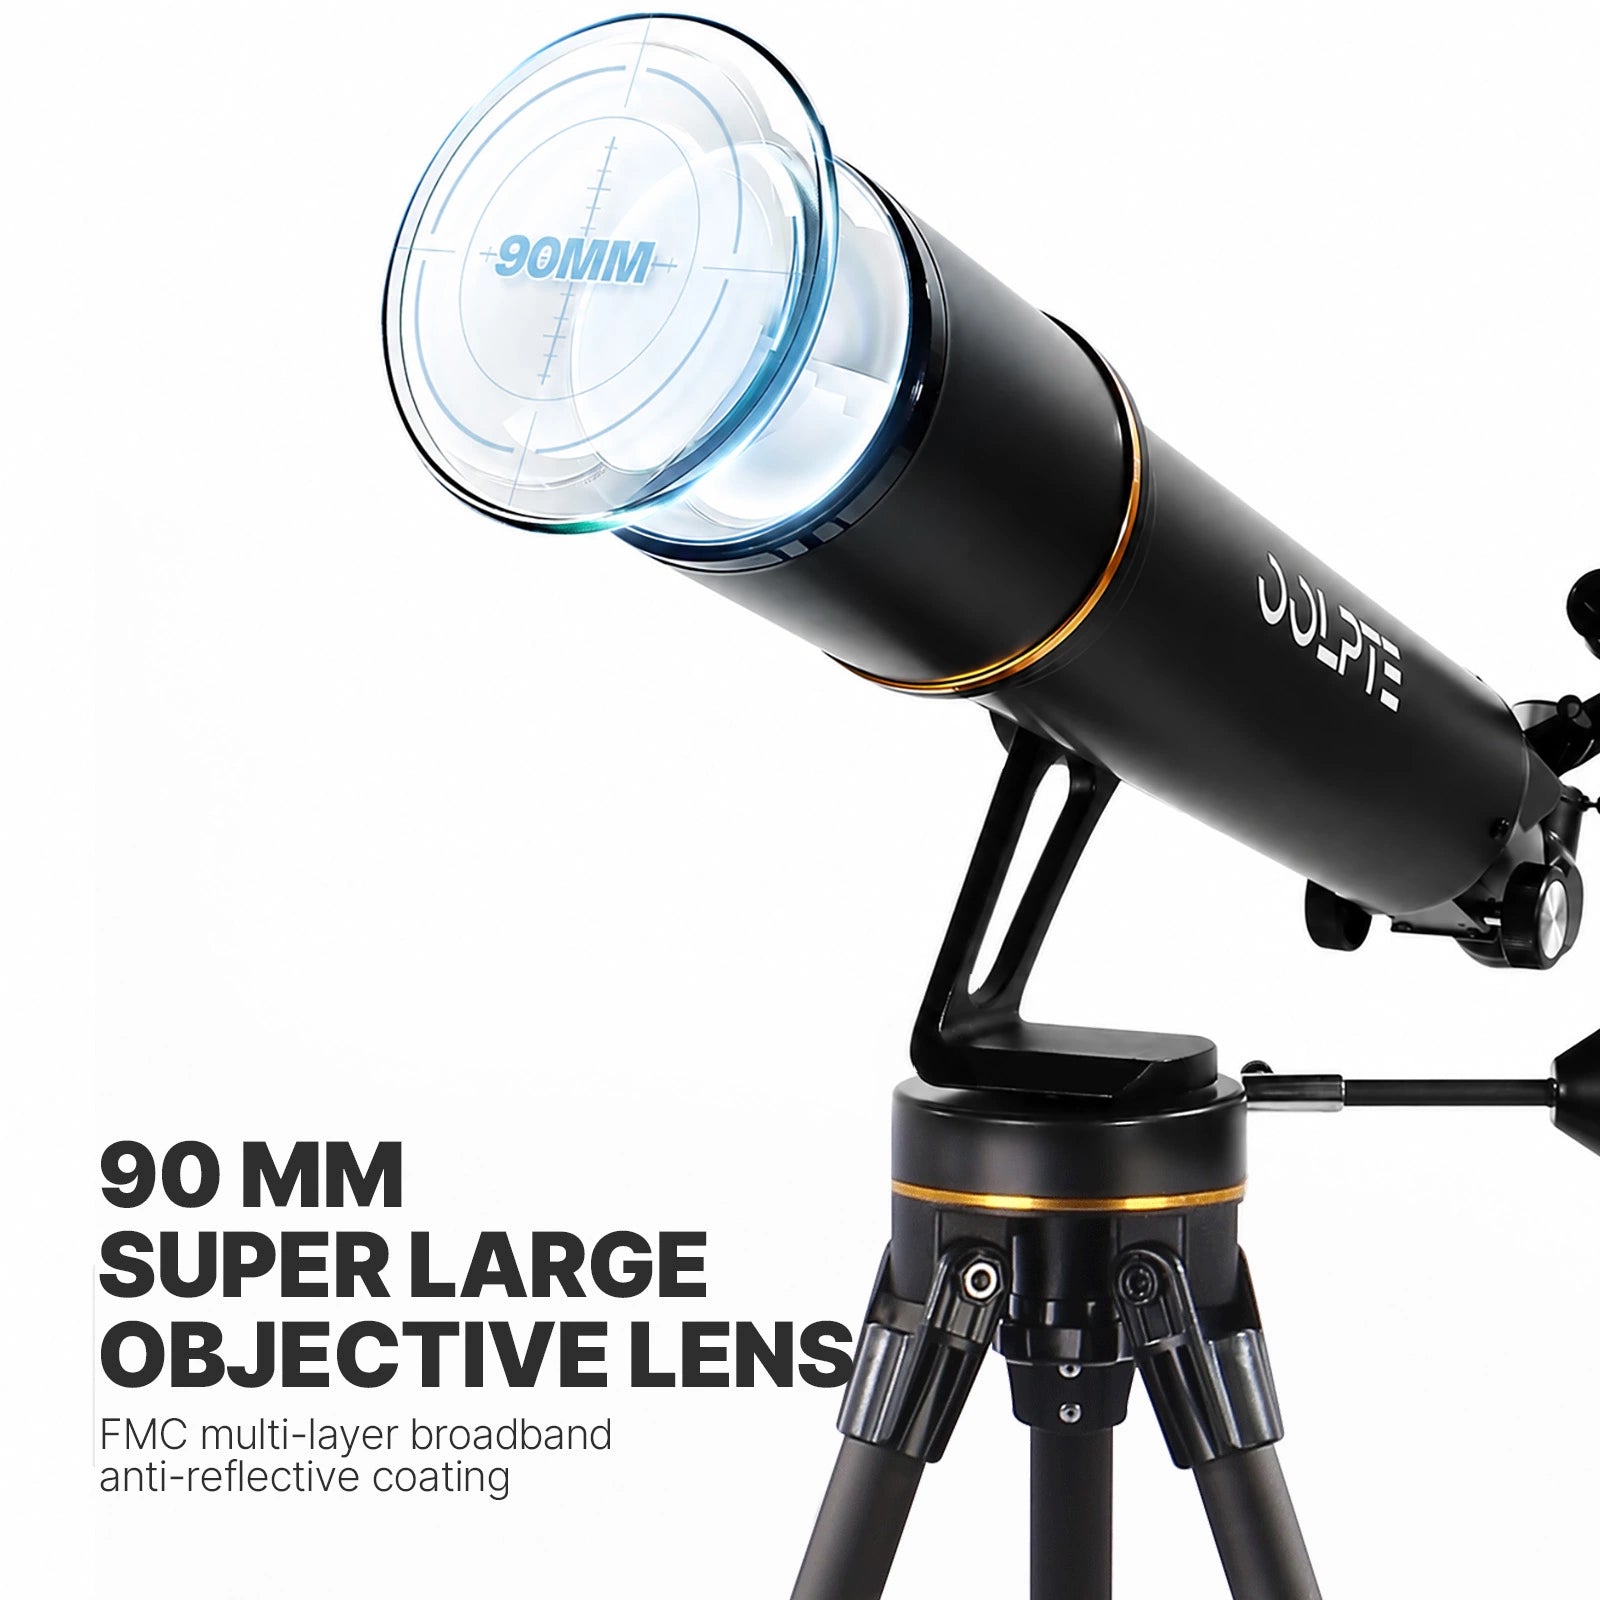
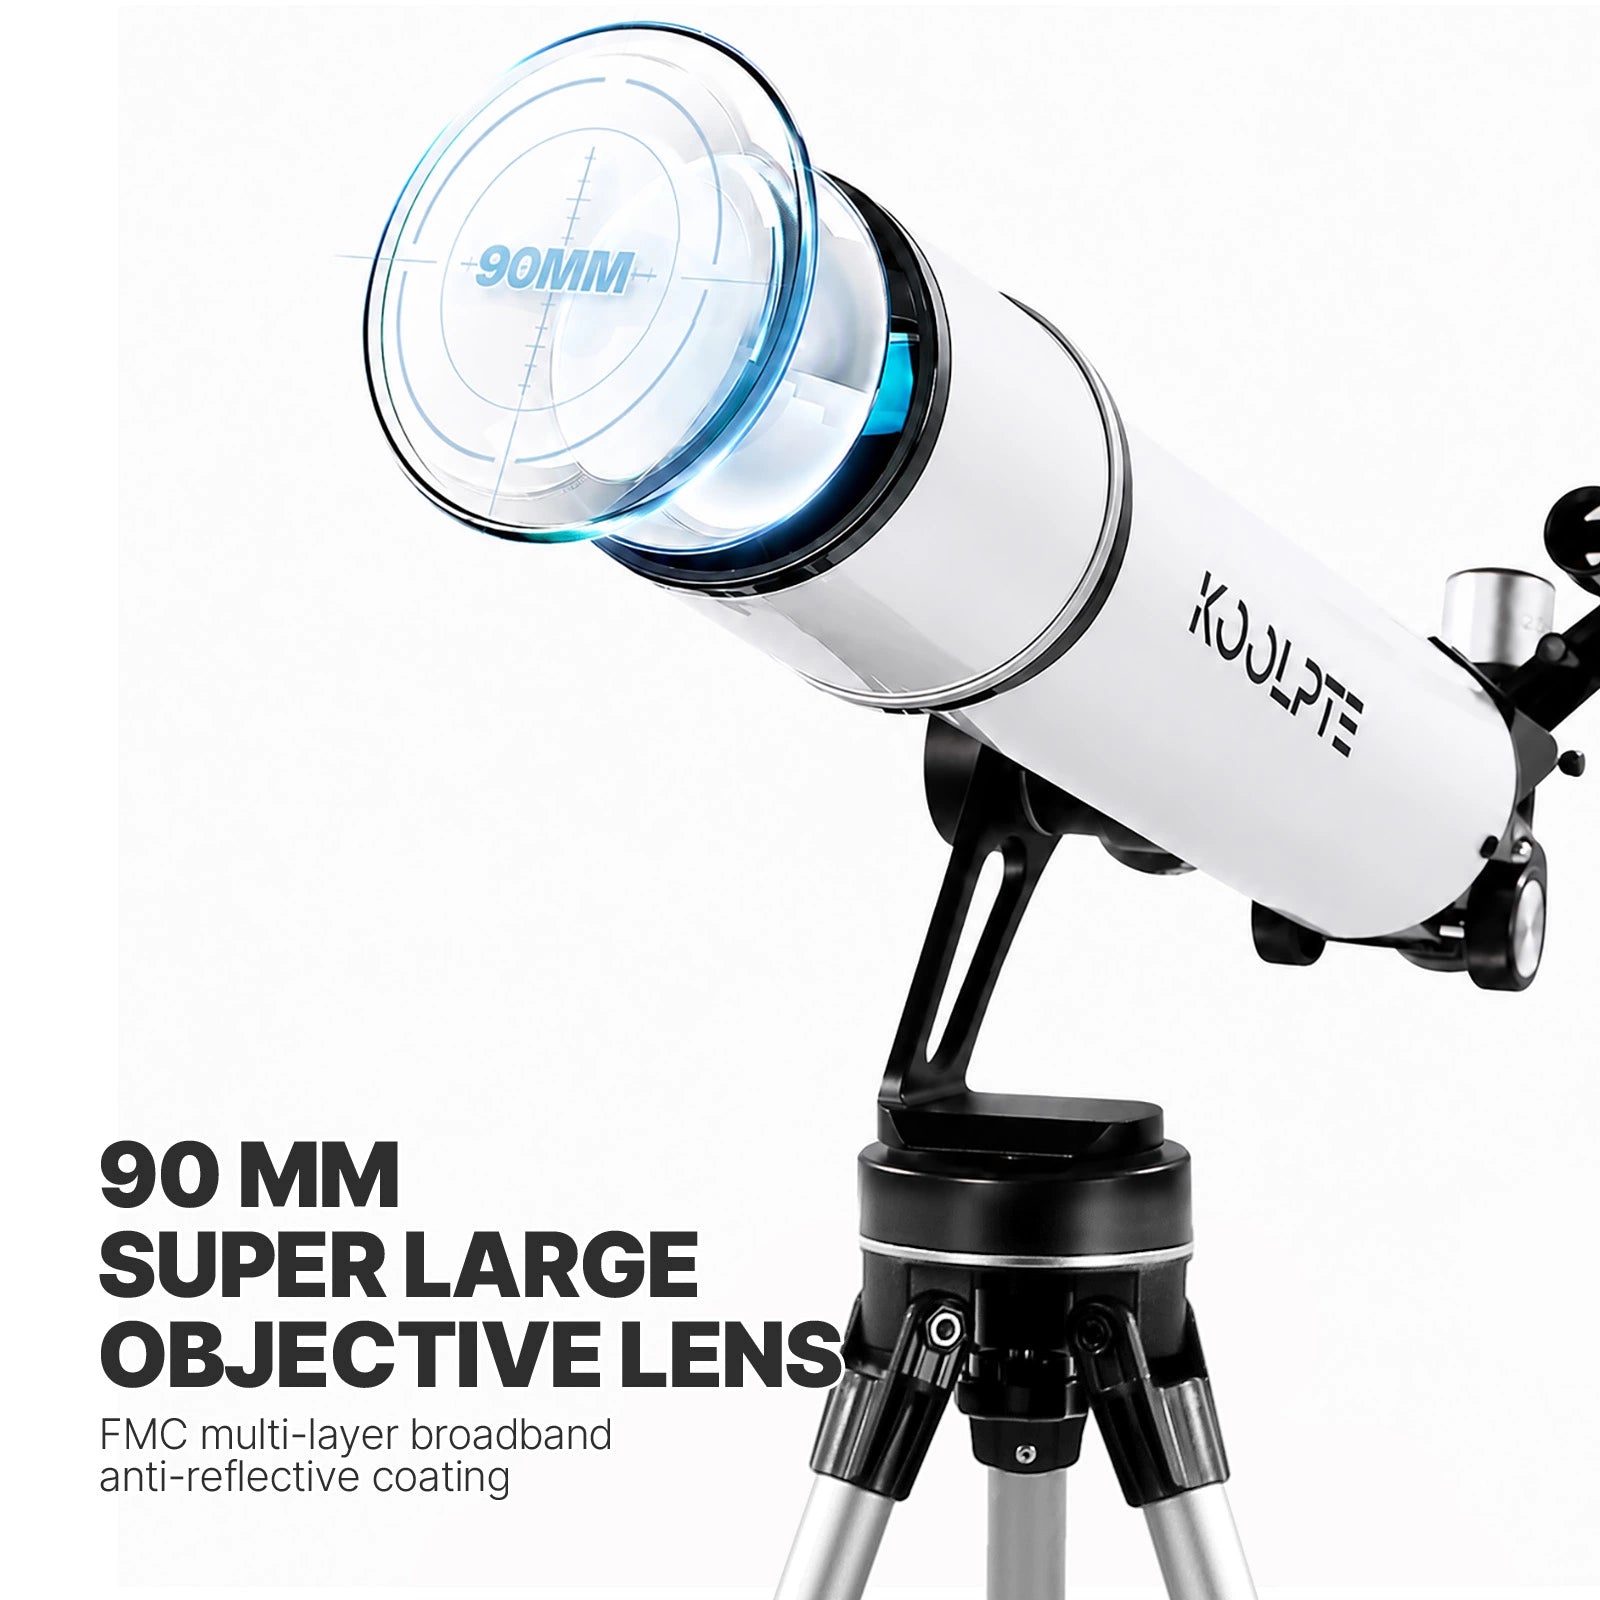
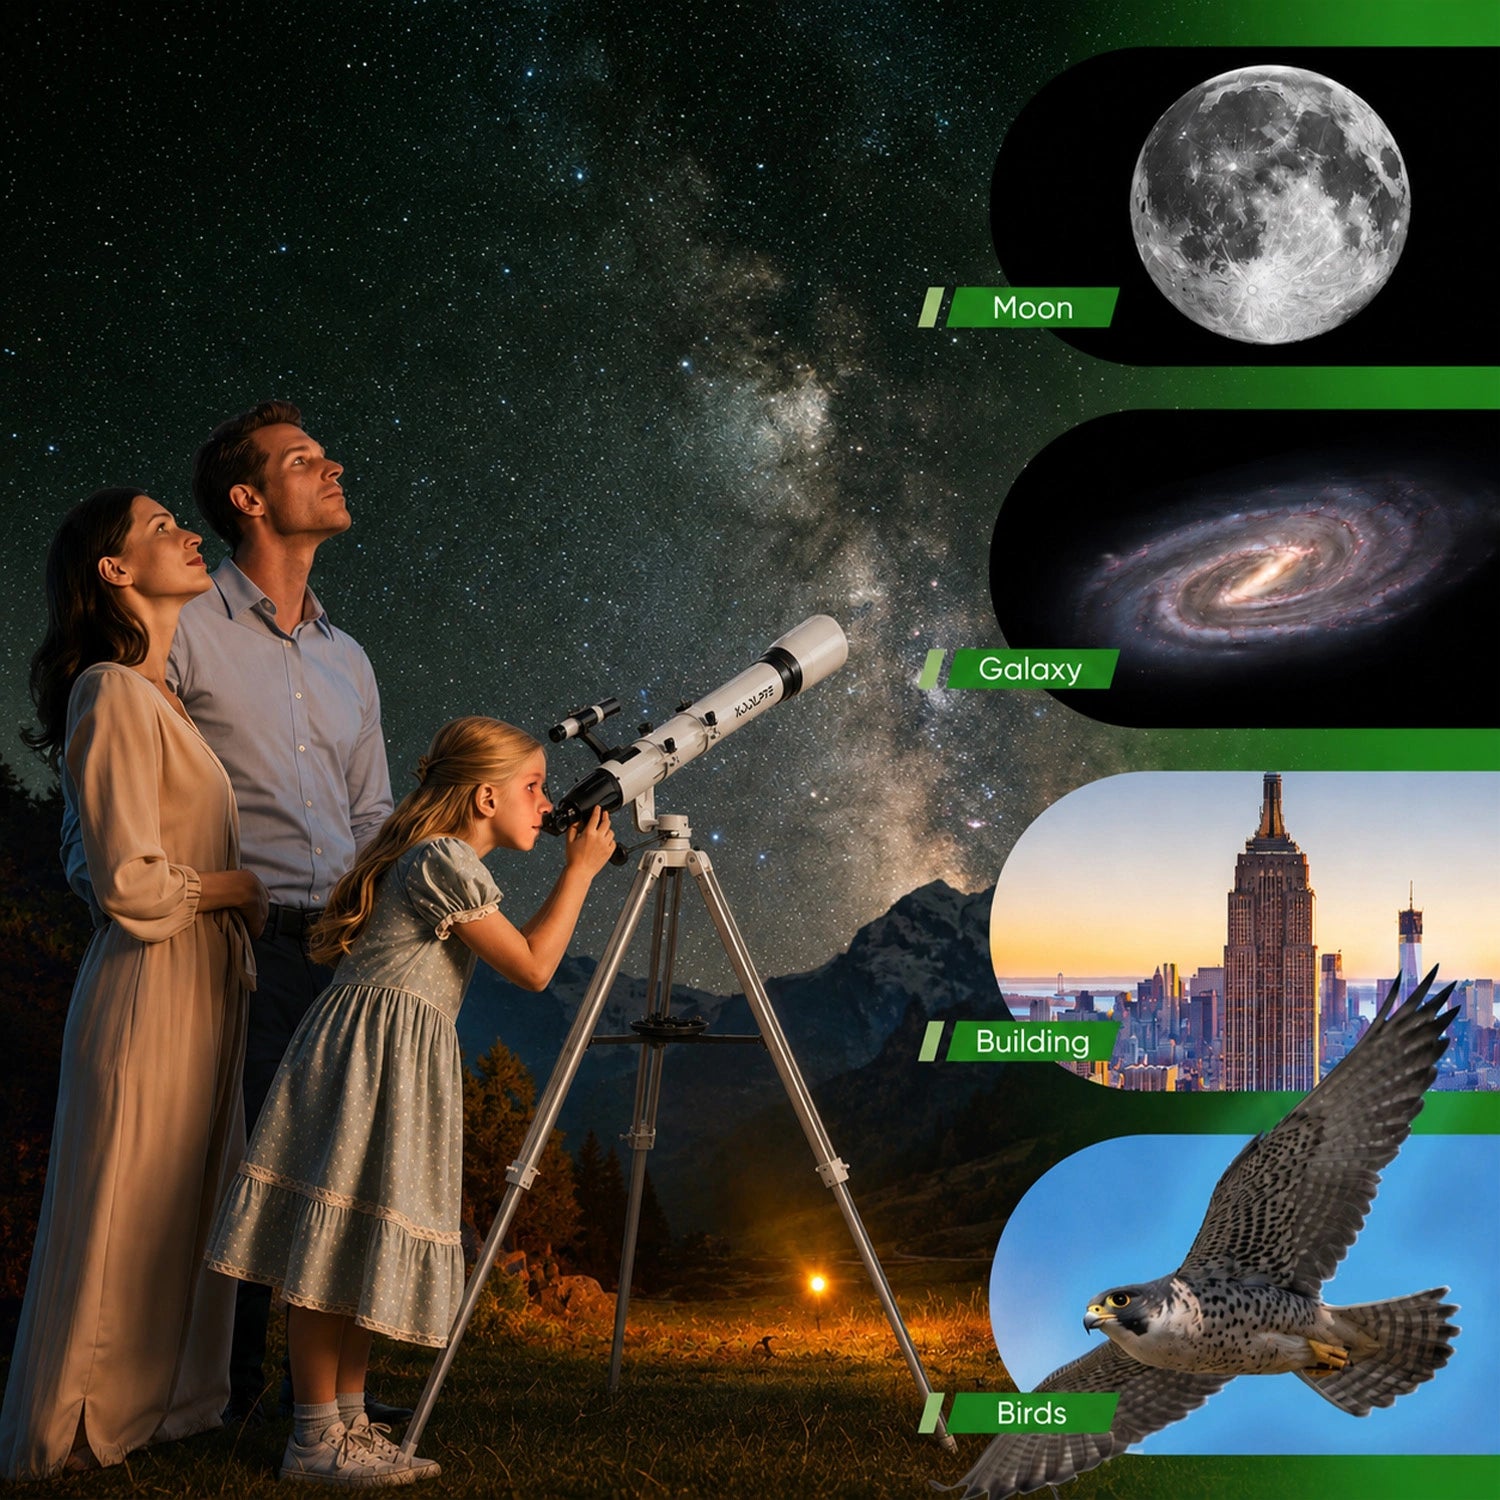
The 90mm aperture gathers more light than smaller beginner telescopes, helping adults and first-time stargazers see the Moon, Jupiter, Saturn, and bright sky objects with clearer contrast.

The 700mm focal length gives Vega Precision a strong balance of reach and usability for beginner Moon and planet viewing.

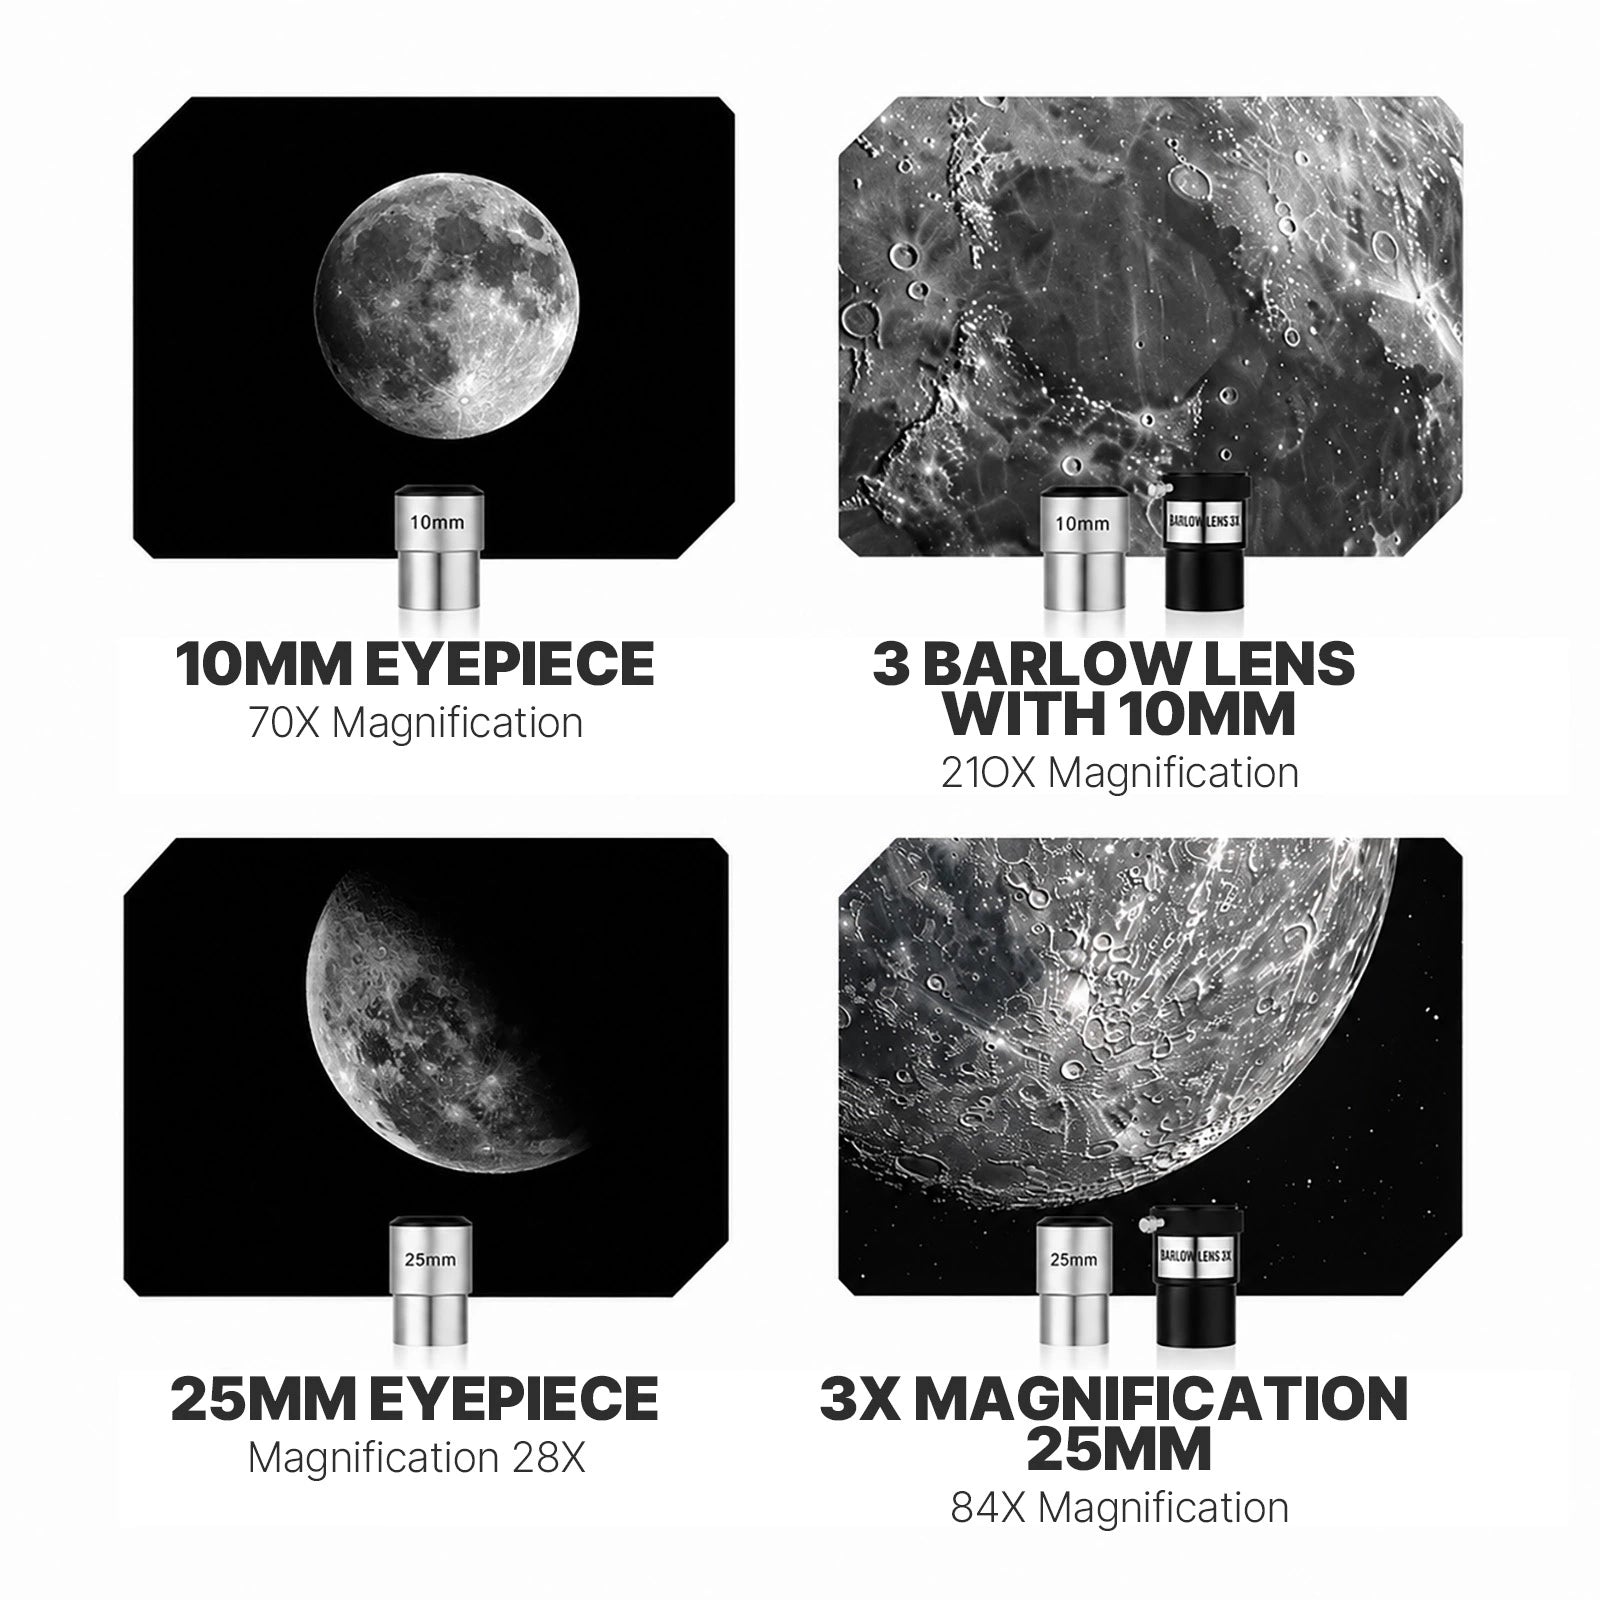
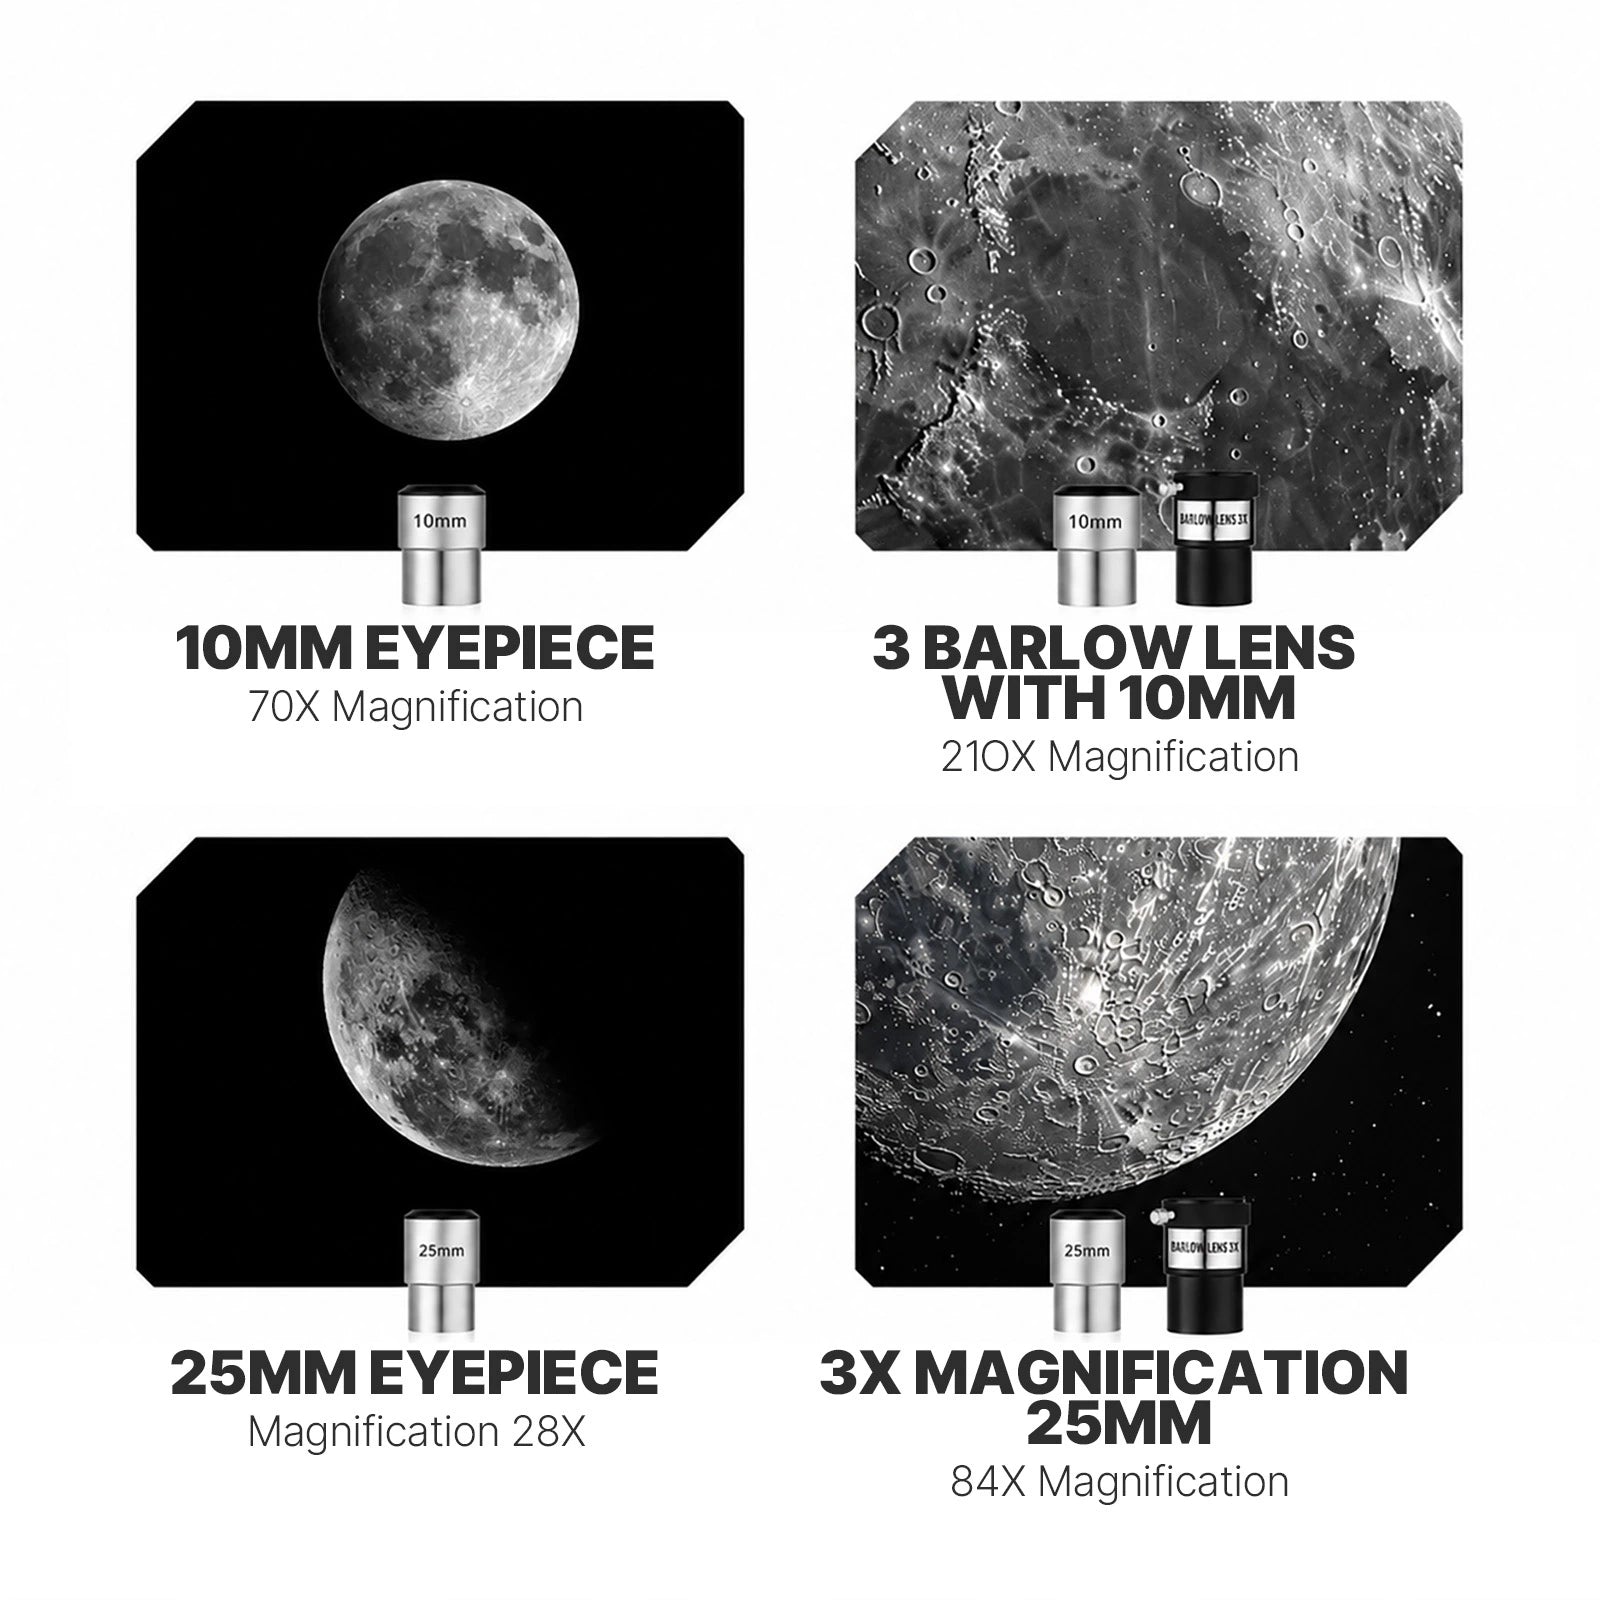
Move from wide Moon views to closer looks at lunar craters and bright planets with the included 25mm and 10mm eyepieces.

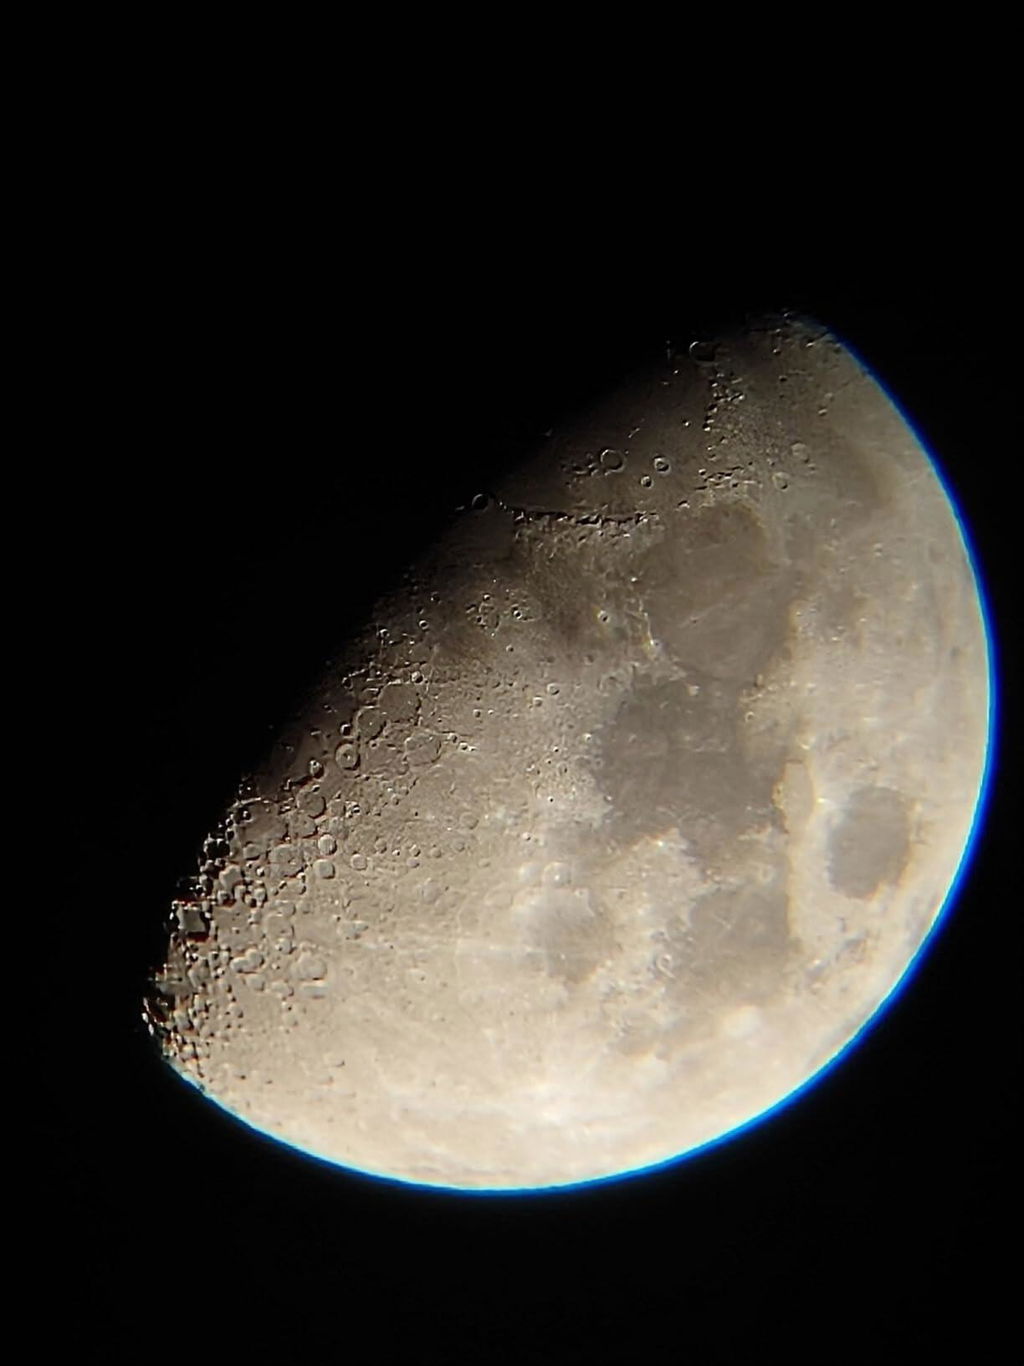
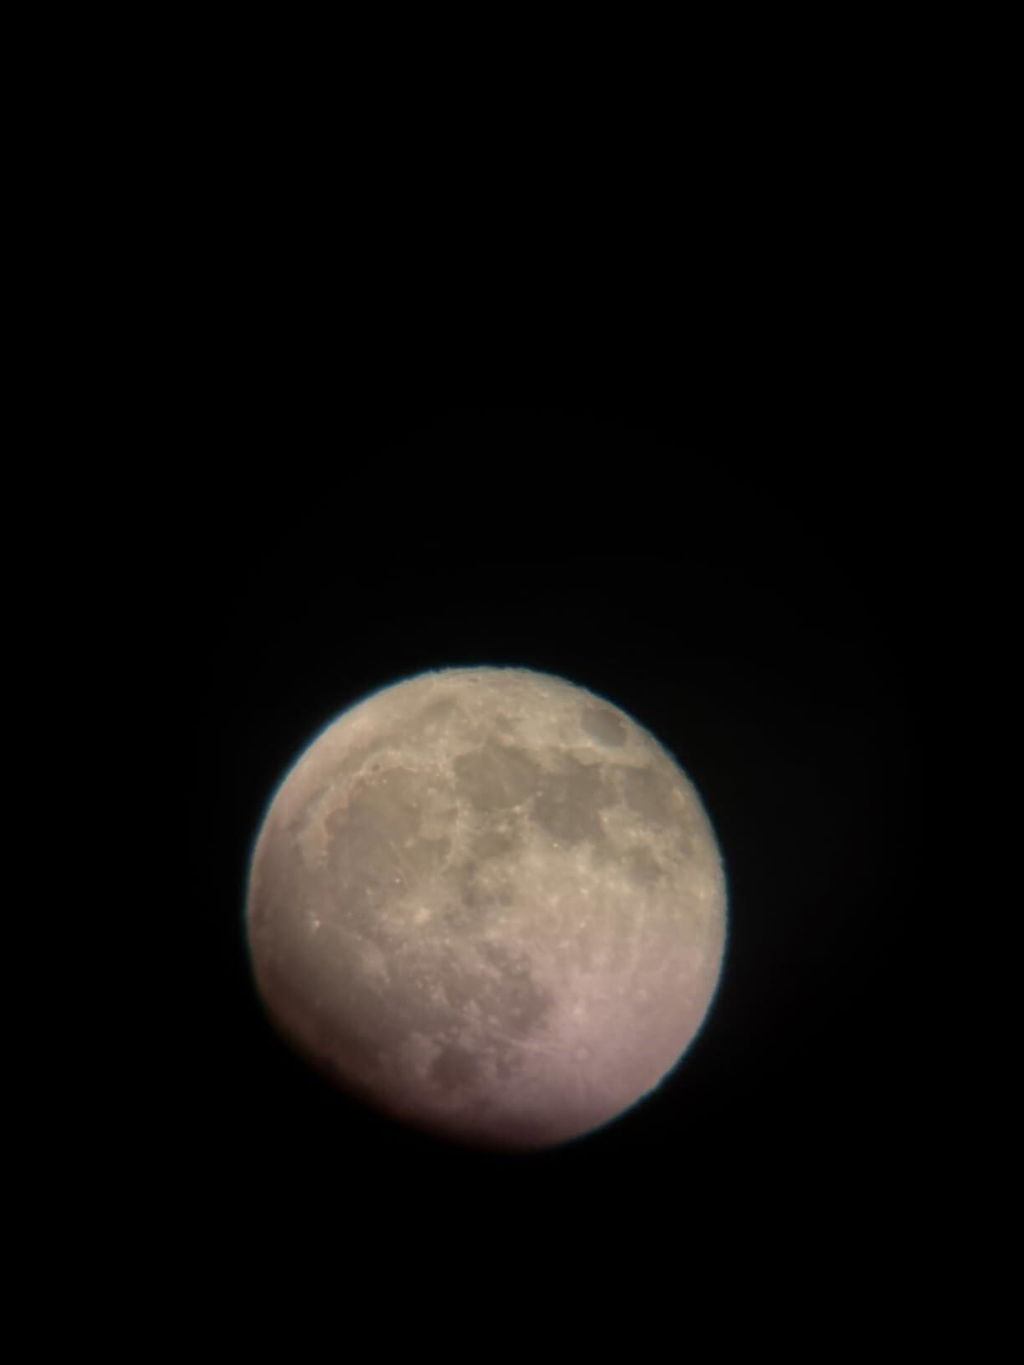
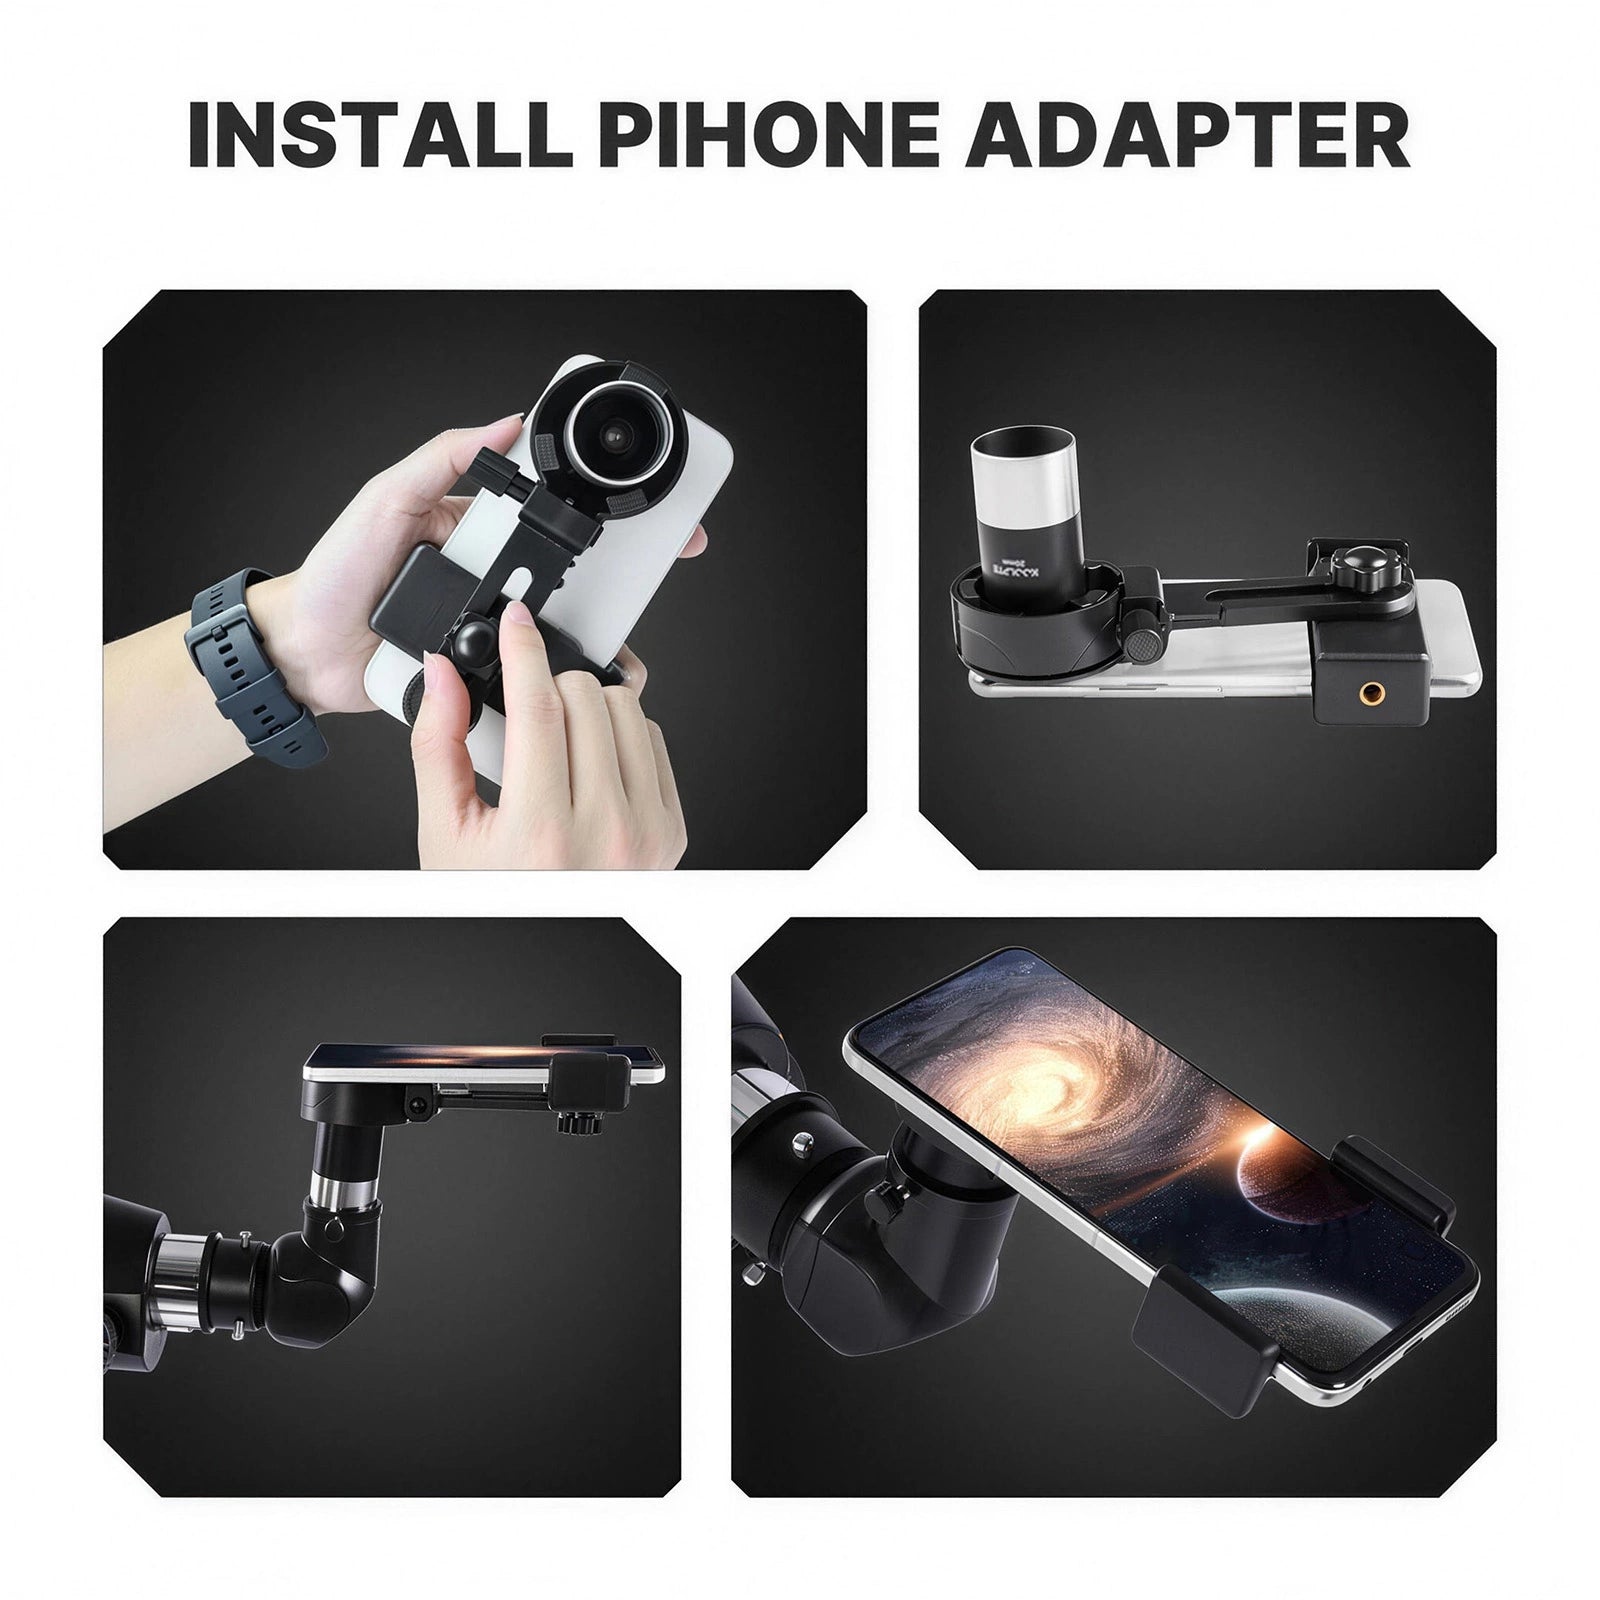
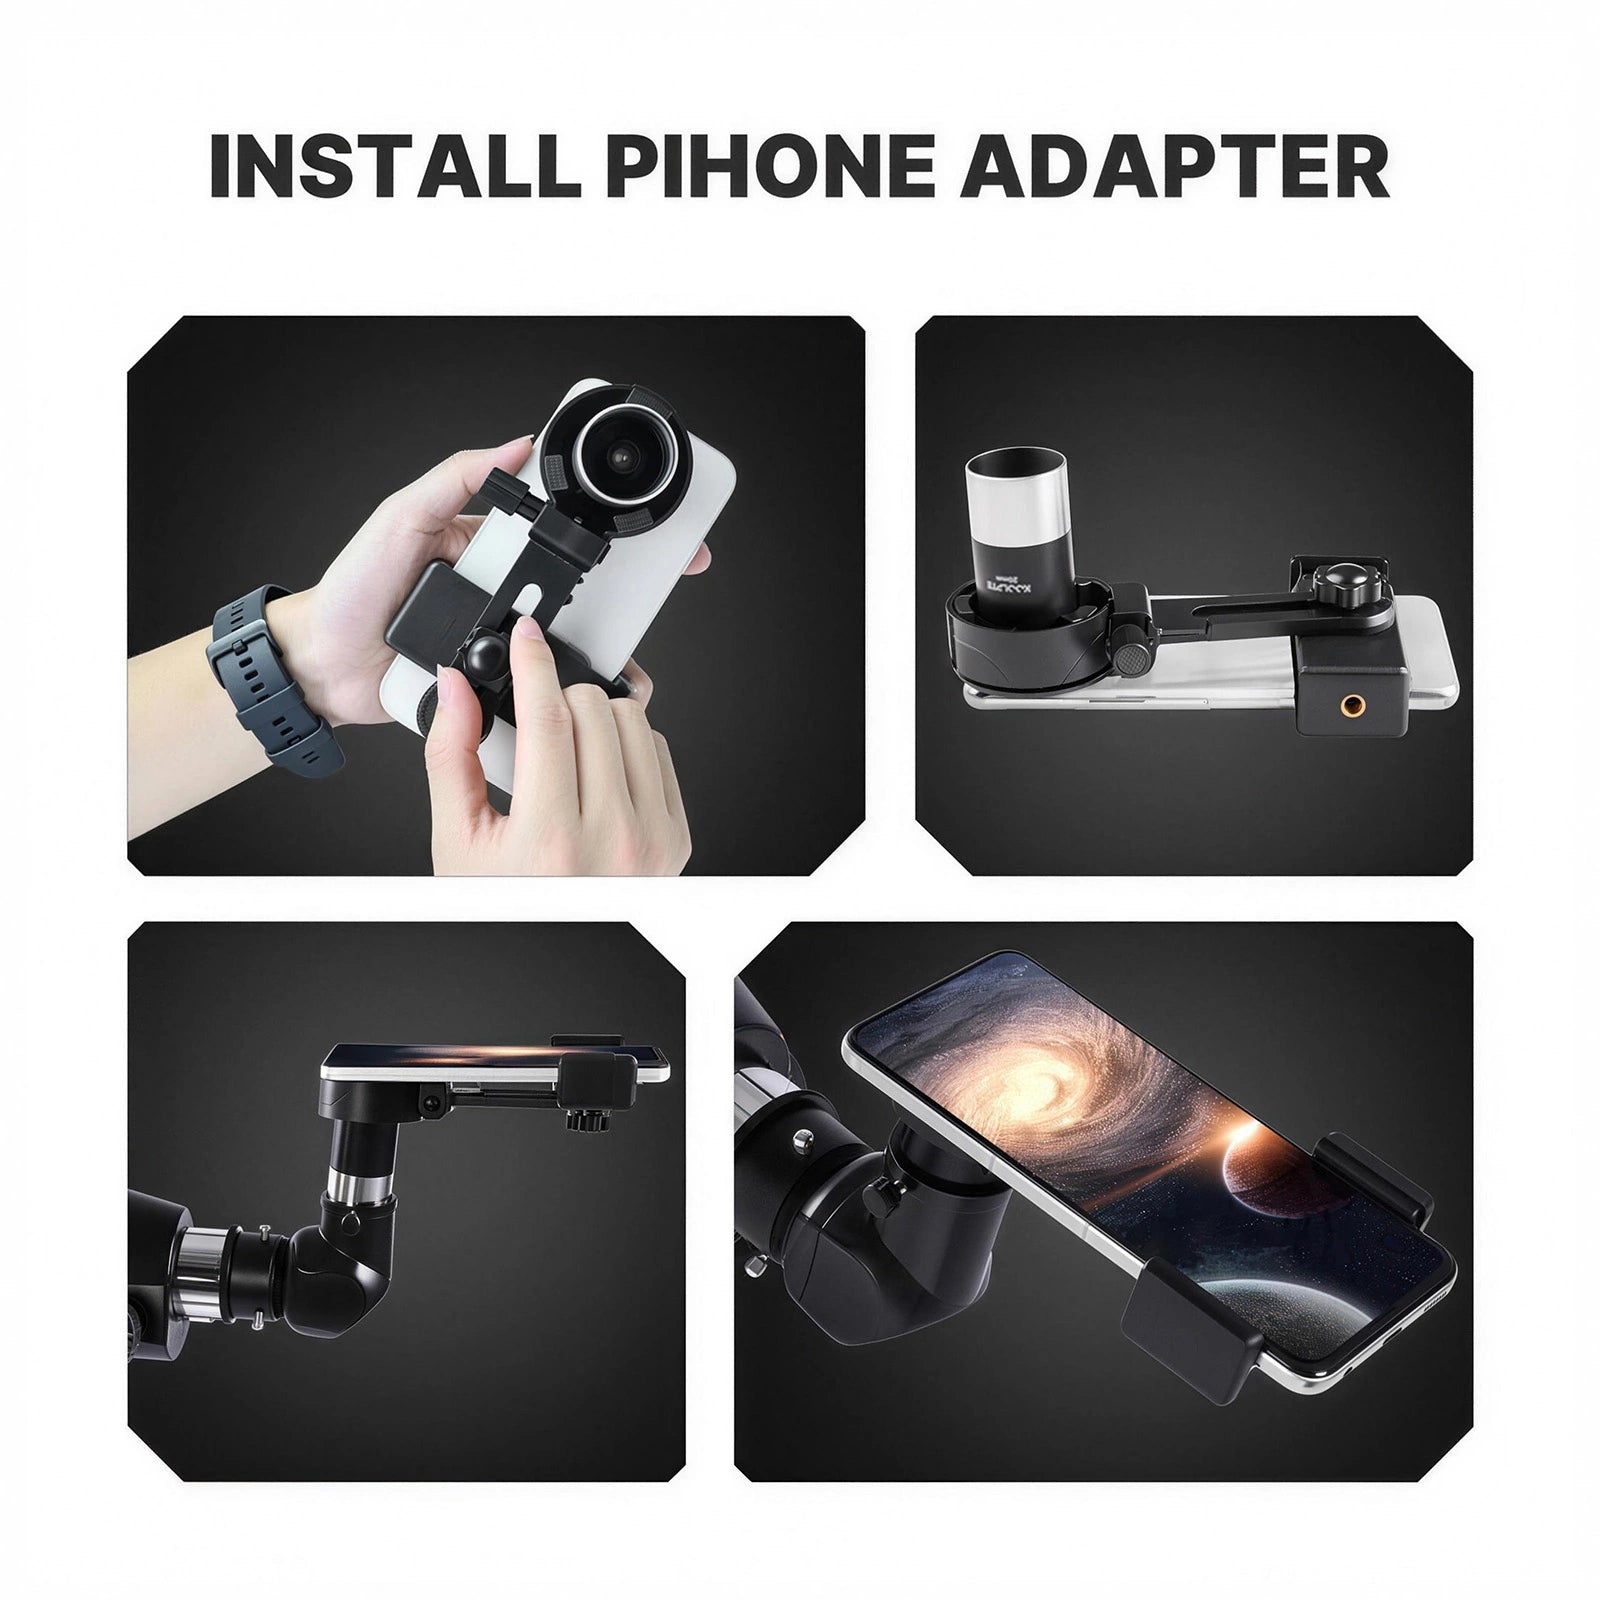
Attach your smartphone to capture casual Moon photos and share your first stargazing moments. It is made for simple snapshots, not professional astrophotography.

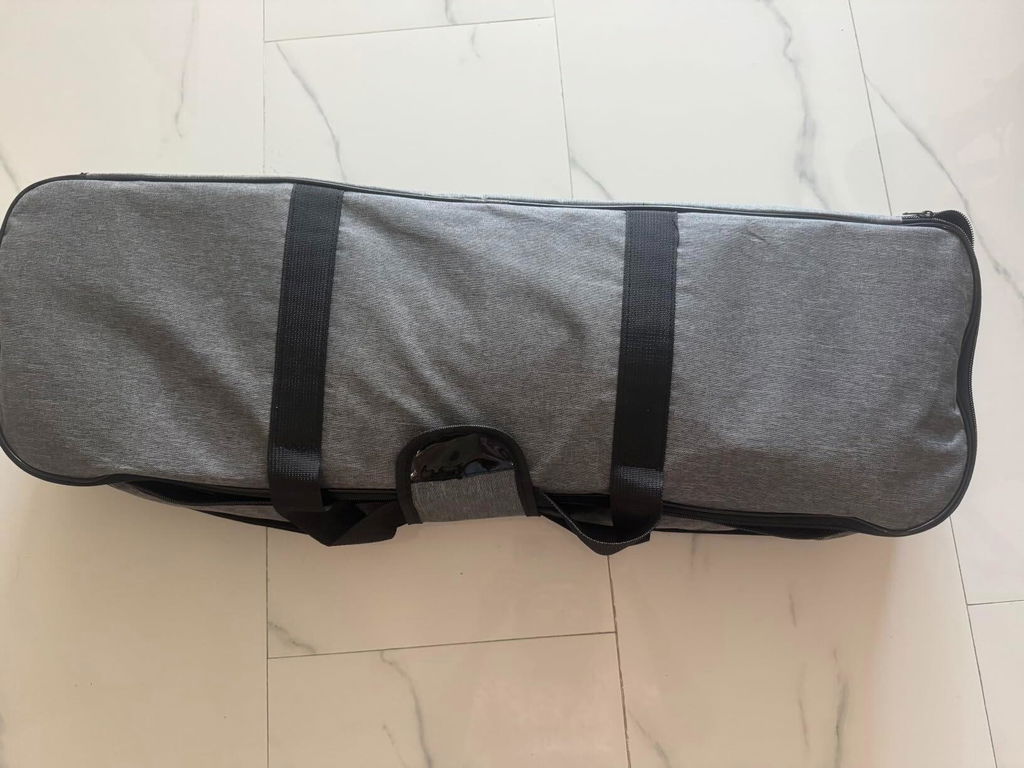
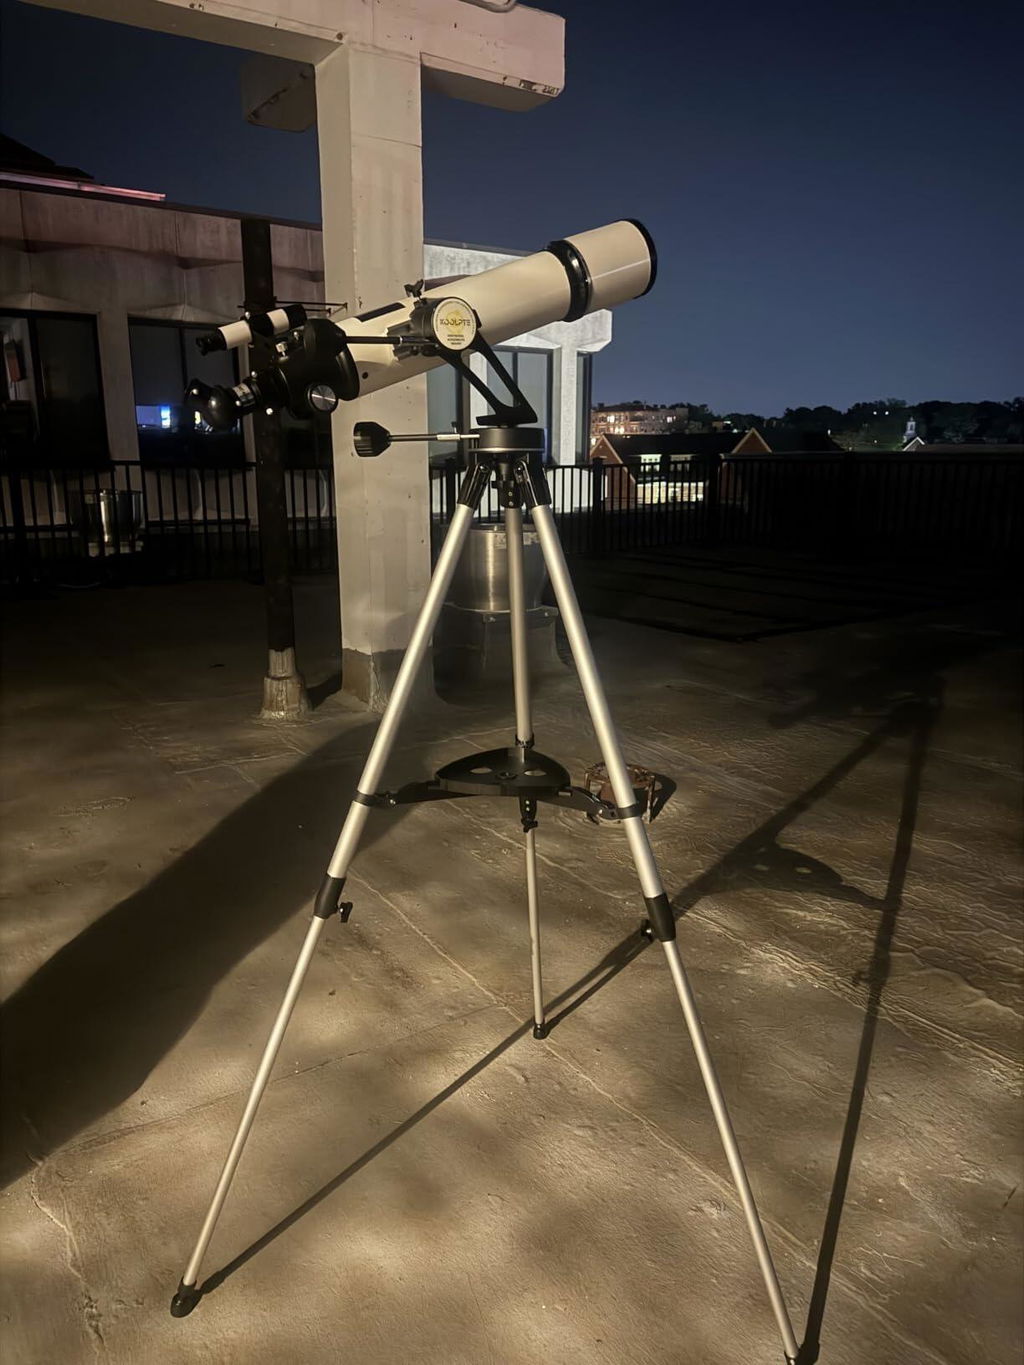
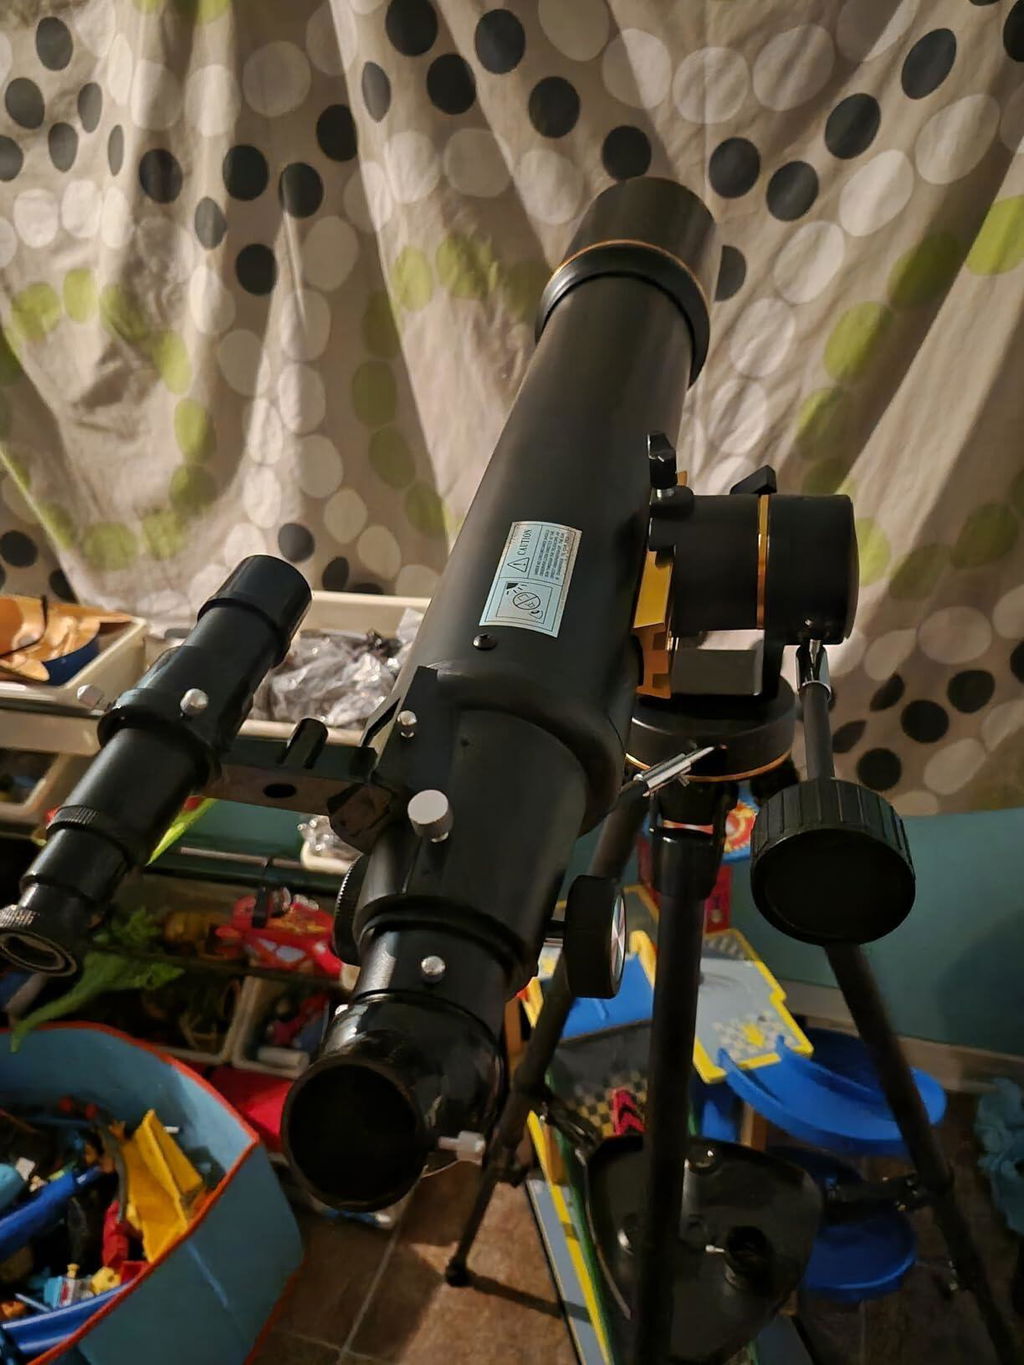
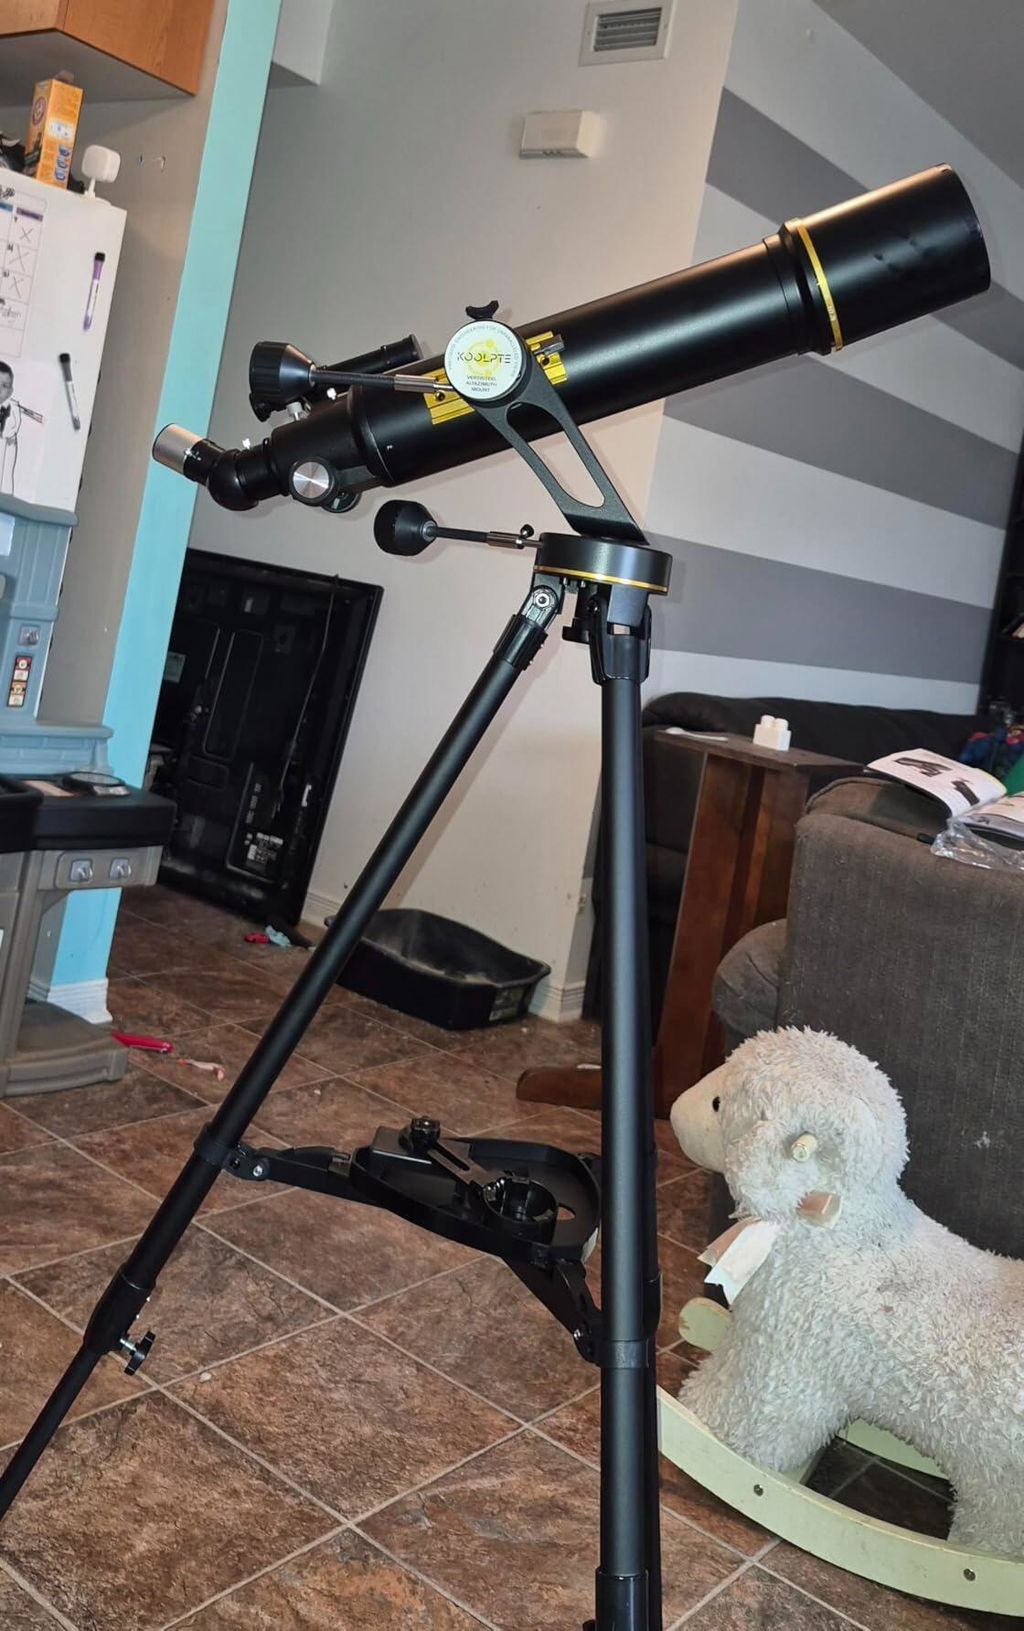
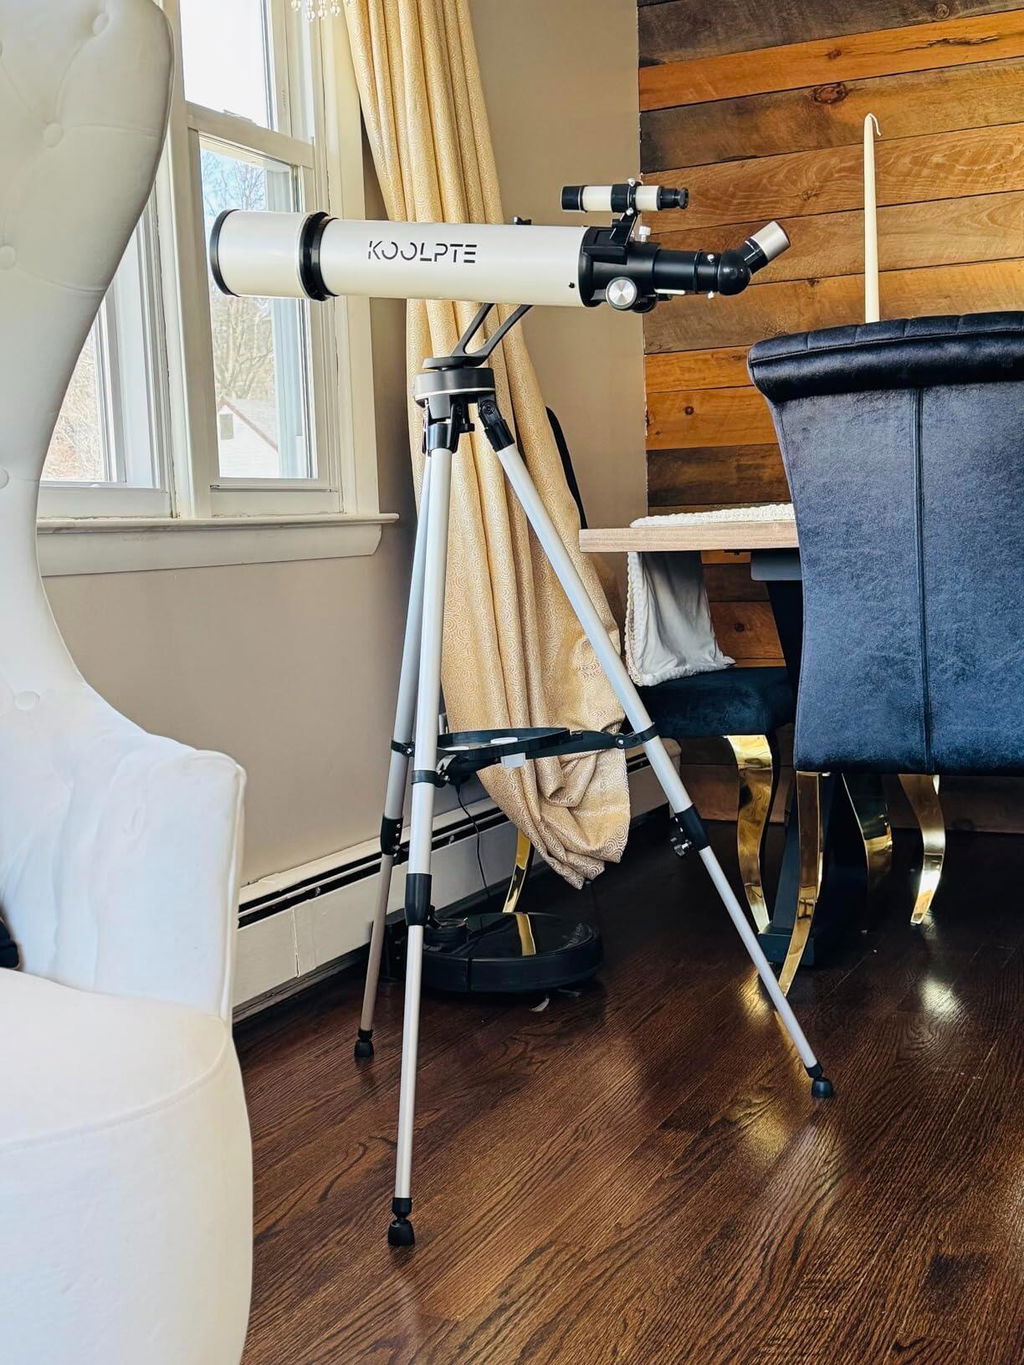
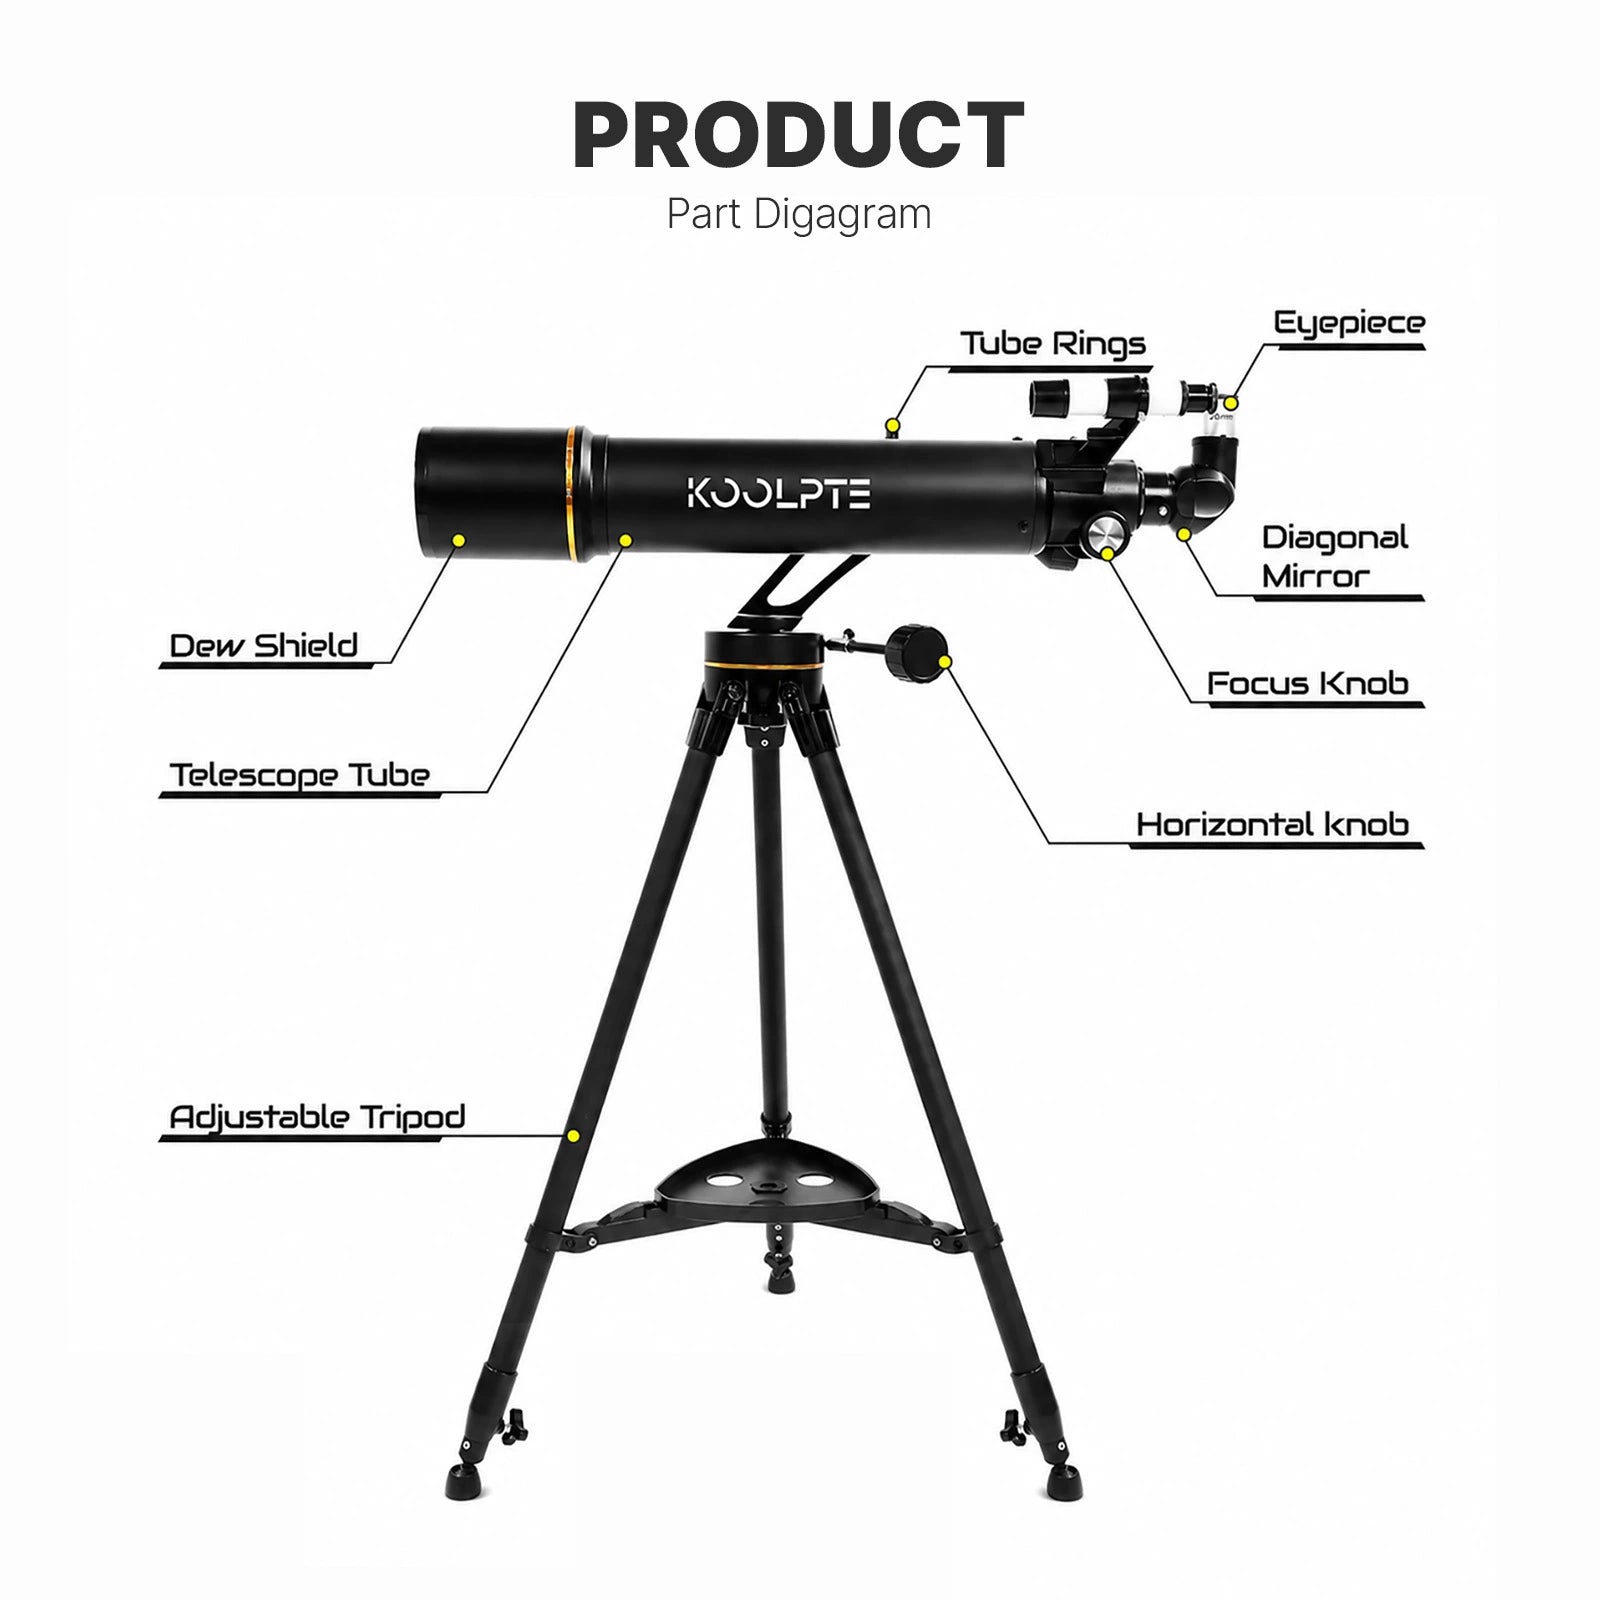
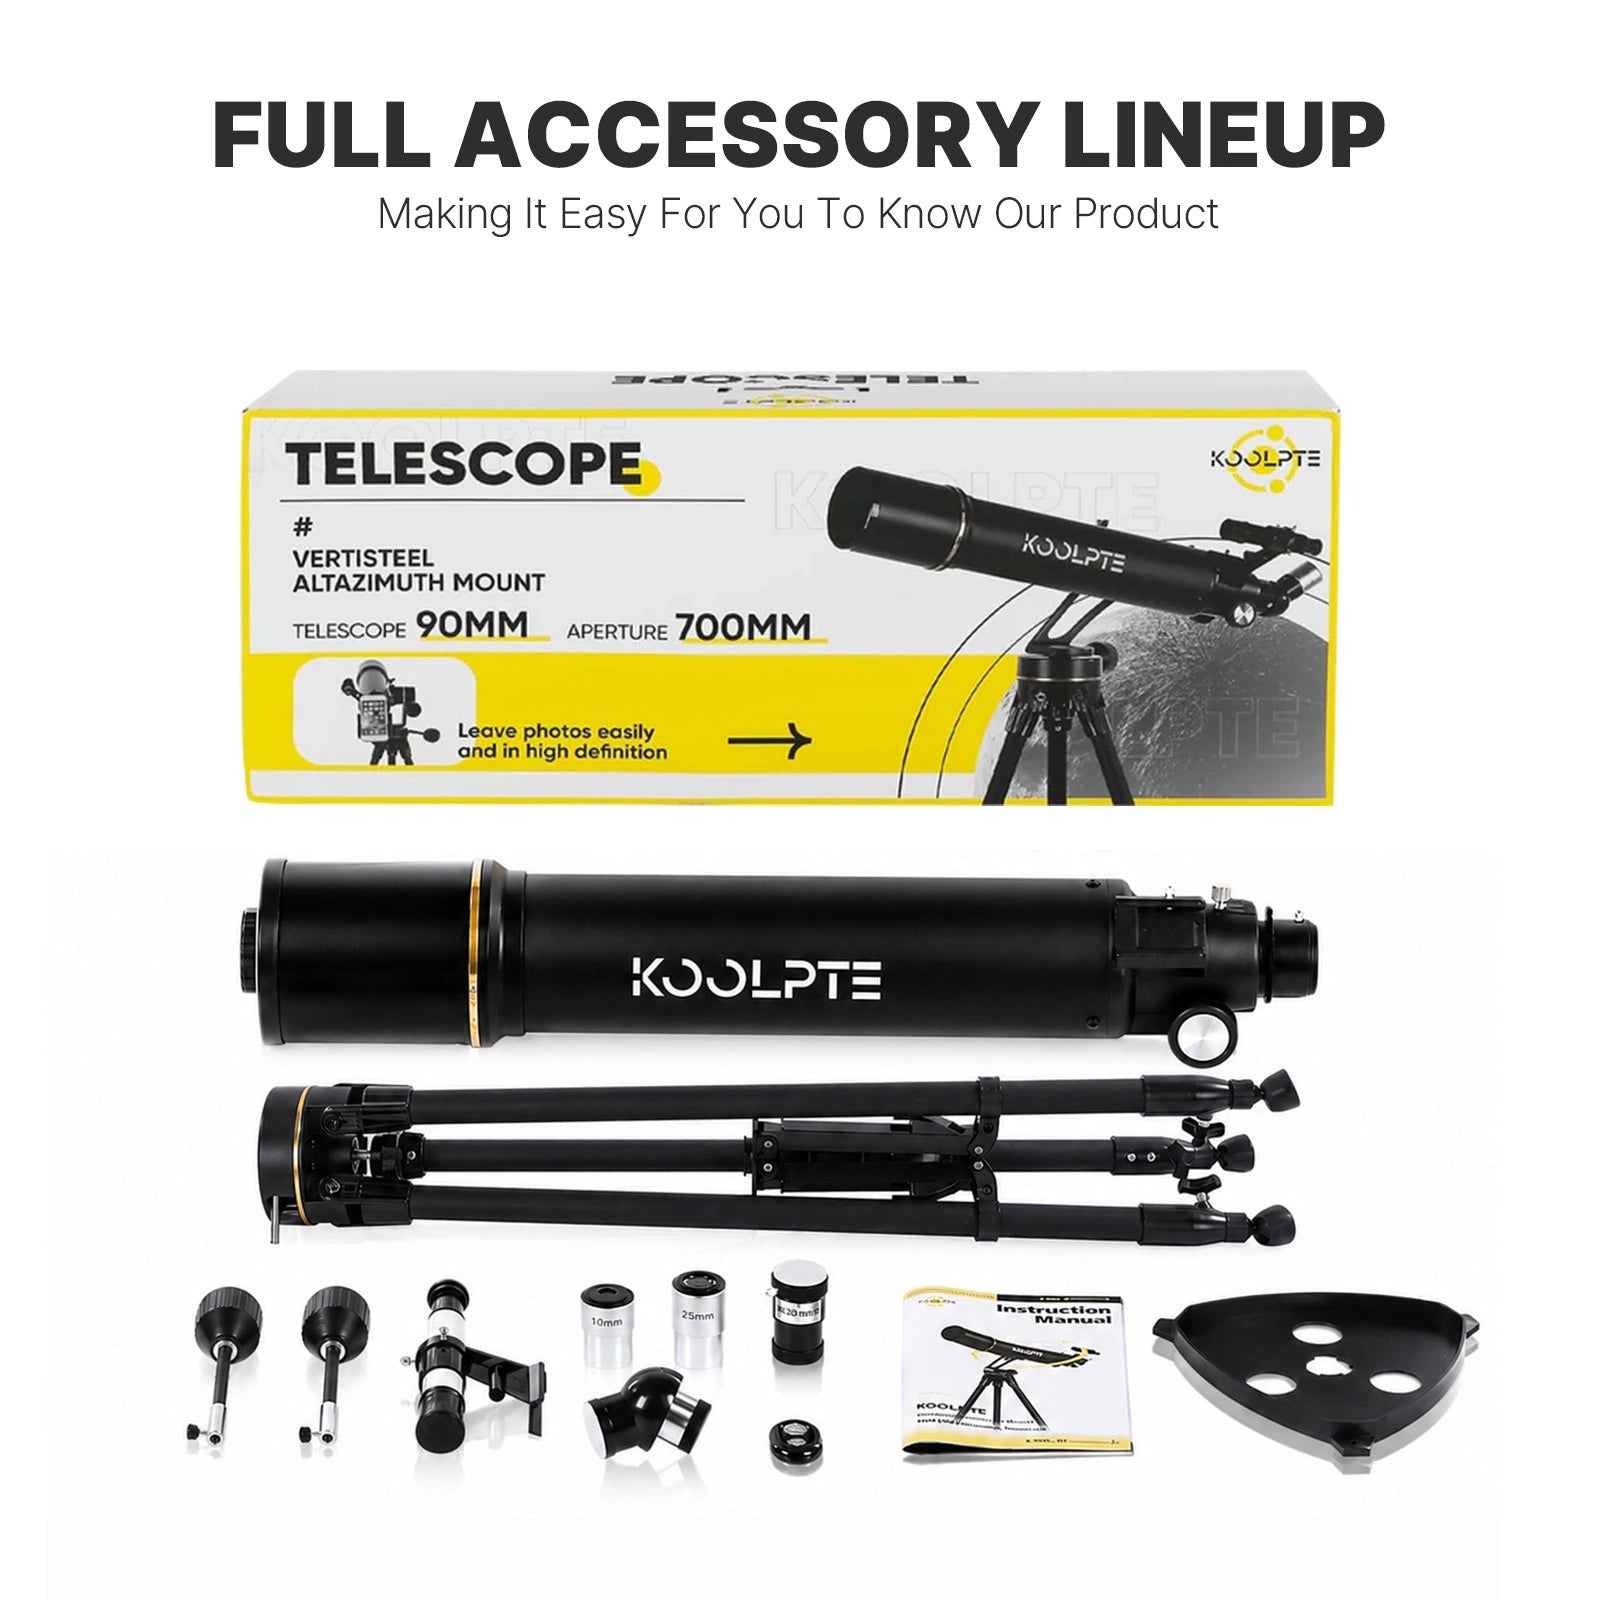
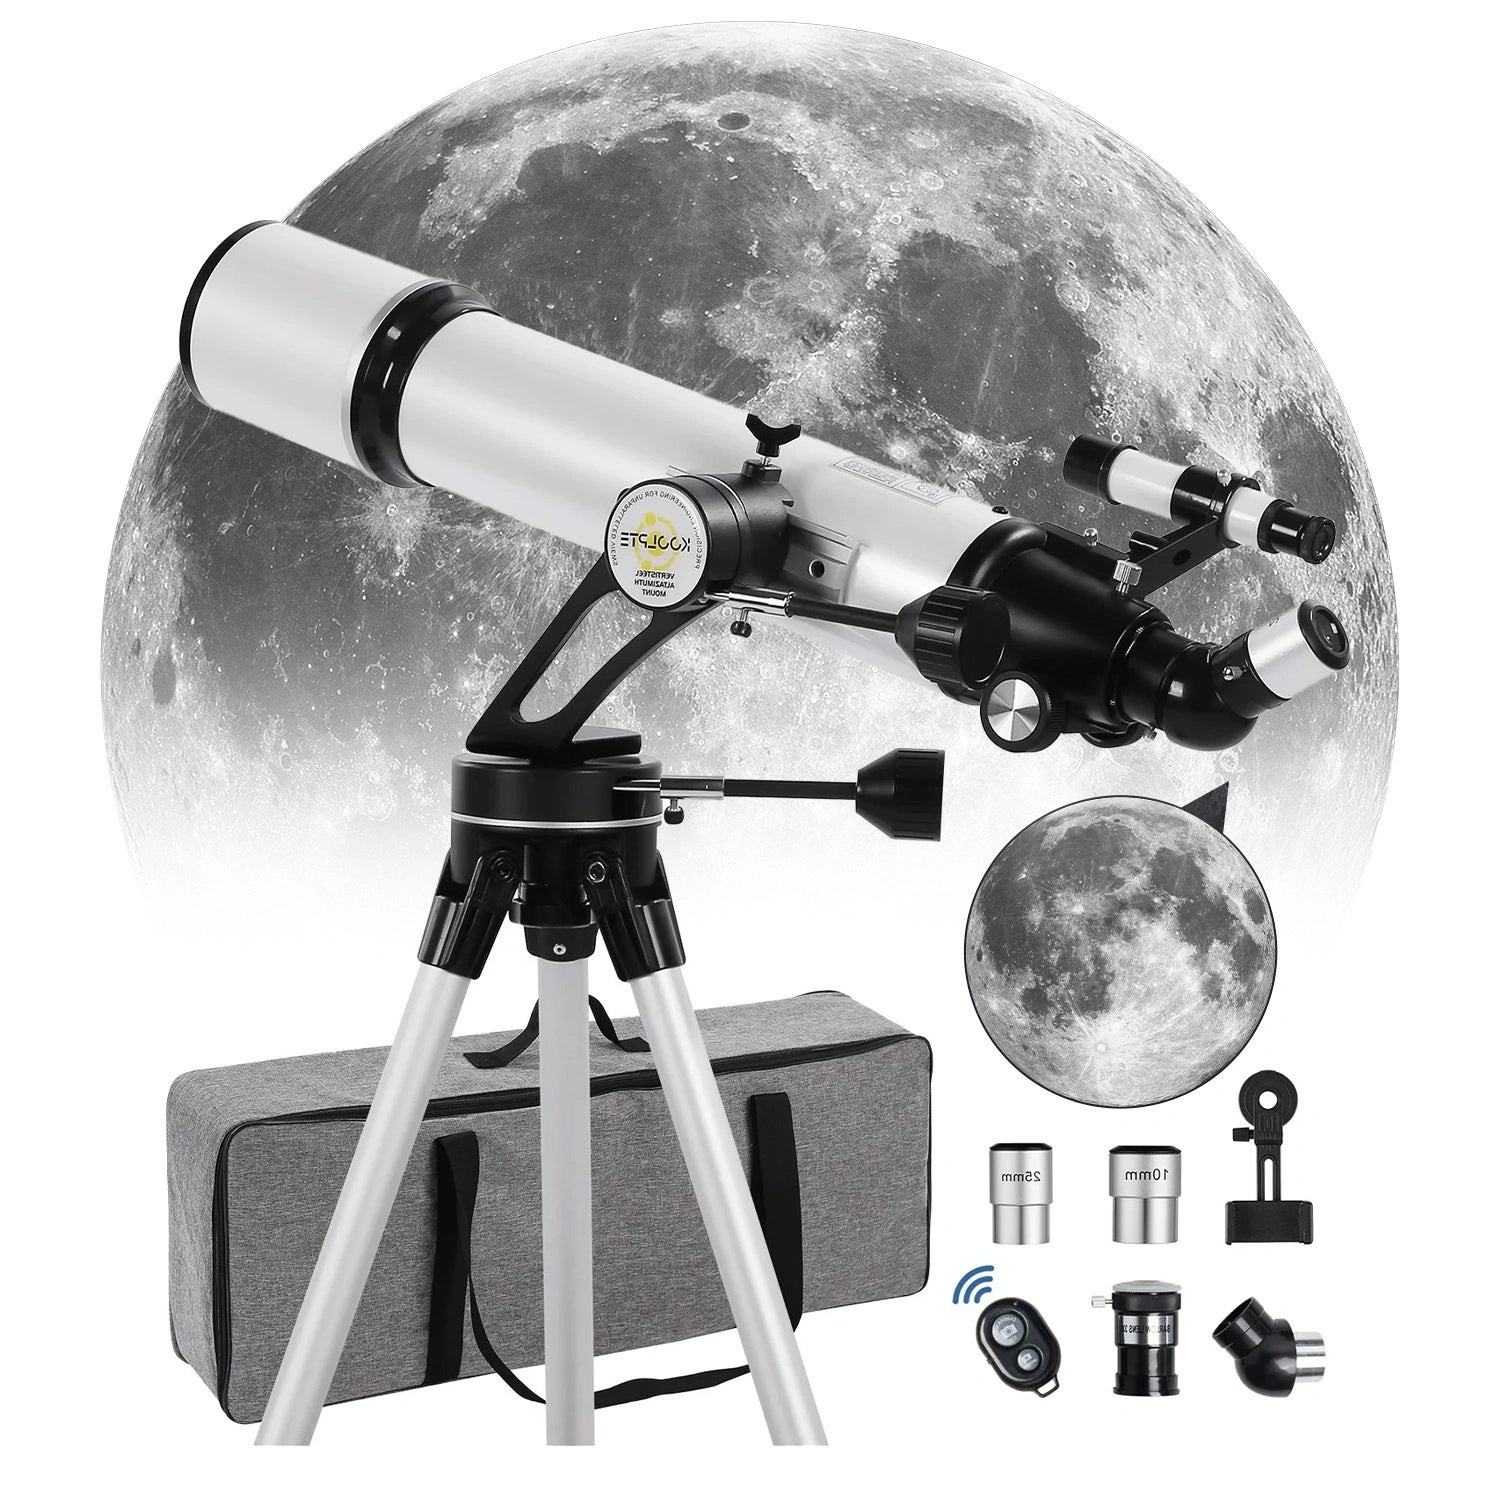
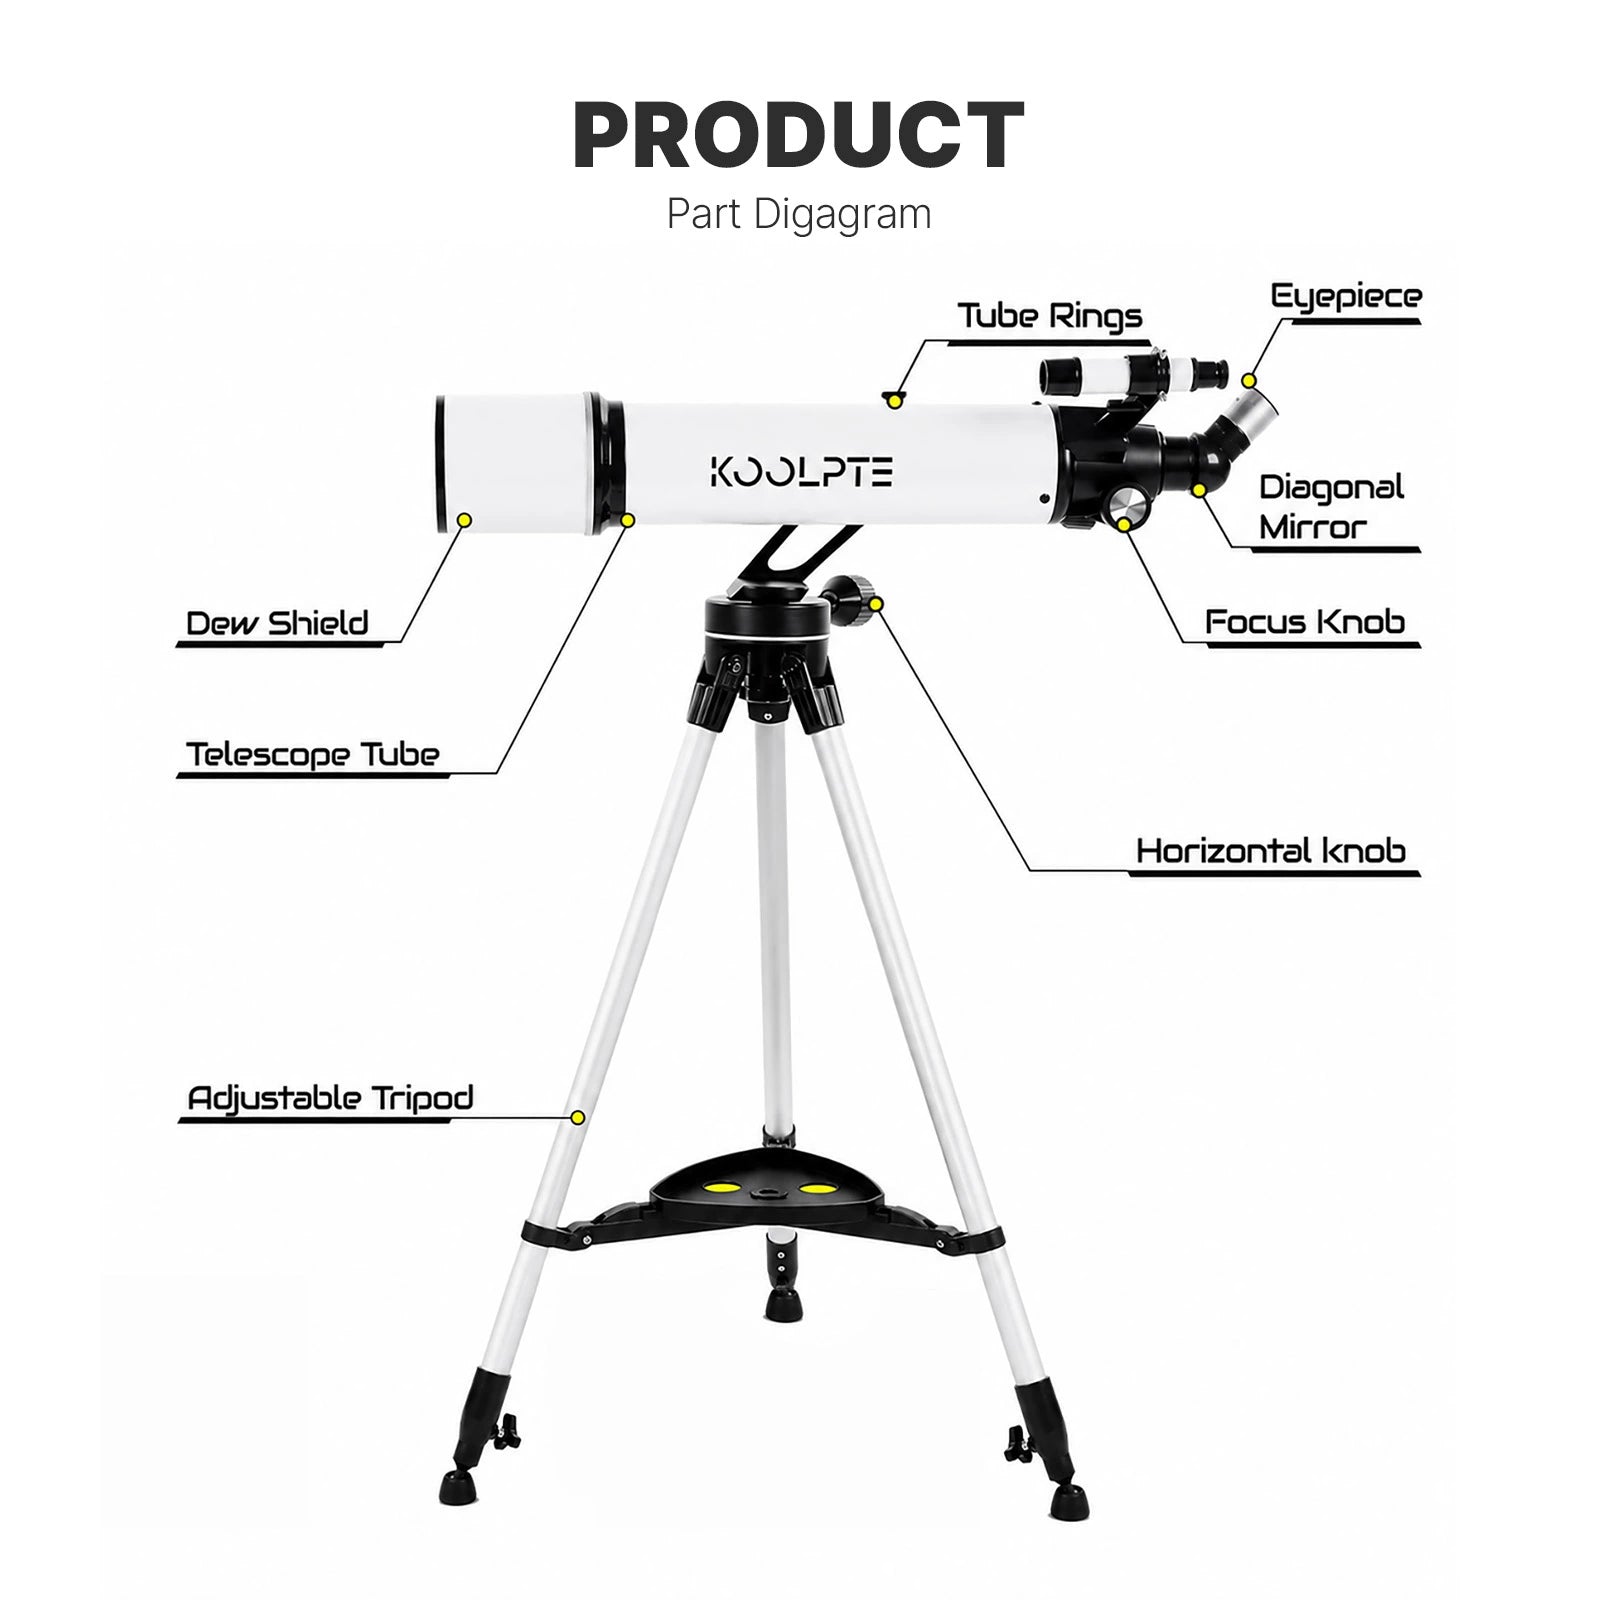
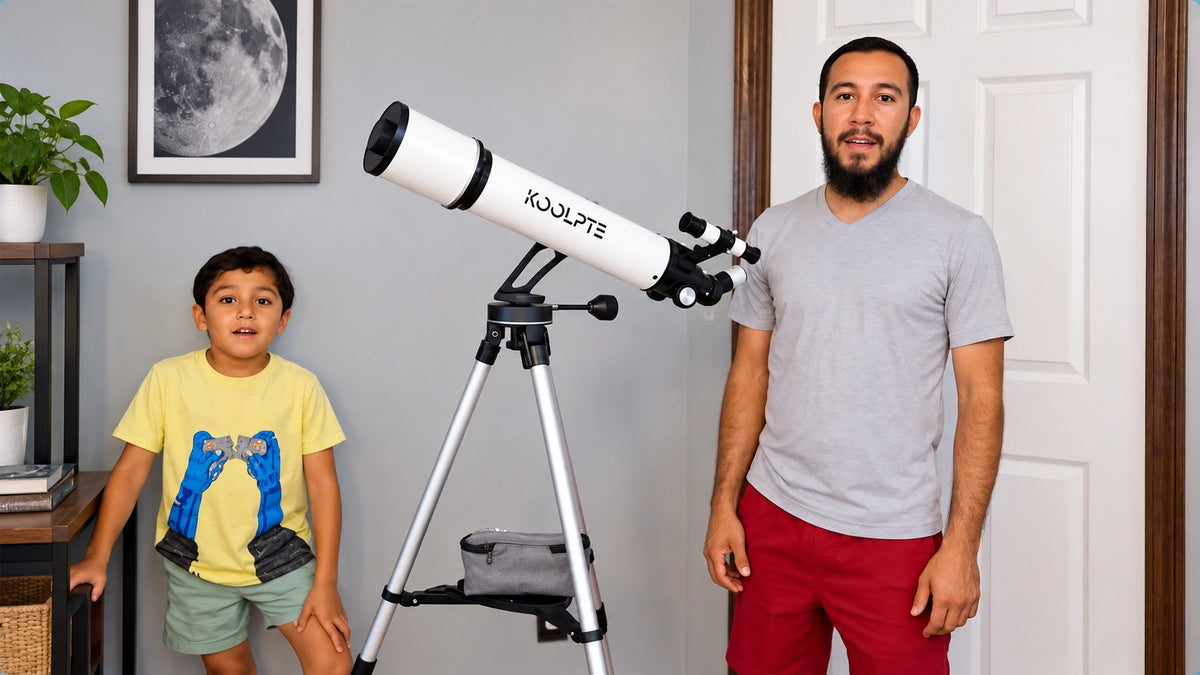
The kit includes the telescope, adjustable tripod, 5x24 finderscope, eyepieces, phone adapter, remote, and carry bag so beginners can start with the essentials.

The kit includes the telescope, adjustable tripod, 5x24 finderscope, eyepieces, phone adapter, remote, and carry bag so beginners can start with the essentials.
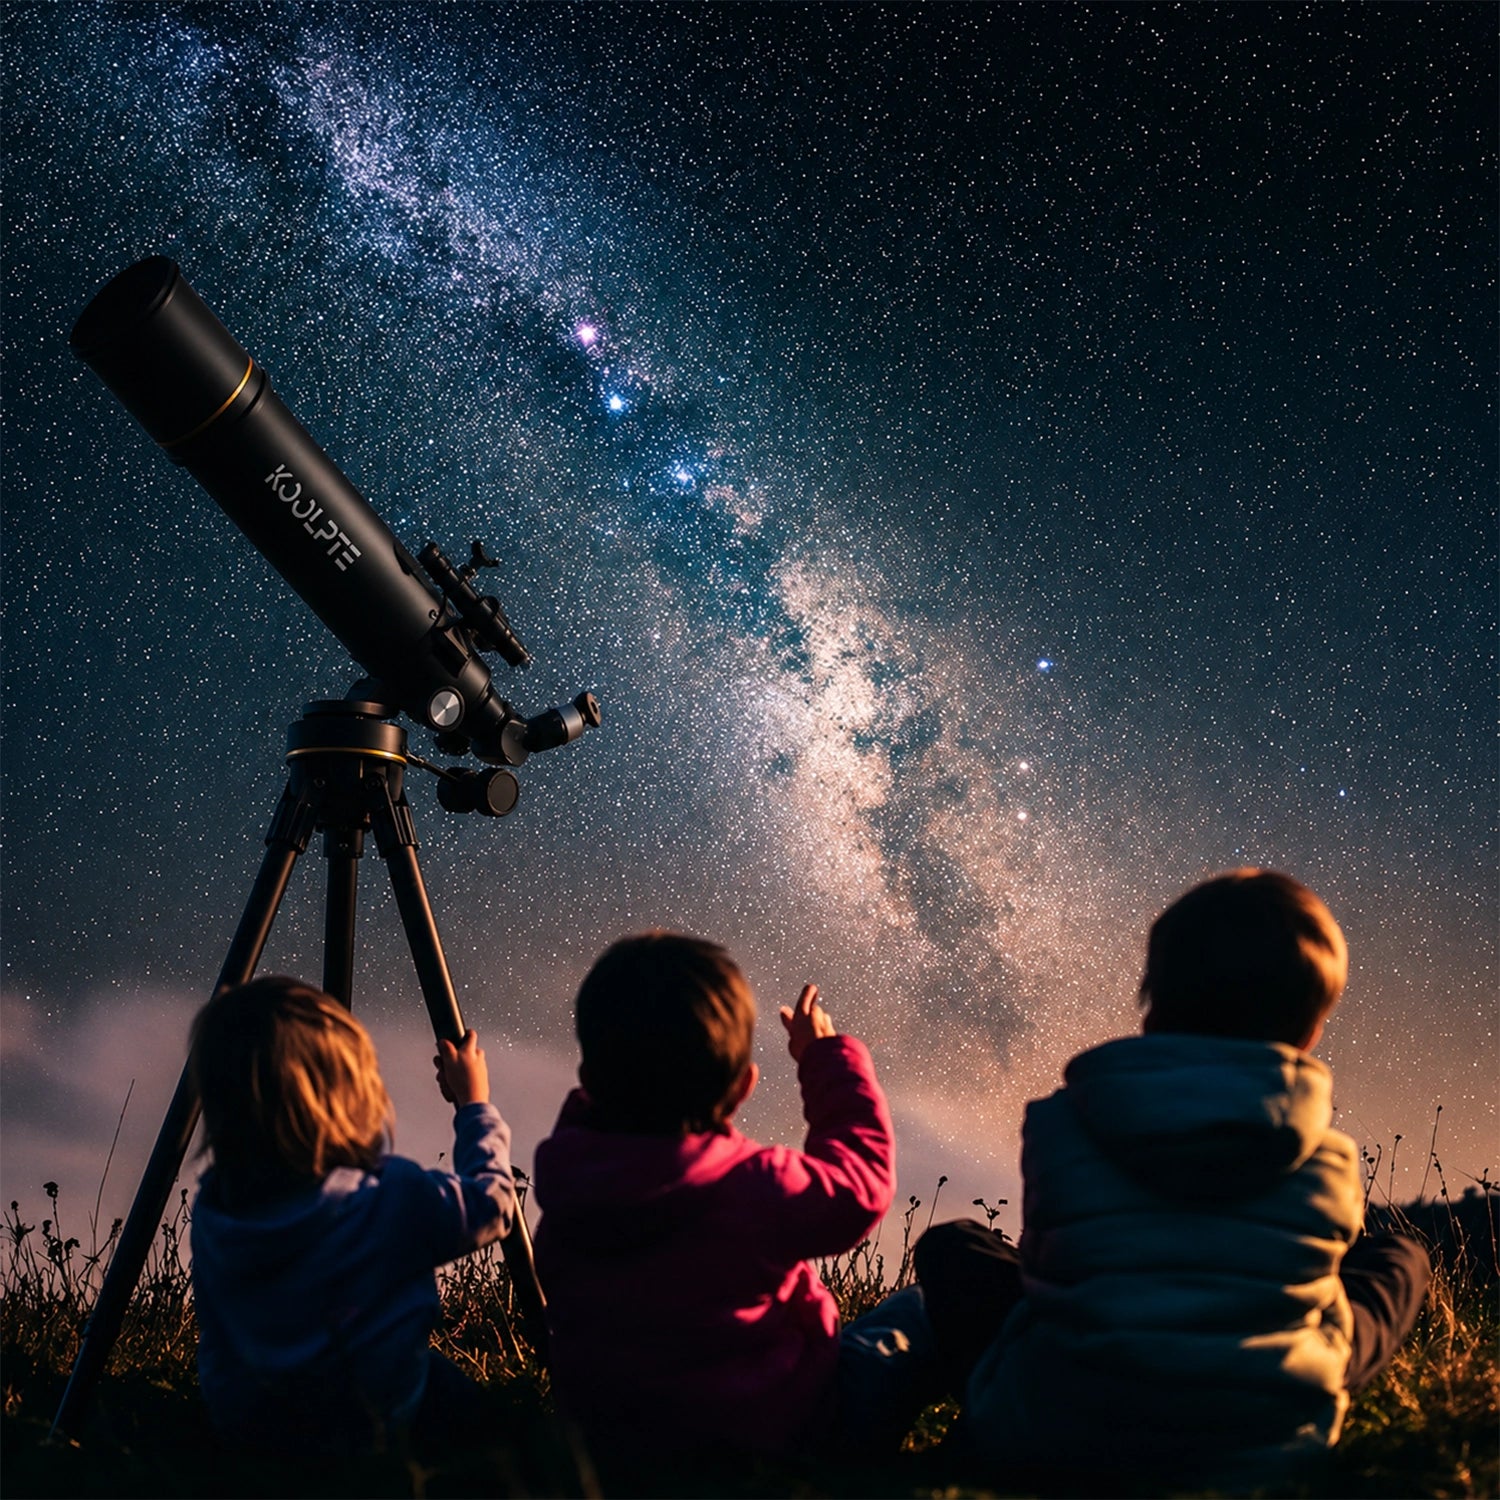
From a thoughtful telescope gift to family stargazing and a more capable first telescope, see where the 90mm Vega Precision fits into your life.
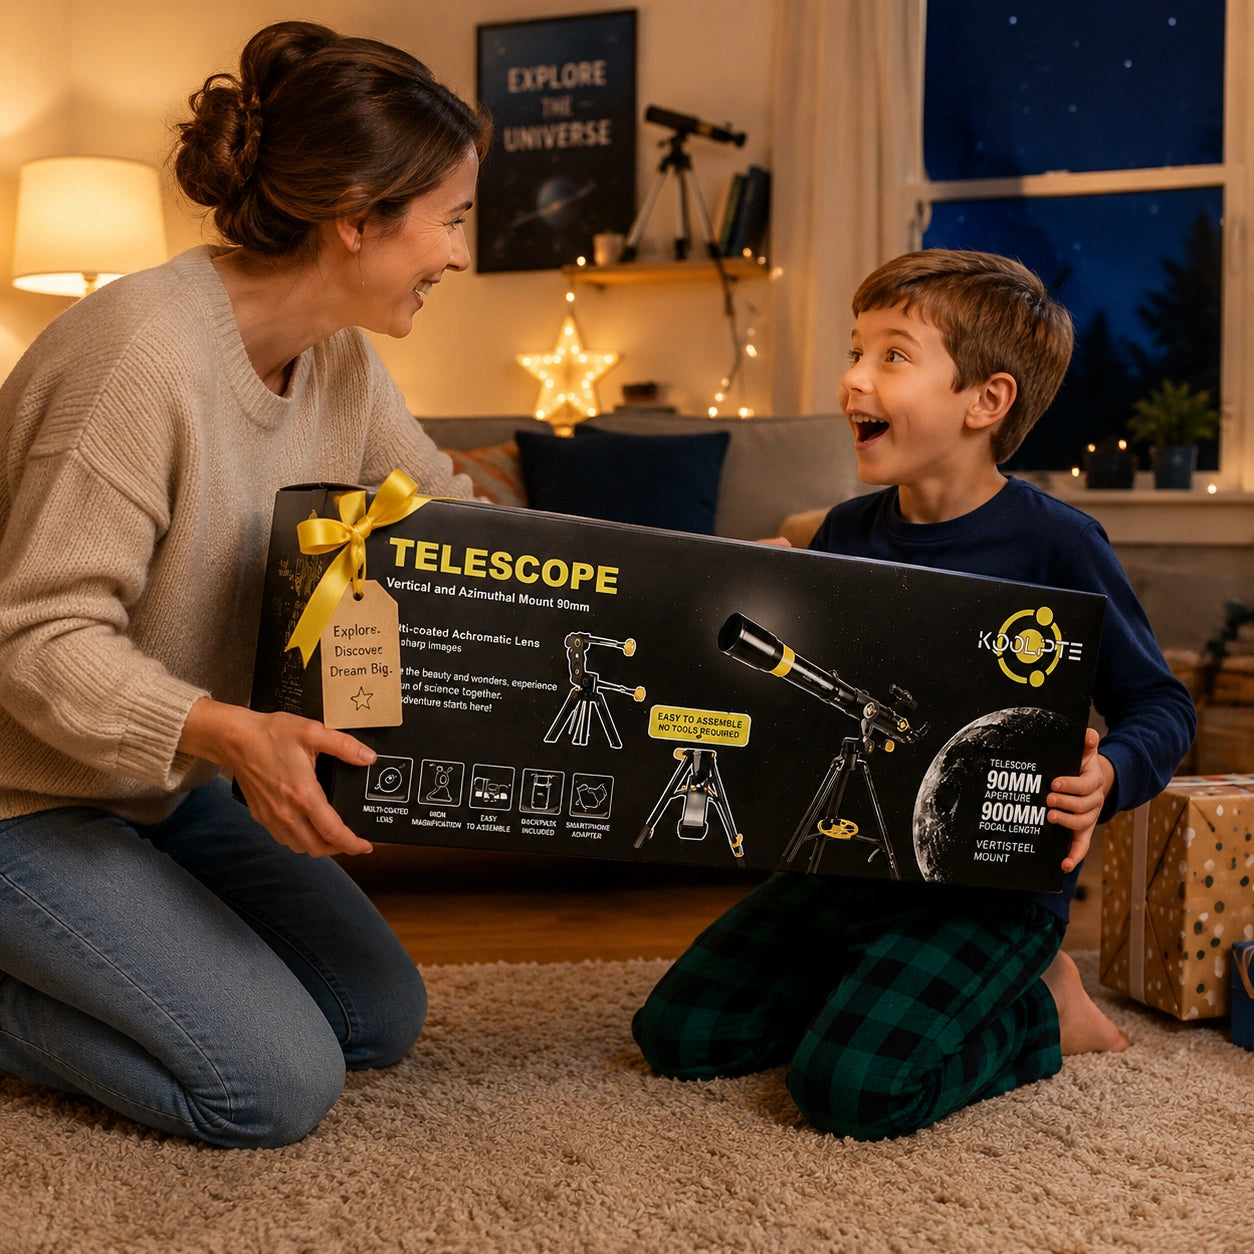
A Telescope Gift for Curious Beginners
A thoughtful astronomy gift for birthdays, holidays, and families ready to start exploring the night sky together.
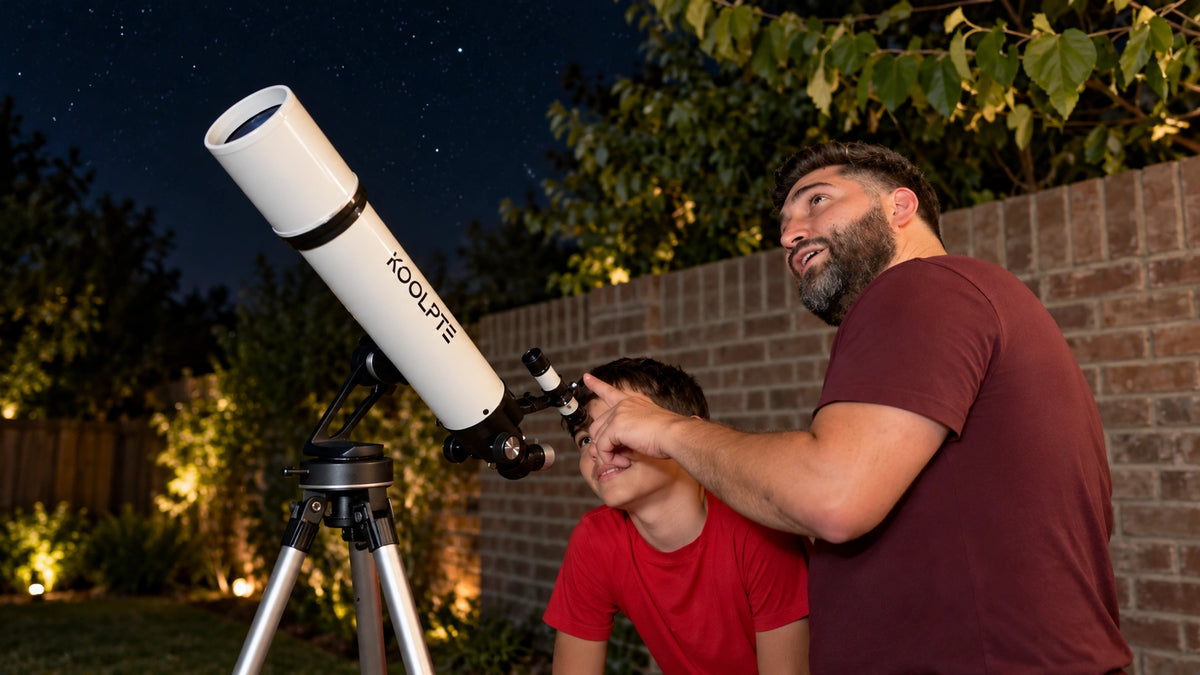
Family Stargazing Nights
Turn a quiet backyard evening into a shared Moon and planet watching moment with a beginner-friendly 90mm telescope.
A First Telescope That Feels Capable
Clear viewing goals, simple controls, and a complete kit help new stargazers feel confident outside.
See how real customers unbox, assemble, and use the Vega Precision 90/700 telescope before your first night of stargazing.
Compare our telescopes side by side to find the right one for you.
 Vega Precision
 Antares
 Vega Plus
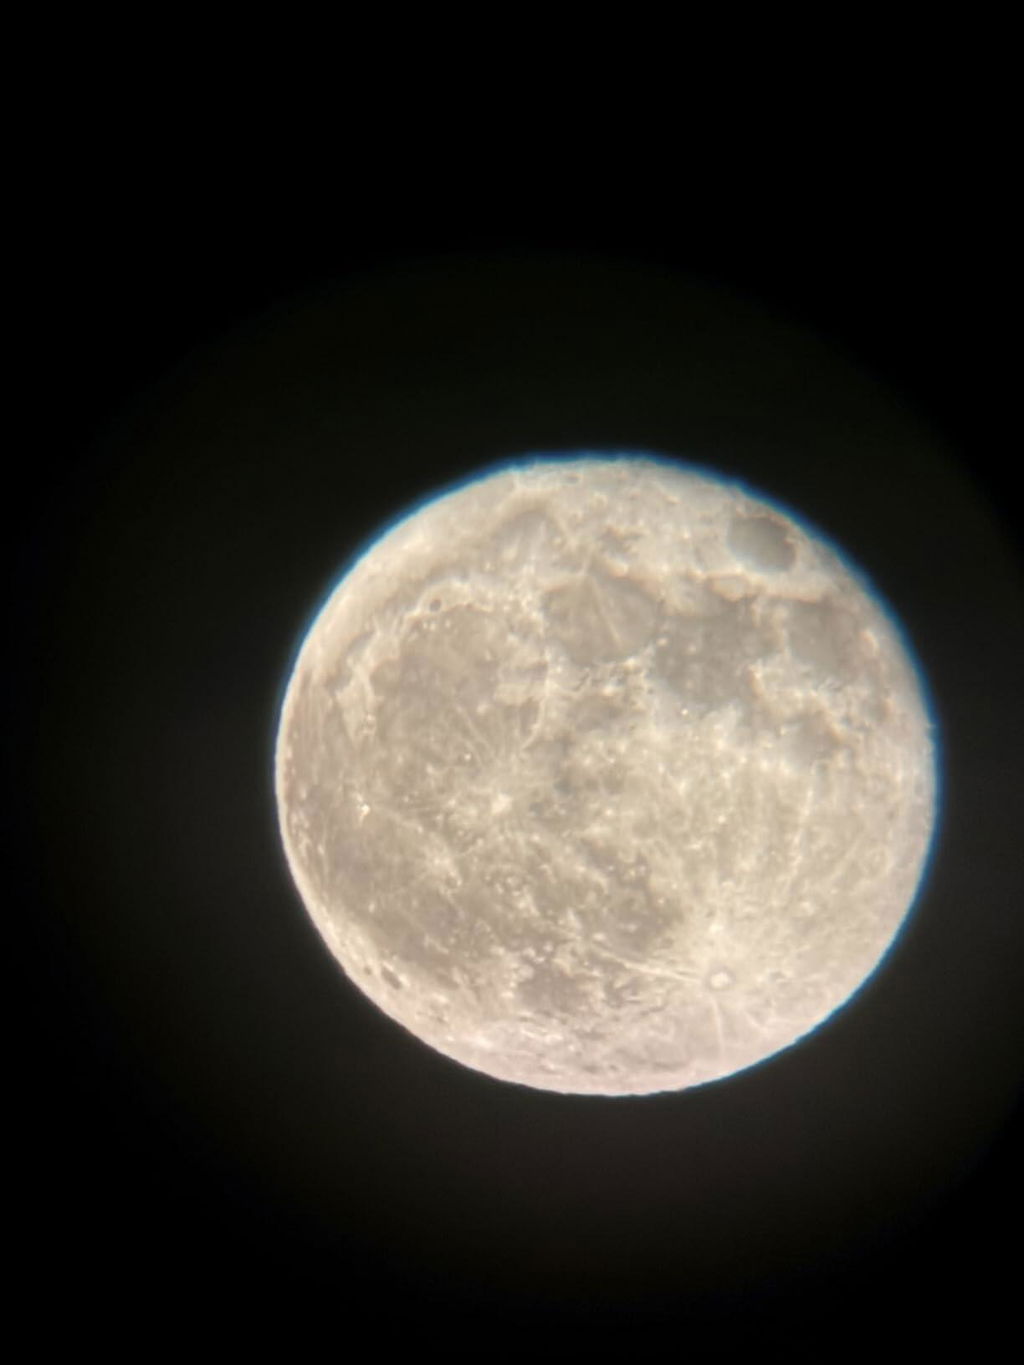
I got this for my son who is a craze for astronomy. He spent his entire afternoon assembling and tinkering with the different settings. He loved the 210x magnification, which allowed us to see when the craters on the moon. Definitely recommend for the astro nerds out there.
Great telescope for beginners and families! It was easy to set up, the optics are clear, and the slow-motion mount makes it simple to track the moon and planets. The phone adapter is a nice bonus for taking pictures. Overall, it’s a great value and a fun way to explore the night sky. Highly recommend!
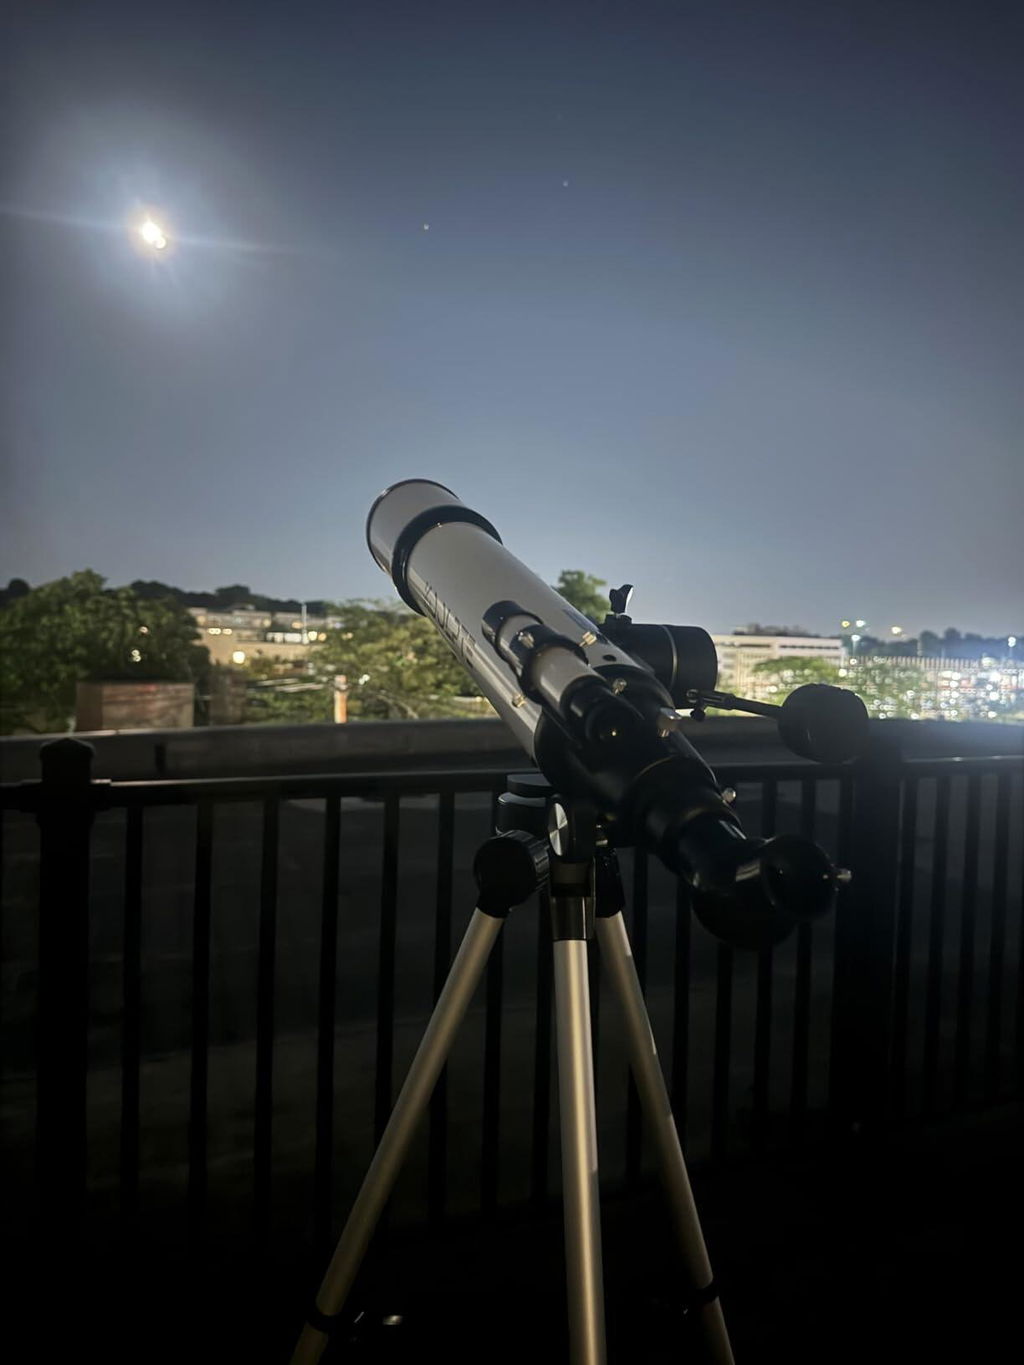
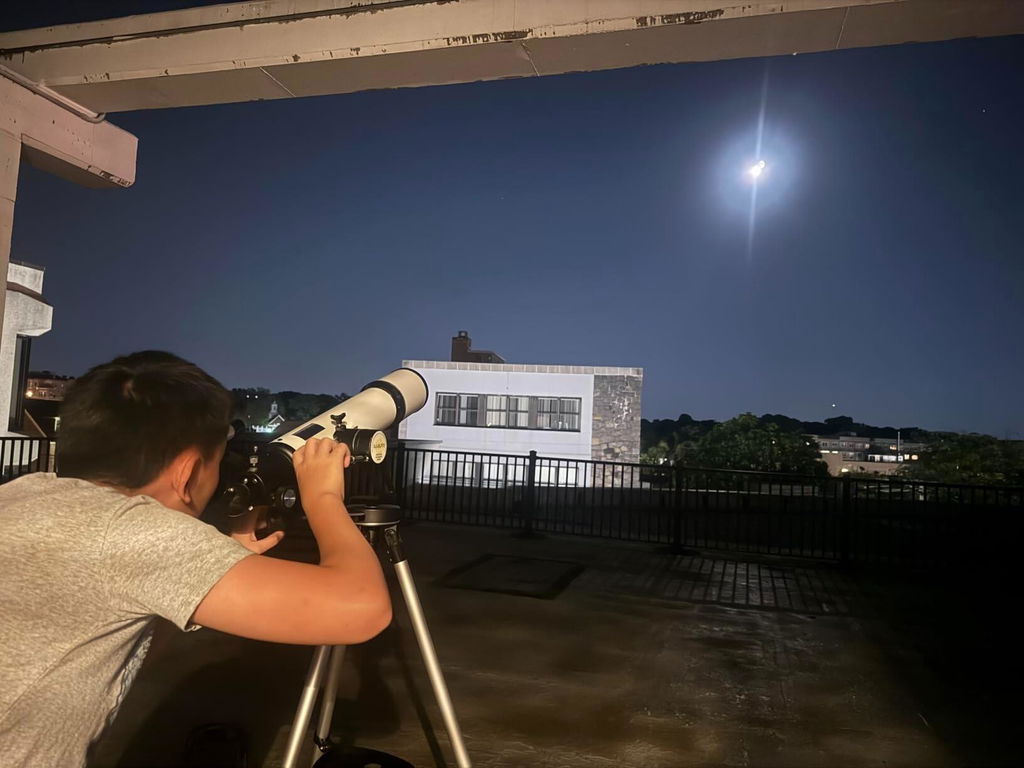
A truly delightful purchase! This astronomical telescope is excellently crafted; my son assembled it in just over ten minutes after it arrived. We headed to the rooftop terrace that evening to view the moon and stars—the view was incredibly clear, making for a fantastic experience. Being able to see the lunar surface makes this a truly significant gift for a child with a keen interest in space exploration! It comes with a storage bag, making it easy to pack the binoculars neatly and carry them along when camping.
I’ve been using this 90mm 700mm telescope for a few weeks, and I’m really impressed with how easy it is to set up and use. As someone who is still learning about astronomy, I was able to get everything assembled quickly and start observing the moon the very first night.The 90mm aperture and fully multi-coated optics provide bright, sharp views with excellent detail. I’ve also been able to spot Jupiter and its moons, which was an amazing experience. The Vertisteel AZ mount is sturdy and smooth to adjust, making it easy to track objects across the sky.The included phone adapter works well for taking photos, and the remote makes it much easier to capture steady images without shaking the telescope. I also appreciate the carrying bag, which keeps everything organized and makes it convenient to take on camping trips.
This was a great purchase. We are so happy with this telescope. It was very easy to set up, and for its size, it is light enough weight that we can carry it around in the very convenient and stylish carrying case provided. I like the lens attachment to hold my cell phone in place to photos and it comes with a remote control button to take pictures without jiggling the camera.
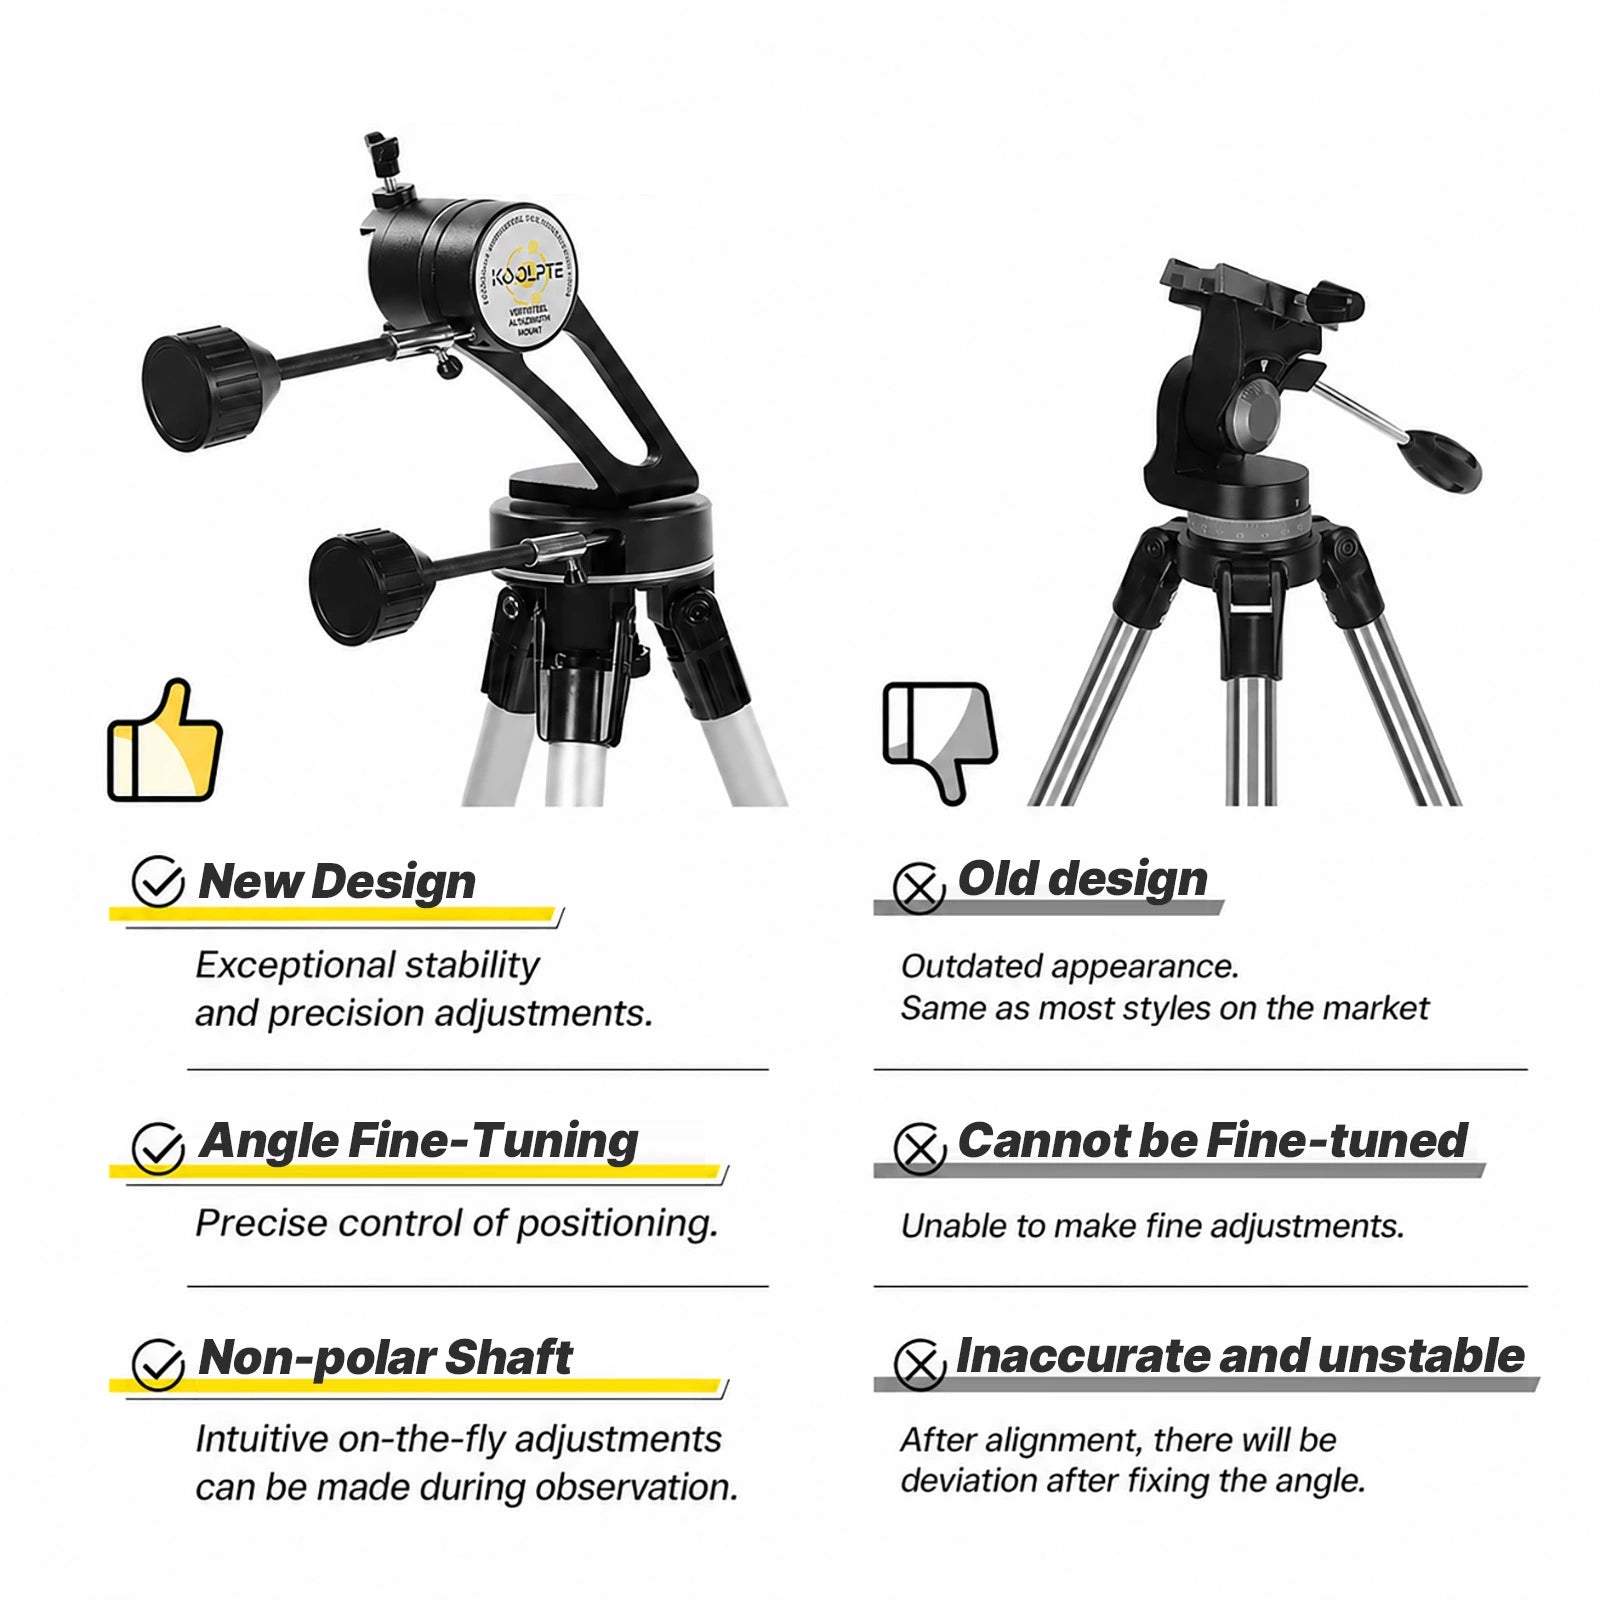
This telescope is super easy to setup and it’s perfect for beginners like me. The precise control on the mount is sooo beginner friendly. I have tried one without the precise control, it was absolutely a nightmare trying to observe any star. Thanks to this telescope, I can finally enjoy stargazing!
I couldn’t be happier with this telescope! The optics are clear and bright, making it easy to see views of the Moon. The slow motion mount was a great addition that keeps makes tracking objects effortless. Assembly was quick, and I had it ready to use in just a few minutes. I liked the included eyepieces, Barlow lens, phone adapter, and wireless remote that made the whole experience easier. I especially love being able to capture photos through my phone. As a beginner in this new hobby, this telescope offers excellent quality, performance, and value.
This telescope is far better than I expected. Clear views of the moon and stars, easy to set up. Great value!
I have been fascinated by the skies since I was kid. I was hesitant to purchase a telescope because of the outrageous pricing. I came across this one, one of the only reasonable priced ones I could find, and thought the risk was worth the potential reward.Setup was quick and straightforward, which made it easy to get started the same night.
I brought this for my Wife. She loves it. We are currently trying to figure out how to work with the different lenses.
I'm impressed with the quality for the price. The image are clear and it's fun for family stargazing night.
Great value. My 10 year old grandson loves it. I highly recommend this telescope. Exactly as described.
Setup is simple, don't even need the instructions to put it together. However, aiming and focusing took some trial and error. I don't know if we did it "right," but we did see eventually see everything we'd hoped to! I also appreciate the convenient carrying case for when it's not in use.
Bought this as a gift for my son based on a friend's recommendation, and he absolutely loves it! As a parent with zero background in astronomy, I’m thoroughly impressed so far
Pretty easy to set up didn’t really need the instructions and my 1st picture was pretty cool again this is my 1st one I think once I figure everything out there will be better photos
The packaging was secure, and the shipping was fast. It was incredibly easy to set up—I was up and running in under ten minutes. The image quality far exceeded my expectations; it's crystal clear and sharp. The focus adjustment is smooth and steady. For the price, the build quality and optical performance are fantastic—truly great value. It also looks beautiful; it sits in my backyard like a piece of art.
Well made and sturdy. Our grandson loves this. Easy setup.
Well packed, nice clear guide, relatively easy assembly (took me 15-20 minutes for initial assembly, another 5 or so outside to tweak the sighting scope). Seems like a solid bargain for the price, more details below.This is my first telescope, so I can't compare to others. It feels like the times are thin metal whereas most if the ends, etc are plastic. Glass lenses. Everything came neatly packed and wrapped into the carry case, inside a cardboard box, inside another cardboard box. Considering some components are I think somewhat fragile, this seemed like the right amount of packaging. Some of the adjustments on the tripod feel a bit stiff to me compared to some of my camera tripods, but feels like decent construction. Used it outside tonight for the first time. Inside town with nearby lights, but clear skies. Located I think Jupiter, but it just looked like a bright dot to me ;) Much better results looking at the moon where I was able to tell what I was doing with the focus and get a nice beautiful sharp image. The moon was very high in the sky and I had to sit on the ground to use it, but well worth it. I was only using the 25mm eyepiece this time as it was my first try. Going to try out the phone adapter for pictures next time, then maybe another time the 3x Barlow lens and 10mm eyepiece to see if I can get a better view of a planet.
Easy to assemble and adjustable at different angels. My child started to have interests in the stars. The telescope made him very excited. The image is clear, good enough for a kid
This was such a great find for our family, and we’re already excited for more nights spent looking at the stars together. The setup was quick and easy, and the viewing experience has been clear, smooth, and very beginner-friendly. We enjoy the nighttime views without complicated adjustments. Overall, this has been a fun addition for exploring the night sky.
スマホアダプターが付いているので、観測した映像を撮影できるのも便利でした。ワイヤレスリモートで手ブレを抑えながら撮影でき、初心者から大人まで扱いやすい構成になっています。持ち運びもしやすく、気軽に天体観測を楽しめる望遠鏡です。
Not a professional telescope, but good for beginners. Setup was okay, though took a bit of time to figure out. You can see the moon pretty clearly, planets are visible but small. Overall, I’m satisfied for casual use.
This 90mm aperture, 700mm telescope is an excellent choice for beginners and casual astronomy enthusiasts. The image clarity is impressive for its class, making it easy to observe the moon, planets, and even some deep-sky objects. The Vertisteel AZ mount with slow-motion controls provides smooth and precise adjustments, which really helps when tracking objects in the night sky.Setup is straightforward, and the included carry bag makes it convenient to transport. The wireless remote and phone adapter are great additions, allowing you to capture and share photos effortlessly. Overall, it’s a well-built, user-friendly telescope that offers great value for anyone looking to explore astronomy.
スマホの設定が悪いので、月の周りが青くなってしまったけど望遠鏡自体は、なかなか良い感じです。
90mm大口径で集光力があり、月や惑星観測を楽しみやすい天体望遠鏡。700mm焦点距離で見やすく、初心者にも扱いやすい仕様です。高倍率接眼レンズやスマホ撮影対応モデルなら観察の幅も広がり、天体観測入門にも満足度の高い一台です。
Start with the Moon, bright planets, and daytime distance viewing. Exact results depend on sky conditions, light pollution, eyepiece choice, and focusing.
Yes. It is designed for first-time stargazers who want a real telescope experience without starting with an intimidating setup.
Start with the lowest-power eyepiece, focus slowly, and practice on the Moon first. This makes the first night much easier.
When a phone adapter is included, you can practice simple Moon photography. Results depend on phone fit, focus, stability, and viewing conditions.
Koolpte products include a 1-year warranty. Returns and cancellations follow the current refund policy.
Helpful support when you need it.