Yes. KOOLPTE telescopes are designed for beginners and are suitable for both adults and younger astronomy enthusiasts. We recommend that children use the telescope with adult supervision during setup and observation.
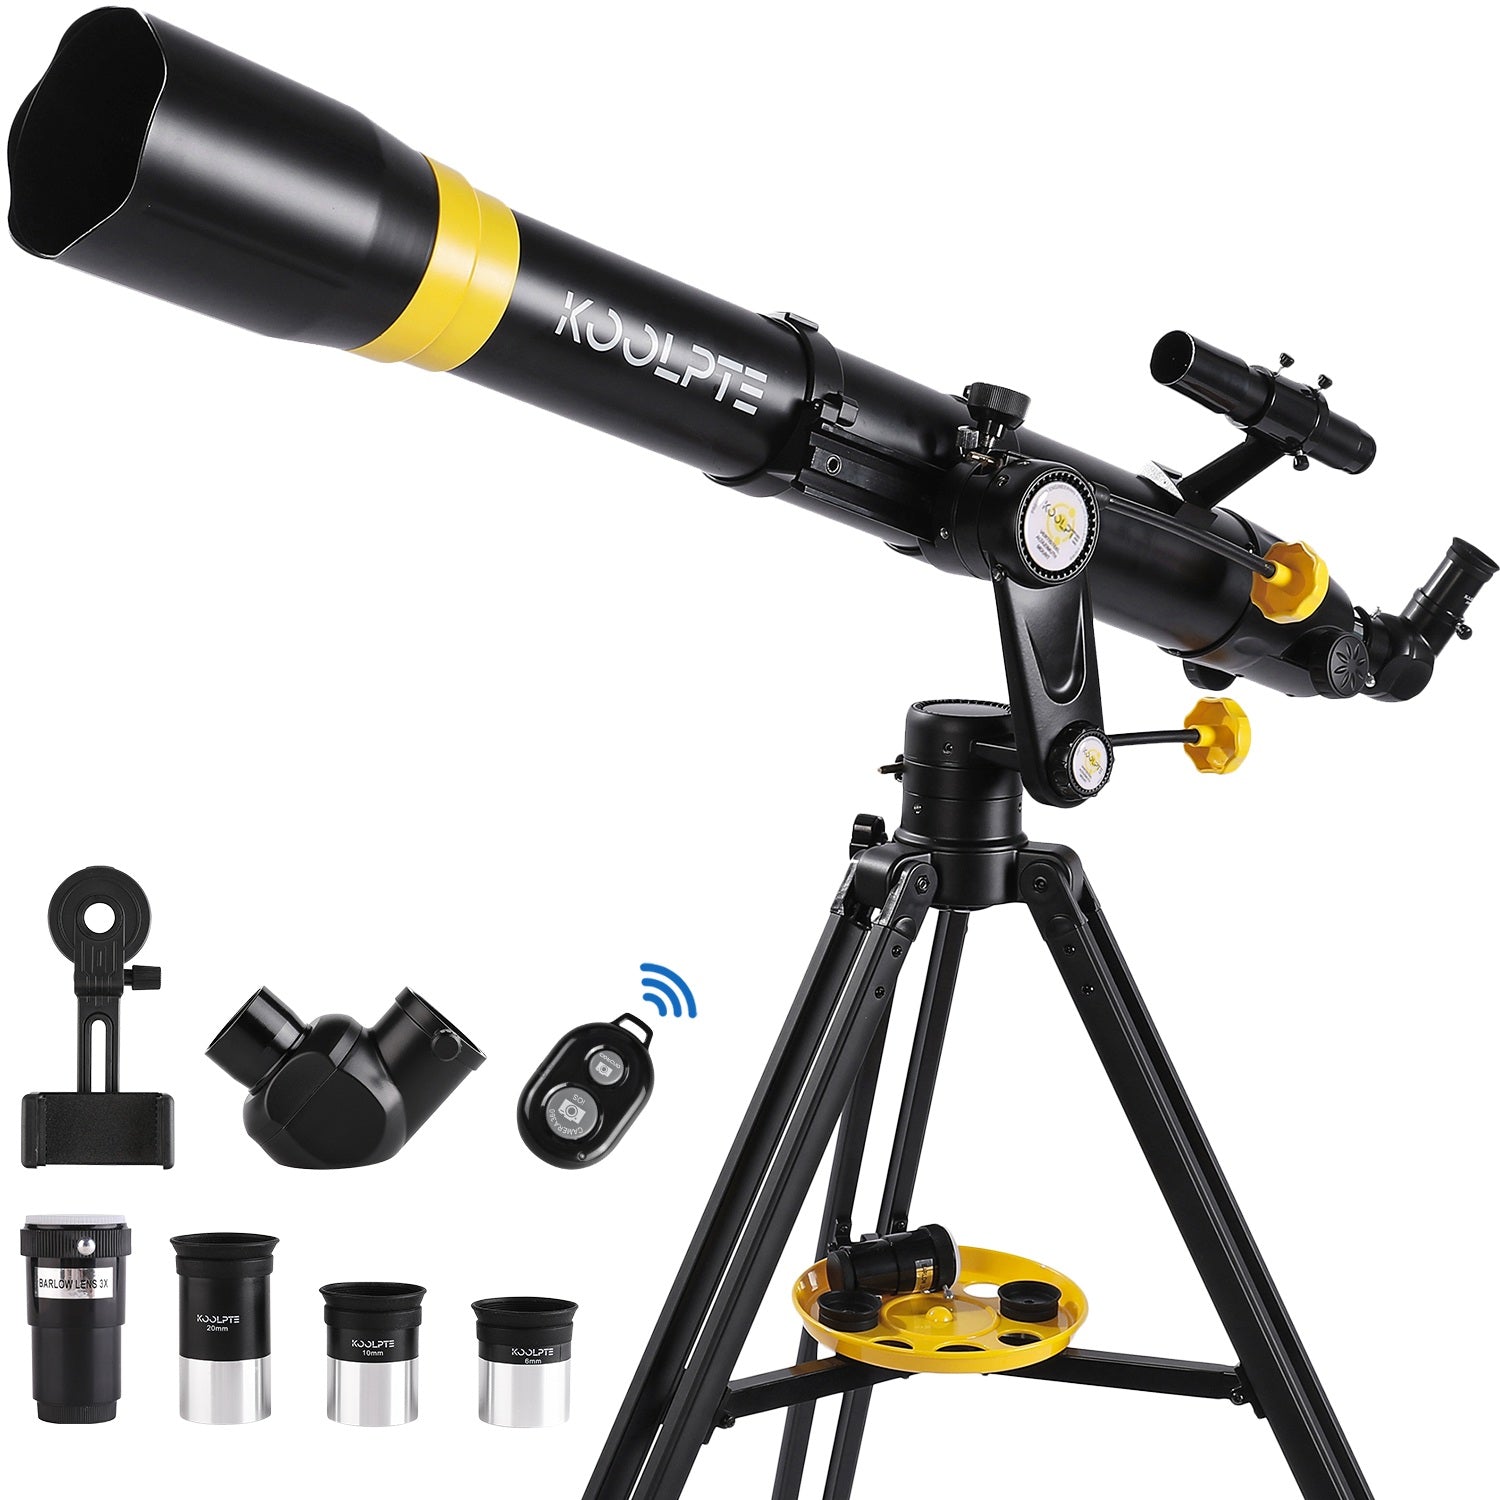
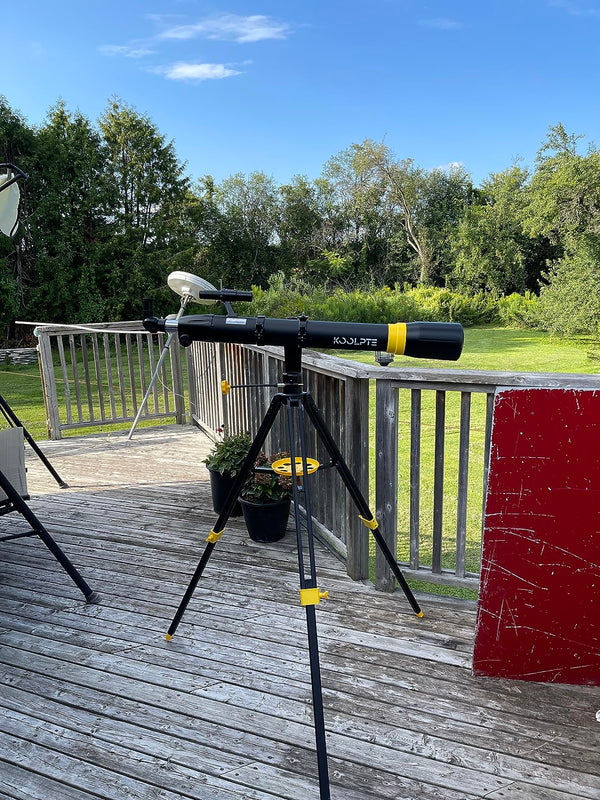
Koolpte Vega Precision Ultra 90mm Aperture 900mm Refractor Telescope
A long-focus 90mm refractor designed for detailed Moon and planet observation as your skills grow.
$209.99$269.99You save $60.00
Processing in 1-3 business days
Color
Easy to Set Up
Most users can complete the basic setup in around 10-15 minutes after becoming familiar with the parts.
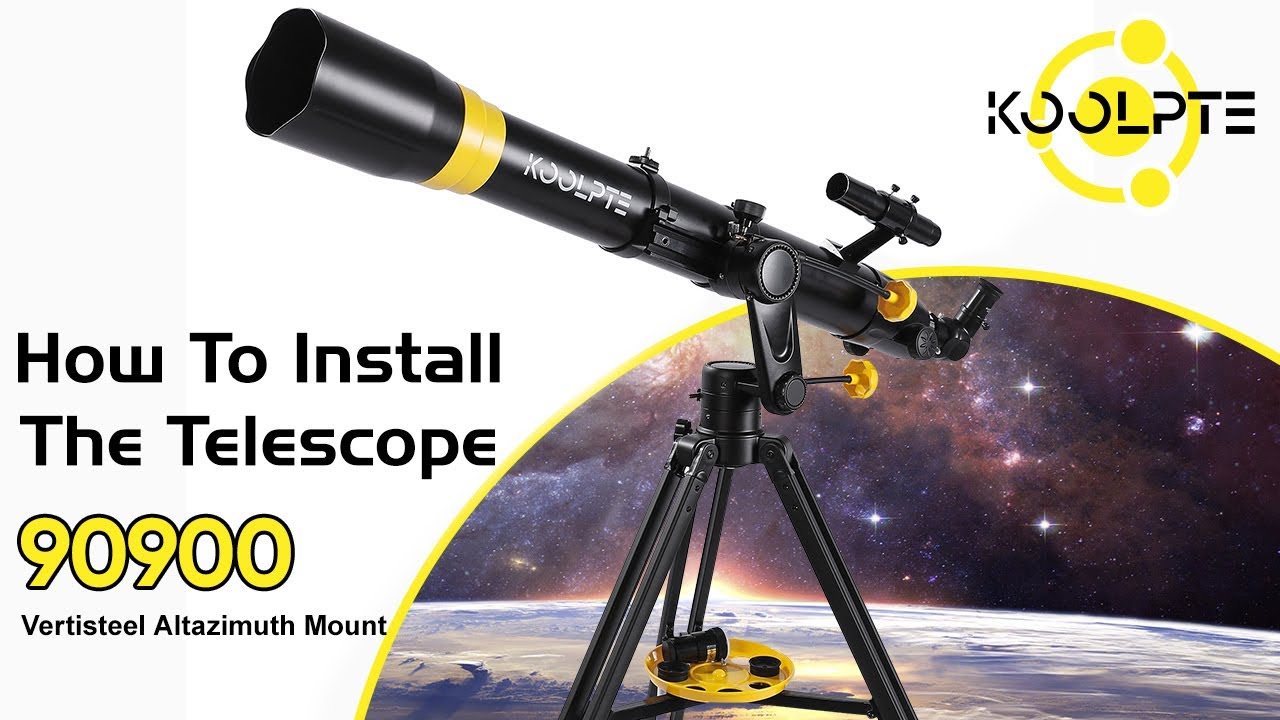
Step-by-Step Installation Video
Watch the model-specific setup guide in the video section below.
Who Is This Telescope For?
Designed for beginners, families, and adults who want a clear first stargazing experience.
What’s Included with My Purchase?
1 X TELESCOPE WITH MICRO-ADJUST TRIPOD
1 X EYEPIECE SET — 6MM, 10MM, 20MM & 3X BARLOW
1 X SMARTPHONE ADAPTER WITH BLUETOOTH REMOTE
1 X FINDERSCOPE & PRECISION TOOL KIT
Can I Take Photos with My Phone?
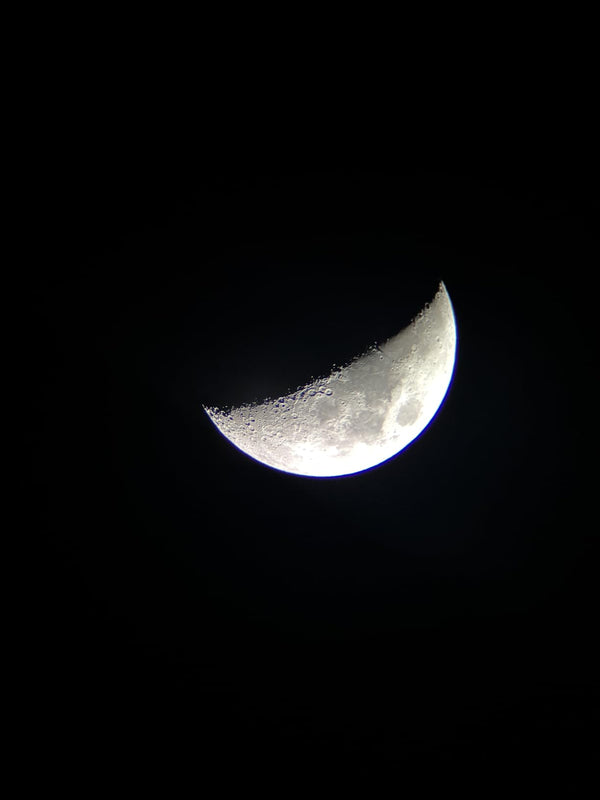
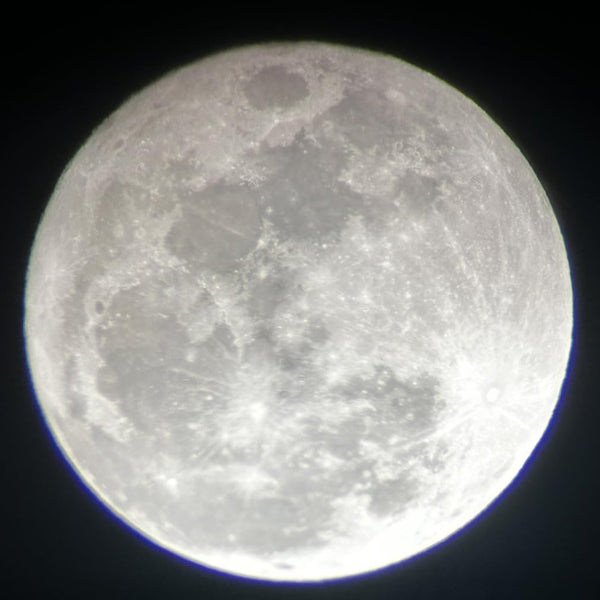
Use the included phone adapter when available to capture the Moon and bright targets. Results depend on phone fit, focus, and stability.
⚡ Shipped: 72 hrs after ordering
🔒 Secure Payments | SSL Encrypted
💰️ 30-Day Money-Back Guarantee
💬 Fast Customer Support | Quick Response
🛡️ Hassle-Free Warranty | No Hidden Fees
Payment methods
Product Overview
Watch the full guide
User Photos
Real photos from users worldwide
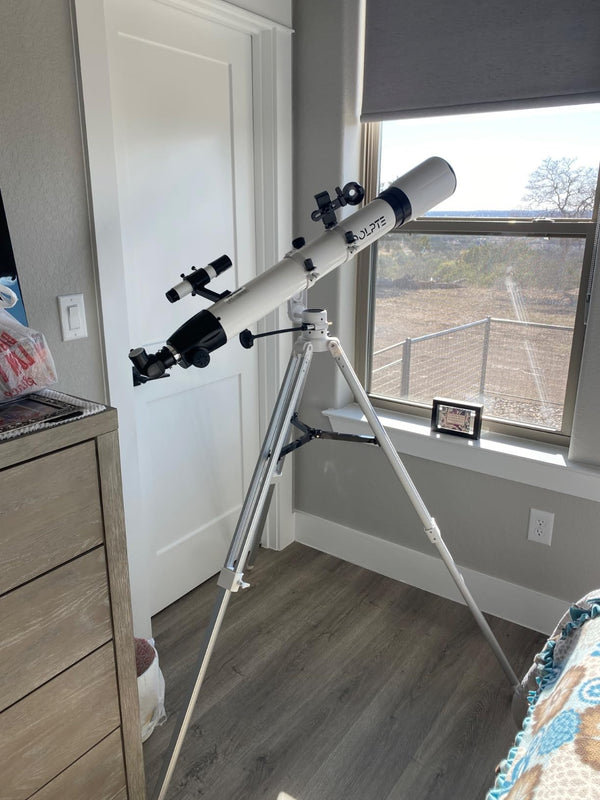
KOOLPTE customer
📍 United States
KOOLPTE customer
📍 United States
KOOLPTE customer
📍 United States
KOOLPTE customer
📍 United States
Total 5 star reviews: 564 Total 4 star reviews: 93 Total 3 star reviews: 21 Total 2 star reviews: 10 Total 1 star reviews: 0
95%would recommend this product
Slide 1 selected
688 reviews
- CcVerified BuyerRated 5 out of 5 stars4 months agoPerfect
Product came & had all parts Performed as described
Koolpte4 months agoThanks for your great review!
- JJamieVerified BuyerRated 5 out of 5 stars4 months agoGreat telescope ??
Overall I m very happy with this telescope I m working with it and learning more everyday, but I do wish it was a bit more sturdy Other than that it s a wonderful product
Koolpte4 months agoThanks for your great review!
- RRickVerified BuyerRated 5 out of 5 stars4 months agoGood investment
Works great Purchased it for Christmas and the family enjoys it
Koolpte4 months agoThanks for your great review!
- LCLisa C.Verified BuyerRated 5 out of 5 stars4 months agoLarge
I had so much fun using this over the summer
Koolpte4 months agoThanks for your great review!
- WSWillis S.Verified BuyerRated 5 out of 5 stars4 months agoNice
Love it great portable telescope
Koolpte4 months agoThanks for your great review!
Compare Koolpte models
Pick by use case, control, and practical magnification.
| Property / model |
Long focus
Current
Precision UltraYou are here |
|||||
|---|---|---|---|---|---|---|
| Image |

|

|

|

|

|

|
| Aperture | 70 mm | 70 mm | 80 mm | 90 mm | 90 mm | 130 mm |
| Focal Length | 400 mm | 500 mm | 600 mm | 700 mm | 900 mm | 650 mm |
| Finderscope | Reflex finderscope | Finderscope | 5×24 reflex finderscope | Finderscope | Finderscope | Reflex finderscope |
| Eyepiece | 6 mm / 10 mm / 25 mm + 3× Barlow | 10 mm / 25 mm + 3× Barlow | 10 mm / 25 mm + 3× Barlow | 10 mm / 25 mm + 3× Barlow | 6 mm / 10 mm / 20 mm + 3× Barlow | 6.5 mm / 25 mm + 2× Barlow |
| Magnification | 16×–200× | 20×–150× | 24×–180× | 28×–210× | 45×–450× | 26×–200× |
| Telescope Mount | Altazimuth mount | Altazimuth mount | Altazimuth mount | Slow-motion altazimuth | Slow-motion altazimuth | Equatorial mount |
| Lens Coating | Fully Multi-Coated (FMC) | Fully Multi-Coated (FMC) | Fully Multi-Coated (FMC) | Fully Multi-Coated (FMC) | Fully Multi-Coated (FMC) | — |
| User Photos |
User photo not uploaded
|
User photo not uploaded
|
User photo not uploaded
|
User photo not uploaded
|
User photo not uploaded
|
User photo not uploaded
|
Clear skies, stable ground, and careful focus matter more than using the highest power first.
PRODUCT QUESTIONS
Frequently Asked Questions
Answers to common setup, delivery, returns, and warranty questions.
Depending on the telescope model and viewing conditions, you may observe lunar craters, bright planets, star clusters, and distant terrestrial objects. For the best first-time experience, start with the Moon using the lowest-power eyepiece.
Make sure the lens cap has been removed, then slowly adjust the focus knob until the image becomes clear. Start with the lowest-power eyepiece, as excessive magnification, poor weather, window glass, or atmospheric turbulence can make the image appear blurry.
Currently, KOOLPTE products are available for delivery within the United States only. Orders normally require 1-3 business days for processing and are generally delivered within 2-7 business days after shipment. Once your order ships, you will receive a confirmation email with tracking information.
KOOLPTE telescopes come with a 1-year warranty. You may also return an eligible product within 30 days of delivery, provided it is unused and remains in its original resalable condition. Refunds are issued after the returned item has been received and inspected; original shipping fees are non-refundable.
Need more help?Contact KOOLPTE support