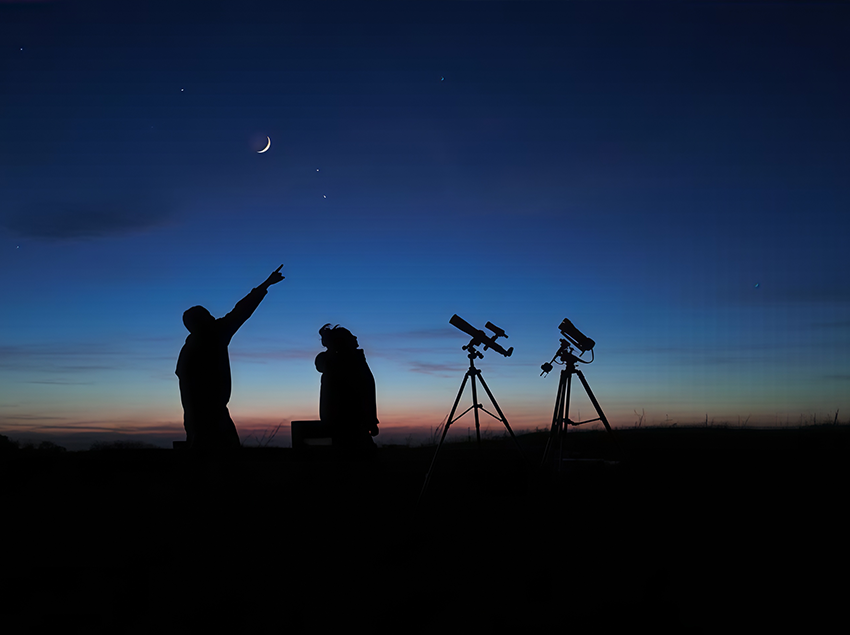
A portable telescope is not just a short optical tube. You also have to carry a tripod, eyepieces, a finder, a protective bag, and anything needed to keep the equipment dry and organized.
That makes the right choice depend on how you reach your observing site:
| Trip type | Best starting point |
|---|---|
| Long-distance backpacking | Consider astronomy binoculars before a telescope |
| Short walk to a campsite | A compact 70mm refractor with a complete carrying solution |
| Car camping | A 70mm or 80mm telescope with a more substantial tripod |
For a family camping trip or a short walk from the car, the Koolpte Vega Air 70/400 portable beginner telescope is the clearest Koolpte starting point. For a longer-focal-length 70mm kit, the Vega Lite 70/500 is the alternative.
Start With the Complete Packed Kit
Before choosing a camping telescope, list everything that must travel with it:
- optical tube;
- tripod and mount;
- finder;
- one low-power eyepiece and one higher-power eyepiece;
- carrying bag or protective wrap;
- lens caps;
- red flashlight;
- dry cloth and a way to manage dew;
- phone adapter, only if you plan to use it.
A telescope that looks compact online can become awkward after the tripod and accessories are added. If the complete kit is inconvenient, it is more likely to stay in the car or at home.
Do a practice pack before the trip. Carry the full kit around your home or yard, confirm that every part has a protected place, and make sure you can set it down without putting an eyepiece or lens cap in dirt.
Backpacking, Walk-In Camping, or Car Camping?
Long-Distance Backpacking
For a trip where every item must be carried for miles, binoculars may be the more useful astronomy tool. They provide a wide field of view, require no tripod for casual use, and are easy to use for star fields, the Moon, and bright deep-sky targets.
A telescope only makes sense when the observing experience is important enough to justify the tripod and accessories. Do not choose a telescope for backpacking based on the optical tube alone.
Short Walk to a Campsite
A compact 70mm refractor can work well when the walk is short and the kit has a dedicated bag. A manual mount avoids batteries and reduces setup complexity. A wide low-power view also makes it easier to find bright targets under an unfamiliar sky.
Car Camping
Car camping gives you more freedom. You can carry a more stable tripod, a chair, extra eyepieces, and a larger telescope without treating every ounce as critical. This is the situation where an 80mm model may be worth considering. Use the 70mm vs 80mm vs 90mm telescope comparison if you are deciding whether additional aperture is worth the larger complete setup.


Air 70/400 vs Lite 70/500 for Camping
Both models use a 70mm aperture, so the choice is not about one having more theoretical resolving power than the other.
| Model | Practical emphasis | What the focal length changes |
|---|---|---|
| Vega Air 70/400 | Compact family travel and easier low-power finding | Wider field and lower magnification with the same eyepiece |
| Vega Lite 70/500 | Beginner kit with a somewhat longer optical system | Higher magnification and narrower field with the same eyepiece |
Choose the Air 70/400 when compact handling and finding targets easily are the priorities. Choose the Lite 70/500 when you prefer a longer-focal-length starter kit and the additional packed size is acceptable.
Neither telescope should be selected by its highest advertised magnification. At a campsite, a stable image at moderate power is more useful than a dim, shaky image at extreme power.
Set Up Safely on Uneven Ground
Campgrounds are rarely as flat as a patio. Before dark:
- Choose firm ground away from vehicle traffic, fire pits, tent lines, and footpaths.
- Extend tripod legs only as much as needed.
- Press each leg gently to check that it will not sink or slide.
- Keep the accessory area organized so eyepieces cannot roll into soil or leaves.
- Align the finder on a distant daytime object before sunset.
- Start observing with the lowest-power eyepiece.
Wind matters. A sheltered location can improve the view more than adding magnification. Avoid touching the telescope while another person is looking through it, and give vibrations time to settle after focusing.
What Can You Observe at Camp?
Dark surroundings can help, but a small telescope will not show the colorful detail seen in processed astrophotography.
Good first targets include:
- the Moon, especially near the terminator;
- Jupiter and its four bright Galilean moons;
- Saturn and its rings when the planet is well placed;
- bright open clusters such as the Pleiades;
- the Orion Nebula in season;
- the bright central glow of the Andromeda Galaxy under suitable skies.
Start with objects that are bright and easy to confirm. A successful first target is more valuable than spending the evening searching for a faint galaxy that is poorly placed.
The included phone adapter can help you practice simple Moon and bright-target images through the eyepiece. It should not be treated as a substitute for a tracked astrophotography setup or a way to capture wide Milky Way panoramas through the telescope.
Protect the Telescope From Moisture and Dust
Temperature changes can cause condensation. When the telescope is damp, do not wipe the optical surface aggressively or seal wet equipment in a bag for long-term storage.
Use this routine:
- keep caps on until the telescope is ready to use;
- keep eyepieces in a closed case or bag;
- move the telescope away from smoke, cooking grease, and blowing dust;
- let damp equipment dry in a protected place after observing;
- inspect the kit at home before storing it.
If the telescope moves from a cold campsite into a warm vehicle or cabin, condensation may form. Keep the optics capped during the initial temperature change and allow the equipment to dry normally afterward.
A Simple Camping Checklist
- Telescope, mount, tripod, and bag
- Finder aligned before dark
- Low- and medium-power eyepieces
- Lens caps
- Red flashlight
- Warm clothing and chair
- Star map or offline sky app
- Dry cloth for the outside of the equipment
- Power bank for the phone, not for the manual telescope
Download any sky maps before leaving cell coverage. Check the Moon phase, cloud forecast, and the position of the targets you want to observe.
Final Recommendation
For true backpacking, start by deciding whether binoculars will meet the goal with much less equipment. For a family campsite or a short walk from the car, a compact 70mm refractor is a practical first telescope. For car camping, you can consider a larger aperture if the complete setup remains easy to transport and stable on the ground.
The most useful camping telescope is the one you can carry as a complete kit, set up safely before dark, and operate without turning the trip into an equipment project.
FAQ
What is the best portable telescope for hiking?
For a short hike, a compact 70mm refractor with a tripod and carrying bag can be practical. For long-distance backpacking, binoculars may be a better first choice because the complete telescope kit includes more than the optical tube.
Is a 70mm telescope good for camping?
Yes. A 70mm refractor can show the Moon, bright planets, star clusters, and several bright deep-sky targets while remaining easier to transport than many larger beginner telescopes.
Can I take a telescope in a backpack?
Only when the tube, tripod, mount, and accessories are protected and the total packed kit is comfortable to carry. Do a practice pack and carry before relying on the setup for a trip.
Do I need electricity at the campsite?
Not for a manual refractor mount. A phone or red light may need charging, but the telescope itself can be used without power.
Can I photograph the Milky Way through a portable beginner telescope?
A phone adapter is better suited to simple Moon and bright-target experiments. Wide-field Milky Way photography normally uses a camera or phone with a wide lens and a stable support rather than shooting through a small telescope.
Share:
Best Telescopes Under $200 in 2026: The Real Value Picks
Telescope Mount Types Explained: Alt-Az vs EQ vs GoTo